


Drive through the nicest street in your town and look closely at what’s actually planted.
It’s boxwood. Daylilies. Some ornamental grass. Mulch.
The same plants sitting on the clearance rack at every big-box store in America. So why does one yard look like a magazine spread and the other looks like a Saturday errand?
Because almost everything that reads as “expensive” in a landscape is geometry, repetition, and edges — not price tags. Crews charge thousands for work that’s mostly a spade, a plan, and restraint.
Here are 28 of those tricks, and what each one actually costs.
1. The Spade-Cut Trench Edge
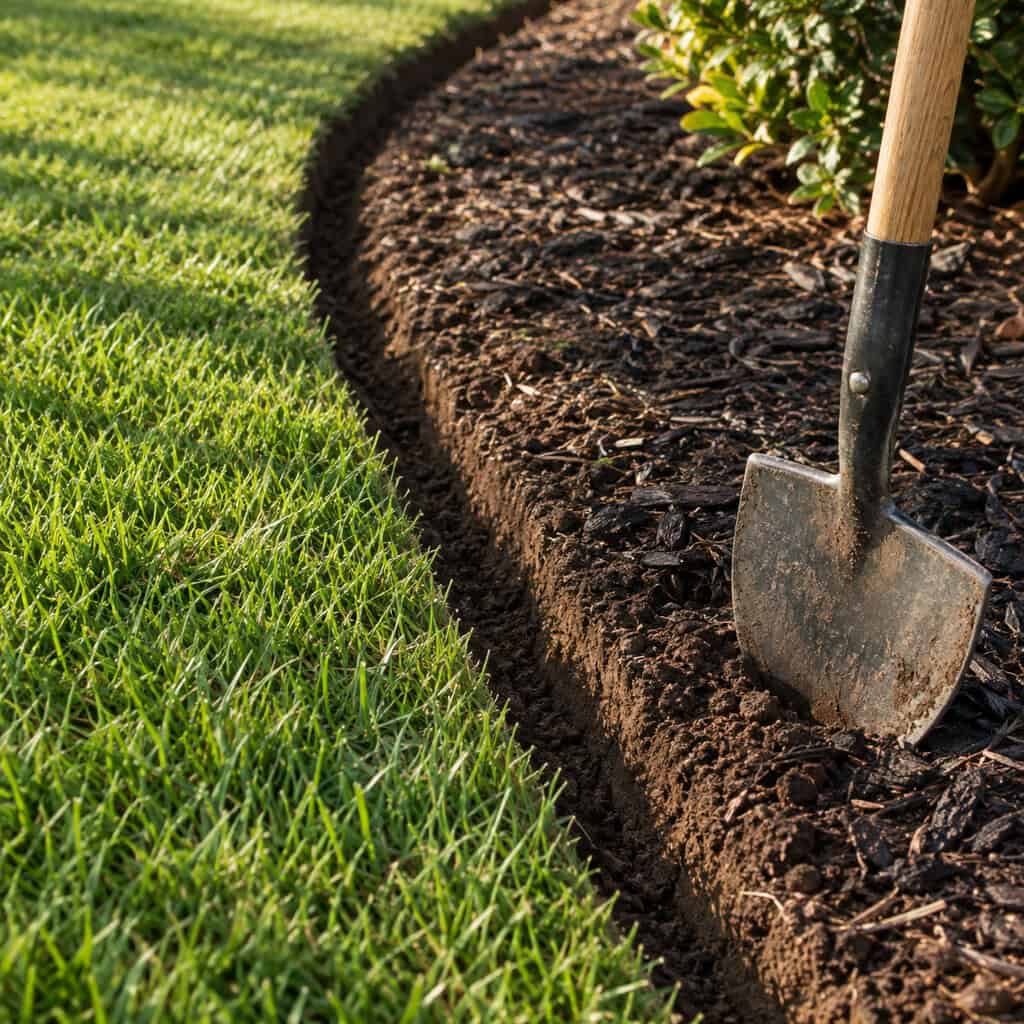
Start here. Nothing else on this list changes a yard faster.
A crisp V-shaped trench between lawn and bed — cut about four inches deep, angled back toward the mulch — throws a hard shadow line along every bed. Your eye reads that shadow as a deliberate boundary. Plastic edging, no matter how new, reads as a strip of plastic.
It also holds mulch where you put it instead of letting it creep into the grass.
A half-moon edger costs about $30. Crews re-cut this every spring and bill for it every spring. You can do a typical front bed in under an hour, and the natural edging approach works with any bed shape you’ve already got.
2. Dark Mulch, One Color, Two to Three Inches
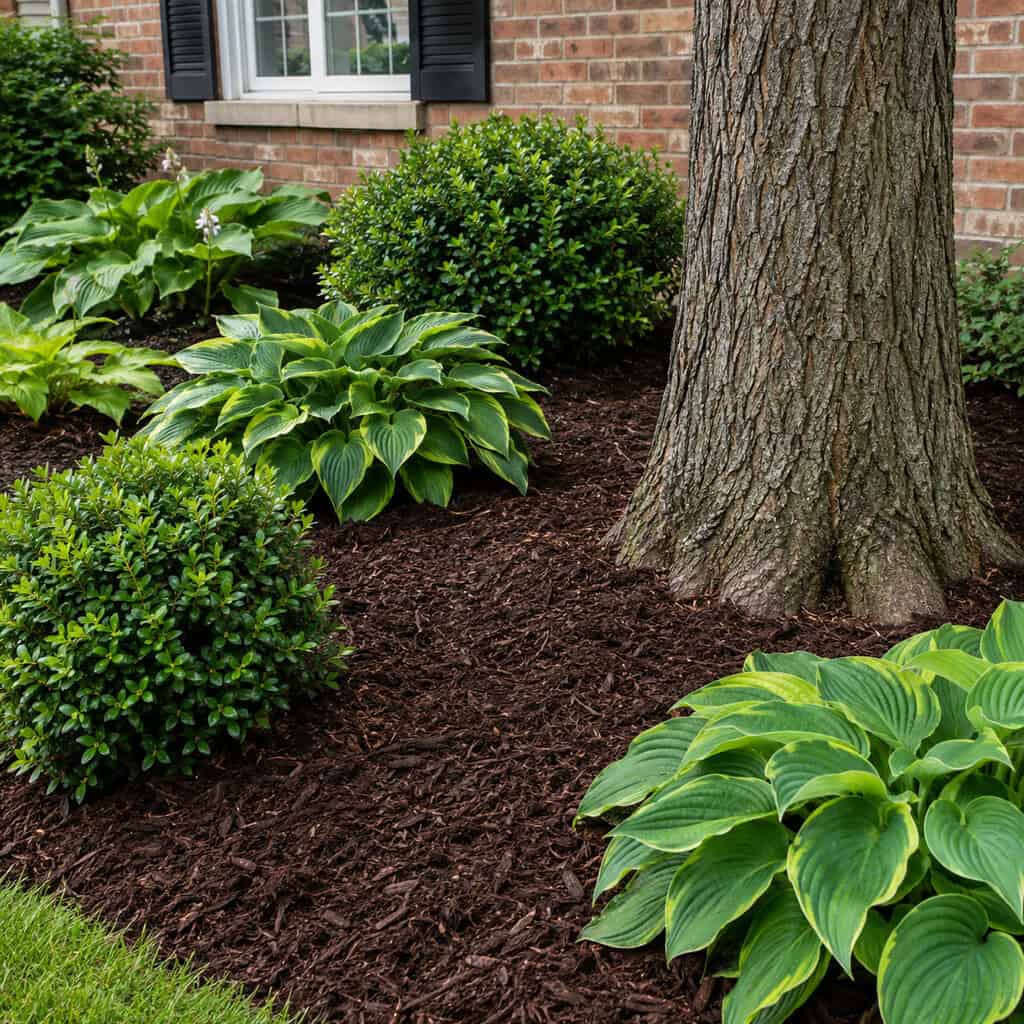
Red mulch at the mailbox, black by the porch, leftover brown around the tree. That’s three weekend projects, and the yard says so.
Pick one dark brown and use it everywhere. Unity is the whole trick.
Depth matters as much as color. Two to three inches suppresses weeds and holds moisture; six inches piled against a trunk suffocates bark and invites rot. Penn State Extension has been fighting the mulch volcano for years and it’s still everywhere.
Pull it back from every trunk. Always.
3. Shrink the Lawn, Deepen the Beds
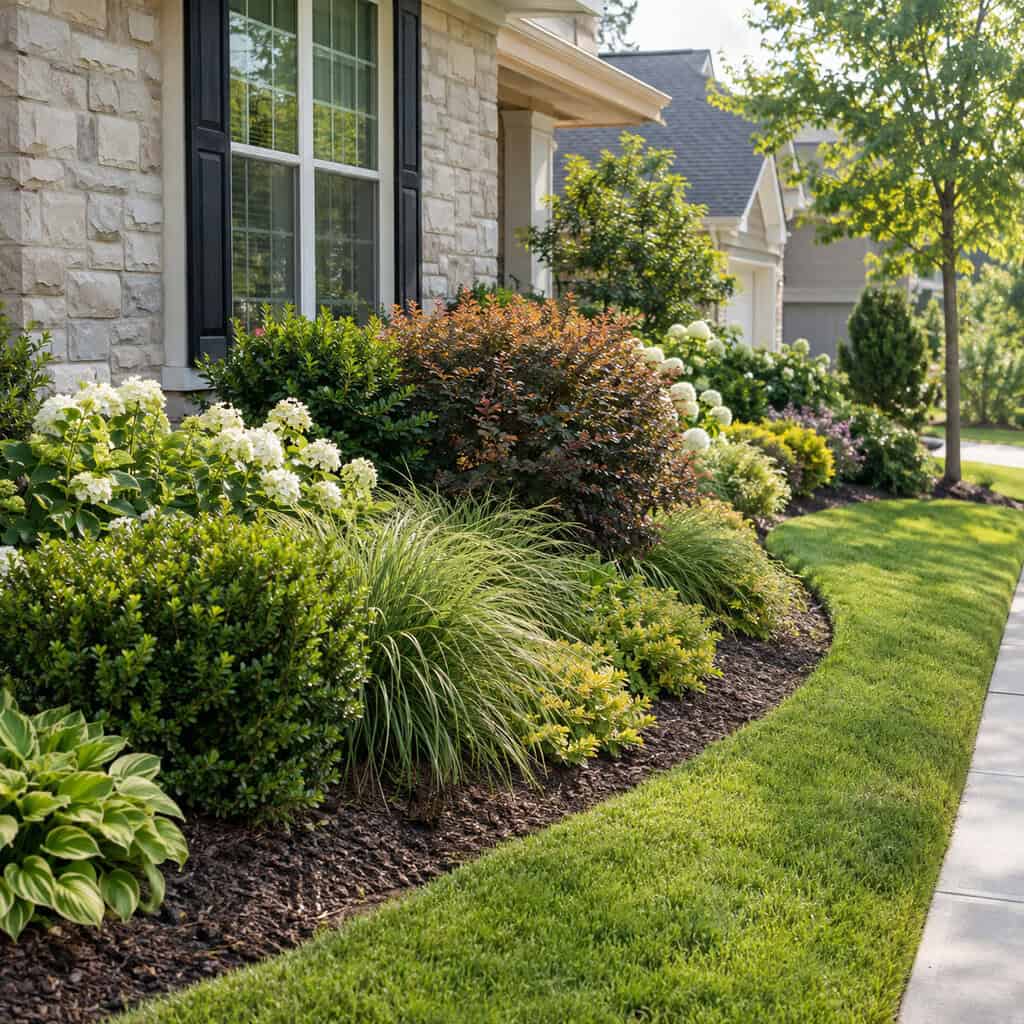
The 18-inch strip of mulch hugging the foundation is the universal signature of a builder-grade yard.
Push those beds out to four or six feet. Suddenly the house has a base instead of a collar, and the proportions read completely differently from the street.
You’re also deleting grass. Less to mow, less to water, less to fertilize — the bed pays you back every week of the season.
4. Mow One Notch Higher

Free. It’s a lever on the deck.
Taller grass shades the soil, which starves crabgrass seed of the light it needs to germinate. It holds color through heat because the root system runs deeper. And it photographs a richer green, because you’re seeing more blade surface and less dirt.
Pair it with the one-third rule — never cut off more than a third of the blade height in a single pass. Clemson HGIC lays out the target heights by grass type.
Scalping is the single fastest way to make an otherwise fine lawn look cheap.
5. Plant in Masses of Three, Five, or Seven
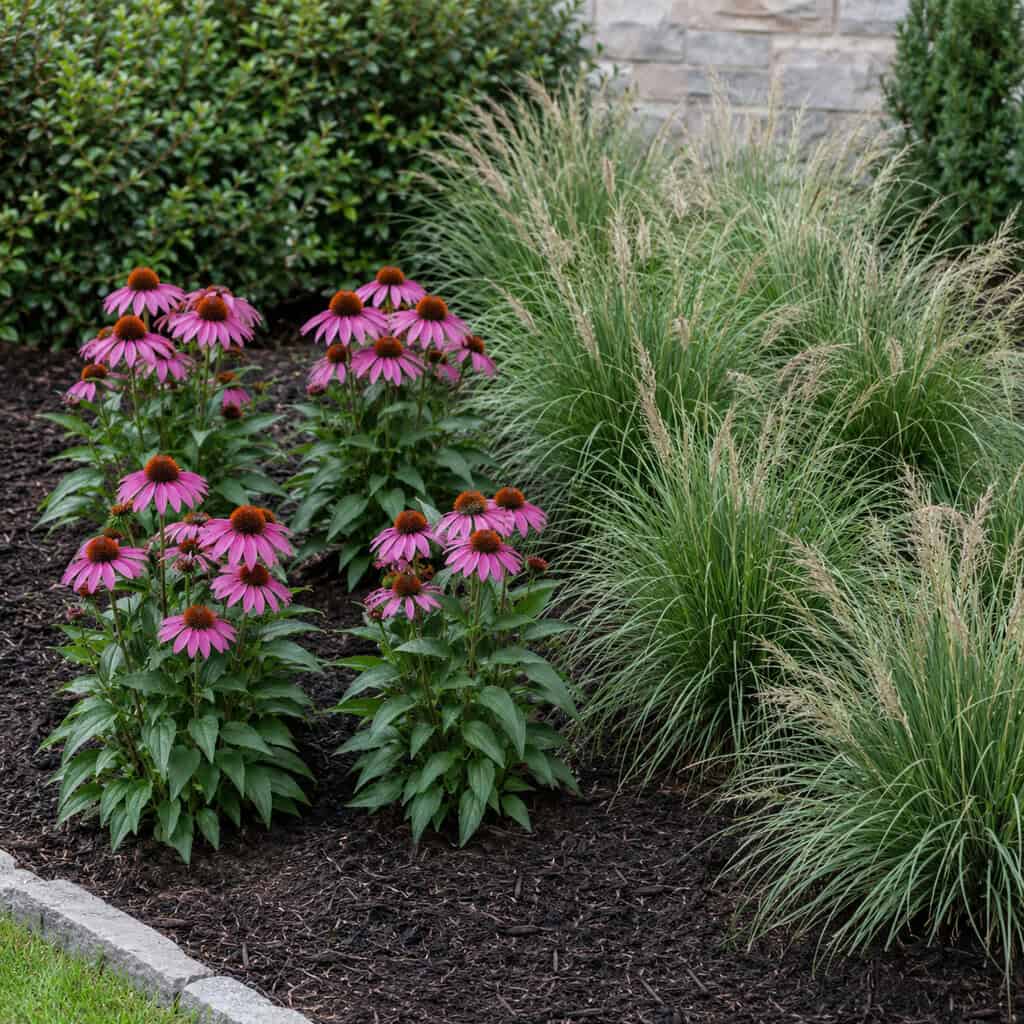
Walk the nursery and buy one of everything that looks pretty. That’s how you end up with a bed that looks like a clearance rack.
Designers do the opposite. Fewer varieties, more of each, planted in odd-numbered groups so the eye can’t pair them off into rows.
Three heucheras together read as a design decision. One heuchera reads as an impulse buy.
Same plant count. Same money. Completely different result.
6. Uplight Two Trees Instead of Lining the Walk

Solar stakes marching down both sides of a sidewalk is the airport-runway look, and everyone’s seen it a thousand times.
Aim two uplights at a tree trunk instead. The light climbs into the canopy and the whole crown glows.
A pair of decent low-voltage fixtures runs $60 to $150. That’s it — that’s the whole upgrade, and it reads as landscape lighting rather than dollar-store punctuation.
Textured brick or stone walls take the same treatment beautifully.
7. Stain the Fence and Shed Charcoal

Orange cedar screams at you. It pulls your eye straight to the property line, which shrinks the yard.
Dark charcoal or near-black solid stain does the reverse — the fence drops back and green foliage jumps forward against it.
It’s the cheapest way to fake depth in a small yard. A few gallons of solid-body stain and a sprayer, done in a weekend.
Do the shed to match while you’ve got the can open.
8. Buy One-Gallon Plants, Not Three-Gallon

The instinct is to buy big so the bed looks finished today.
Smaller stock establishes faster. Less root disturbance, quicker recovery, and within two or three seasons the one-gallon shrub has usually caught the three-gallon one that went in beside it.
You’ll pay roughly a third as much. Which is exactly how you afford to buy five instead of one — and the mass planting is what’s actually making the bed look expensive.
9. One Oversized Pot Beats Five Small Ones

Scale is where homeowners lose it. Six ten-inch pots scattered across a porch look like things that didn’t have anywhere else to go.
One 20-inch planter beside the door looks placed.
Big pots hold more soil volume, so they dry out slower and the plants inside don’t cook in August. Small pots on a sunny porch need water twice a day by July, and nobody keeps that up.
Spend $60 on one good container instead of $60 on six bad ones.
10. Mow in Stripes
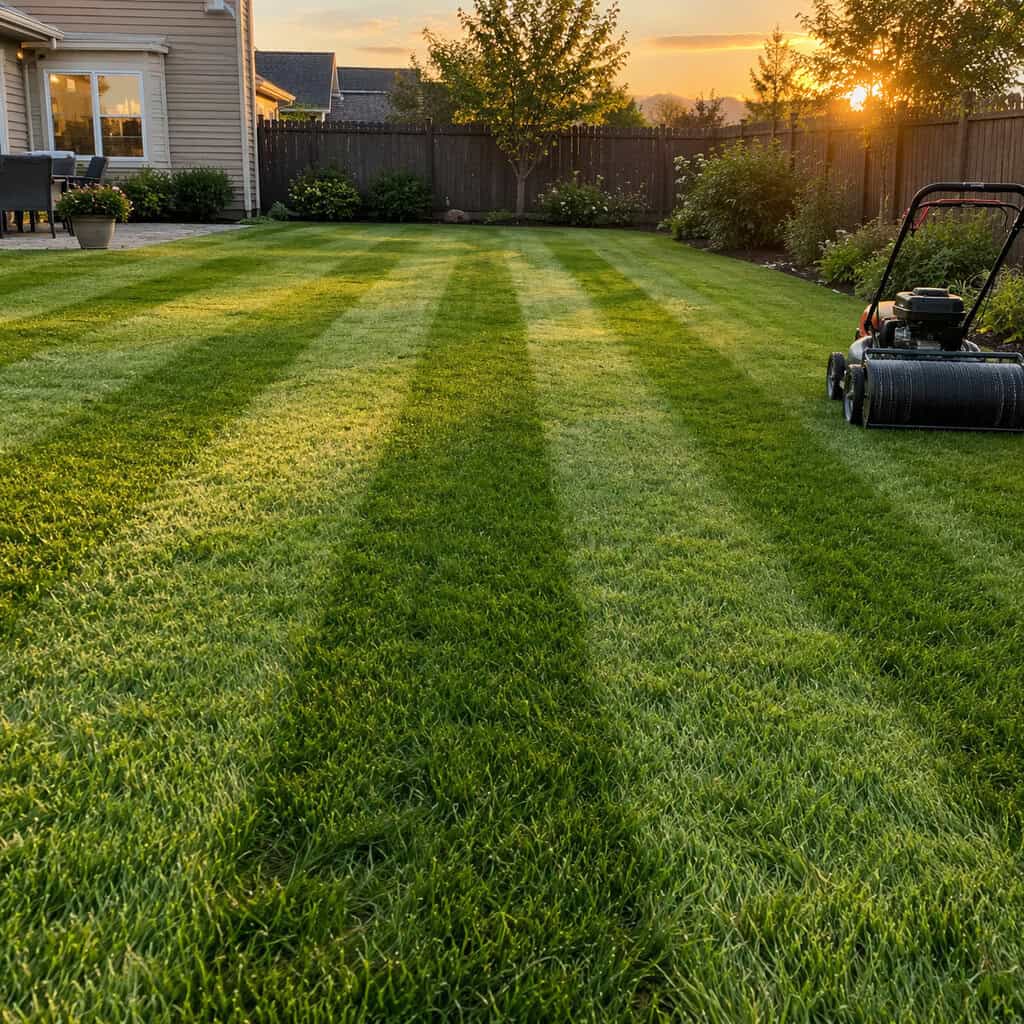
Ballpark stripes aren’t two kinds of grass. They’re the same blades bent in opposite directions, reflecting light back at you differently.
Mow north-south this week, east-west next. Alternate every cut.
Want the stripes darker? A roller attachment behind the deck presses the blades harder. People bolt a length of rubber squeegee or a piece of PVC filled with sand to the back of the deck and get most of the effect for twenty bucks.
11. Cap the Plant Palette at Five Species
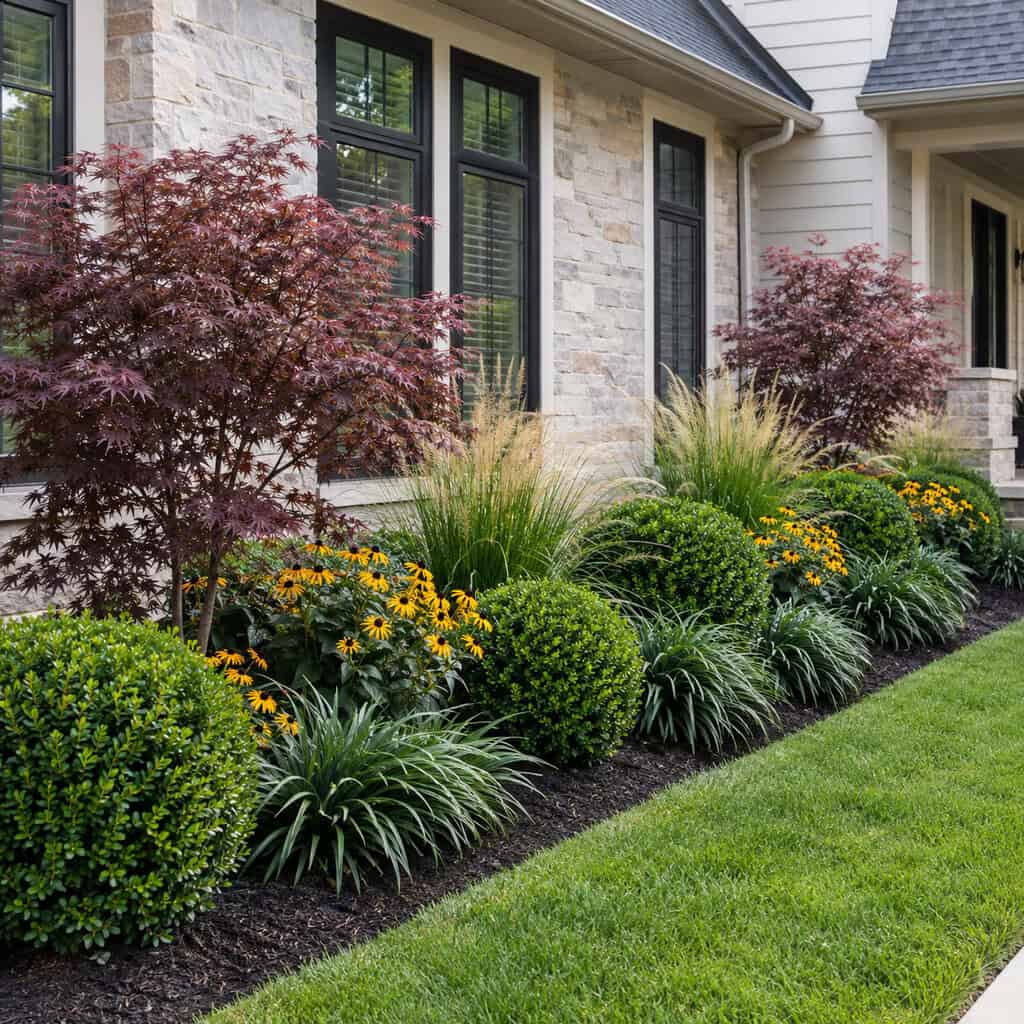
Count the distinct plant species in a landscape you admire. It’s usually fewer than you’d guess.
Five, repeated across the whole property, produces unity the eye reads instantly. Twenty-two species produces a collection.
There’s a practical payoff too. You only have to learn five plants’ water needs, five pruning schedules, five pest problems. Most homeowner beds die of confusion, not neglect.
12. Screen the AC Unit, Cans, and Utility Box
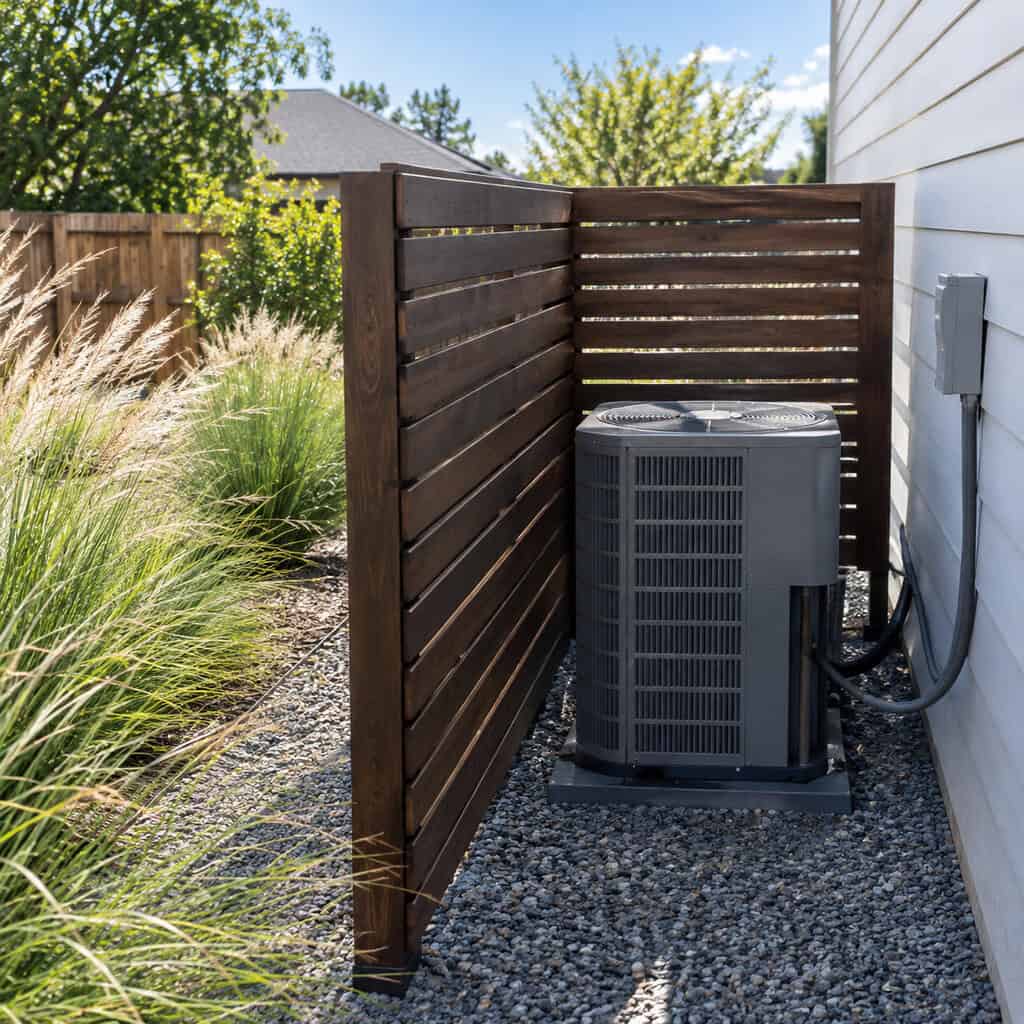
A condenser humming three feet from the front walk undoes everything else you’ve done. Same with a gray plastic utility box and a pair of trash cans by the garage.
These are the details that separate a designed yard from a functional one, and hiding them costs $50 to $200 in cedar slat panel or lattice.
But screening an AC unit wrong is an expensive mistake, so get the clearances right. Condensers pull air in through the sides and exhaust straight up through the top fan. Choke either path and the unit runs hot, compressor pressure climbs, and efficiency drops — sometimes enough to shorten the compressor’s life.
Leave at least 24 to 30 inches of clear space on every side, and keep the top completely open — never build a lid, never set a planter on it. Use slats with real gaps, not solid board fence. Check your manufacturer’s manual, because some units specify more.
Plantings follow the same rule. Keep shrubs three feet back and prune them, or the screen you planted in May becomes the airflow problem in August. Ornamental grasses work well here because they’re soft, tall, and easy to cut back hard each spring.
One more thing techs will thank you for: leave a gap wide enough for a service panel to come off.
13. Build a Pea-Gravel Patio Instead of Pavers
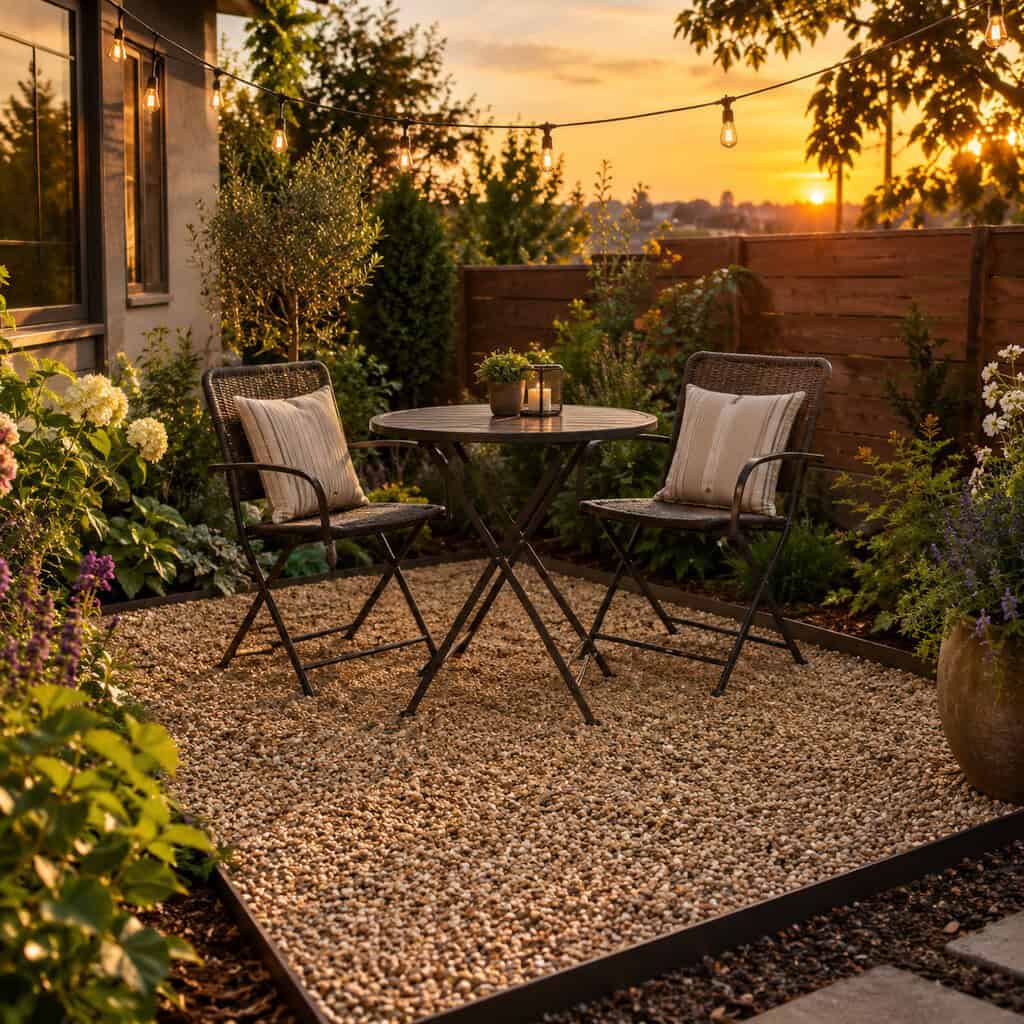
Pavers need a compacted base, screeded sand, and a level eye. Get it wrong and you’re re-setting stones in three years.
Pea gravel needs an edge and a rake.
It drains, it never heaves, and it makes a sound underfoot that people associate with French courtyards rather than budget compromise. Contain it with steel edging or 4×4 timbers so it stays put.
Drop a bistro table in the middle and it out-charms stamped concrete costing five times as much.
14. Limb Up the Shade Tree
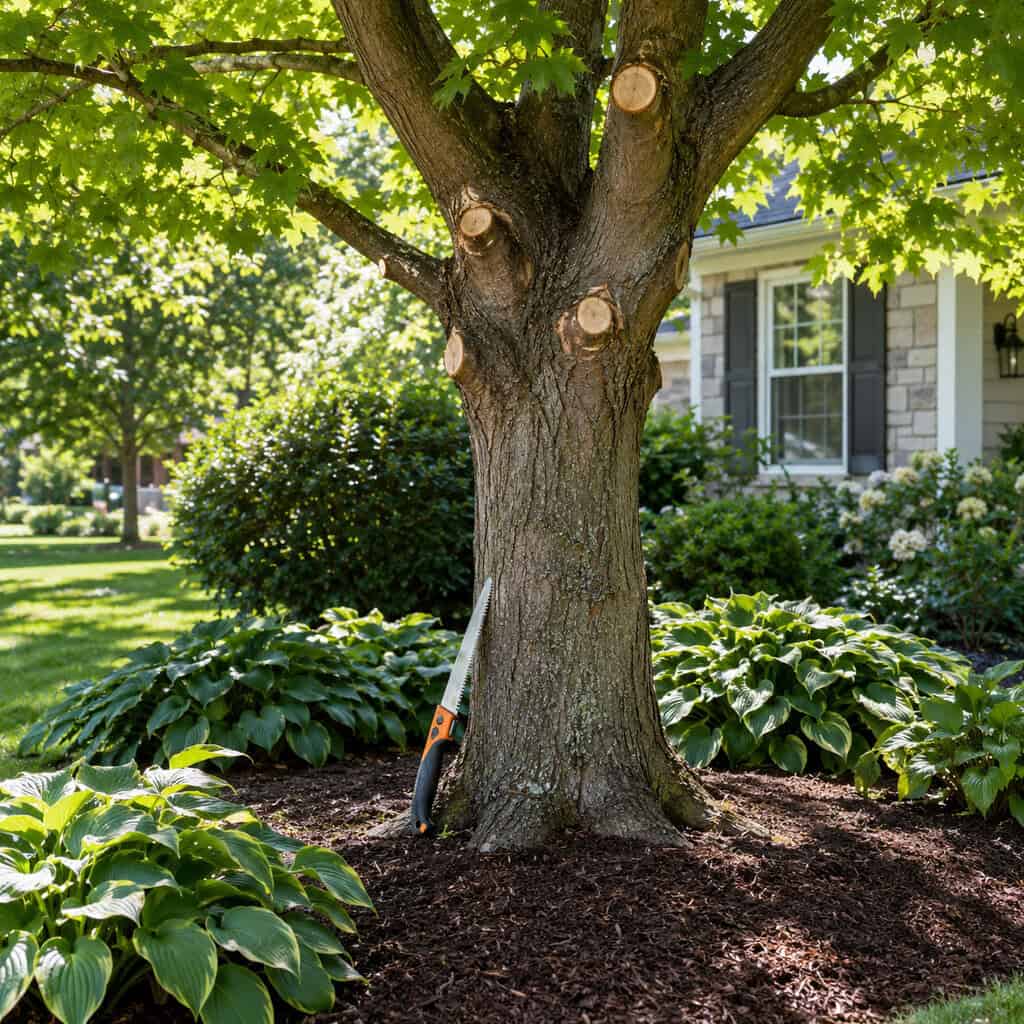
Most front-yard trees are a green blob touching the ground.
Take off the lowest branches and reveal the trunk. The tree becomes a sculpture, the bed beneath it gets light, and the whole yard feels taller and more open. It’s the most dramatic free change available to most homeowners.
Do it right, though. Cut just outside the branch collar — that slightly swollen ring where the limb meets the trunk — never flush to the bark. Flush cuts remove the tissue the tree uses to seal the wound.
For anything thicker than your wrist, use the three-cut method: an undercut a foot out, a top cut an inch beyond that to drop the limb, then the final cut at the collar. Skip it and the falling branch peels bark down the trunk.
General guidance is to keep at least two-thirds of the tree’s height in live canopy, and never remove more than about a quarter of the living crown in one year.
Now the limits. If the cut requires a ladder, stop. If the branch hangs over the roof, a fence, or a power line, stop. If it’s over about six inches in diameter, stop.
Chainsaw work overhead from a ladder is how homeowners end up in the ER. Call a certified arborist — one carrying an ISA credential and actual liability insurance. A single limb removal usually runs a couple hundred dollars, which is cheap against a hole in your roof.
15. Lean on Ornamental Grasses
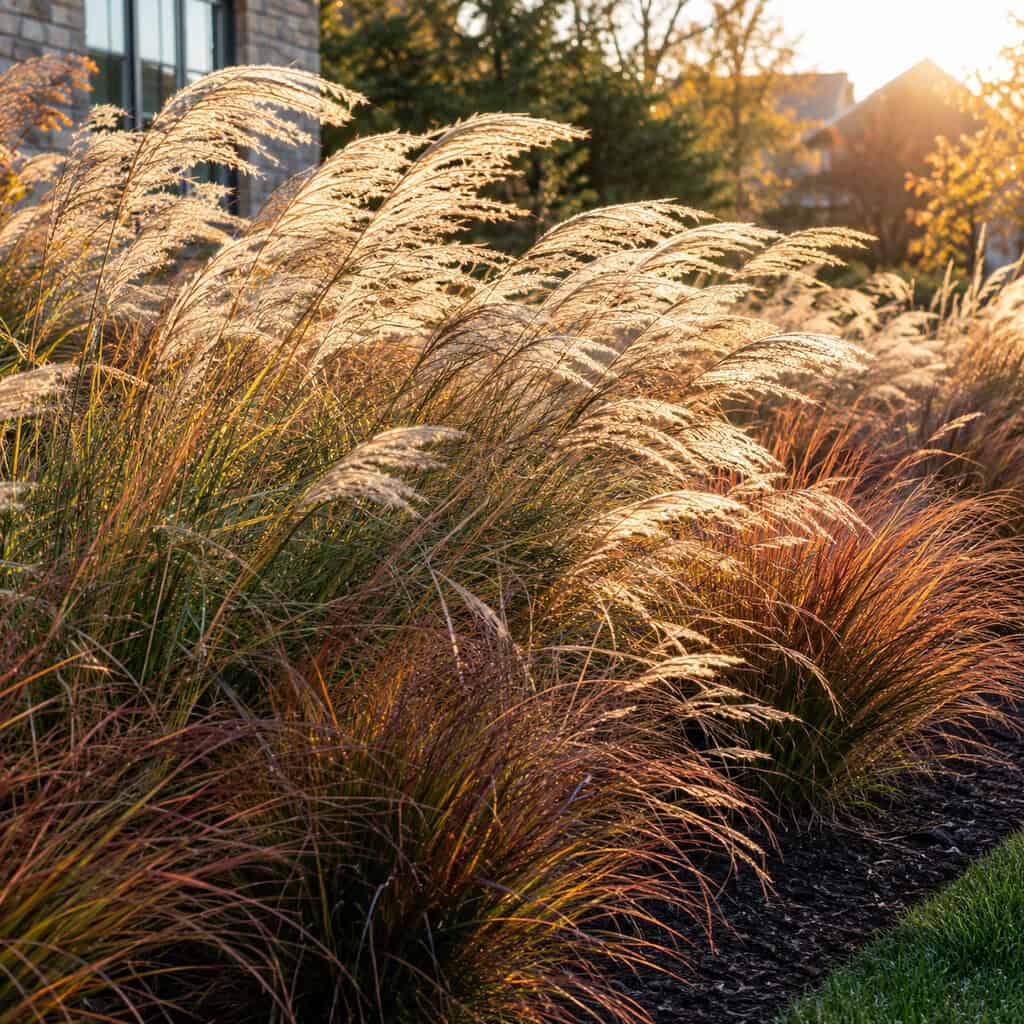
Look at the landscaping around any new office park or upscale retail center. It’s half grasses.
They fill space fast, move in wind, and hold structure through winter when everything else has collapsed. A shrub takes five years to earn its spot; a grass earns it in one.
Ten to twenty dollars each, and then free forever. One clump splits into four after a few seasons. Some of the best ornamental grasses peak in late summer, right when perennials are looking tired.
16. Buy Mulch by the Yard, Not the Bag
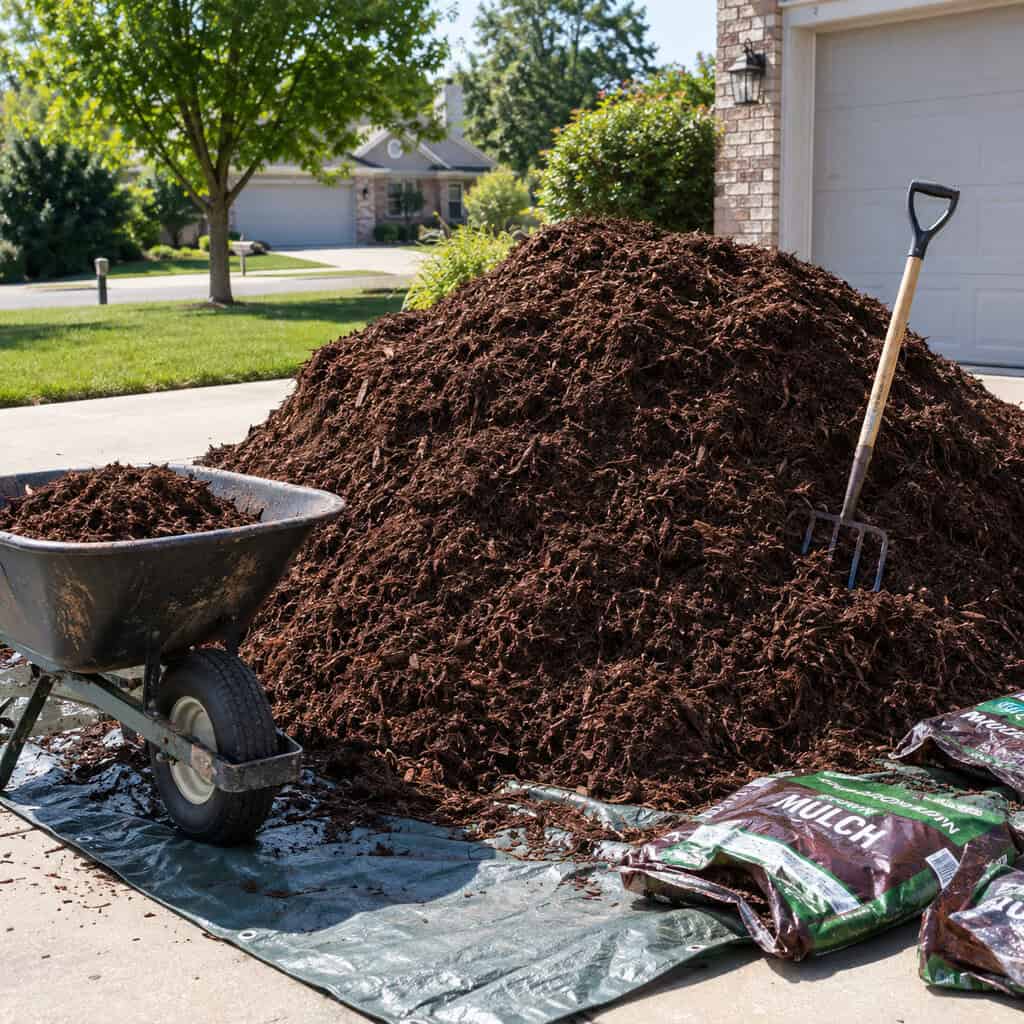
Here’s the arithmetic that changes everything: one cubic yard equals roughly 13 or 14 bags.
At $4 a bag, that’s $55 in plastic. A delivered yard of the same material often runs $30 to $45.
Have it dumped on a tarp in the driveway and move it with a wheelbarrow. It’s a sweaty afternoon.
But it’s the difference between mulching one bed and mulching every bed on the property — which is the whole point.
17. Lay Out Bed Lines With a Garden Hose
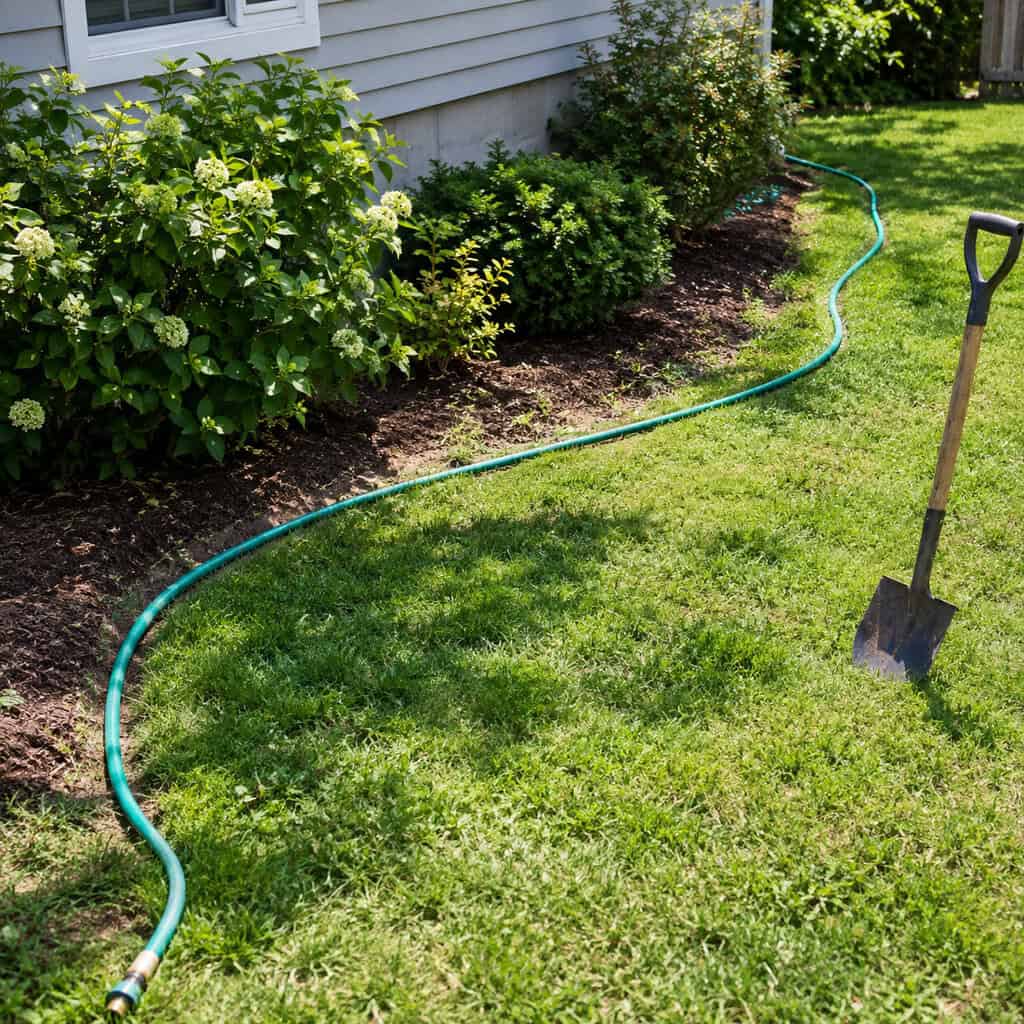
Freehanding a bed line with a shovel gives you wobbles and little scallops. Scallops are the amateur tell.
Lay a garden hose on the grass instead. Let it bake in the sun for twenty minutes first so it goes limp.
Shape long, lazy curves — the kind a mower can follow in one continuous pass. Then walk to the street and look. Adjust, look again, and only cut when it reads right from where people actually see it.
18. Swap in Matte Black Hardware at the Door

Brass mailbox, chrome handle, builder-bronze porch light, brass-toned numbers from 1998.
Nobody articulates it, but everybody registers it.
Replace the mailbox, house numbers, porch lantern, and door handle in one matte black finish and people will ask what you renovated. Under $150 and a screwdriver, about thirty minutes of work.
The finish matters less than the matching.
19. Pressure-Wash the Concrete

Concrete grays out about a shade a year. You never notice, because you see it every single day.
Then you clean one strip and the contrast is genuinely startling.
Clean hardscape makes every plant beside it look better, and a bright driveway does more for curb appeal than most plant purchases. A day rental runs $50 to $90.
Match the pressure to the surface or you’ll do damage that doesn’t wash off:
- Concrete driveways and walks: 2,500–3,000 PSI, 25-degree tip
- Brick and pavers: around 1,500 PSI, 25- or 40-degree tip
- Wood decks and fences: 500–1,200 PSI, 40-degree tip only
- Vinyl siding: under 1,500 PSI, wide tip, angled downward
Never use the red zero-degree tip on anything but a metal implement. It etches concrete in a heartbeat and leaves permanent stripes you’ll see from the street for years.
Keep the wand moving, hold it 12 to 18 inches off the surface, and overlap passes by half so you don’t leave a zebra pattern. Work in even sweeps, not circles.
For organic staining — the green-black film on the north side — a sodium hypochlorite cleaner applied first does more than raw pressure and lets you drop the PSI way down. Wet nearby plants before and rinse them after.
Let it dry fully, then consider a penetrating sealer. Sealed concrete stays clean noticeably longer and resists oil and salt, which is what actually keeps the driveway looking new between washings.
20. Hold the Hardscape to Two Materials
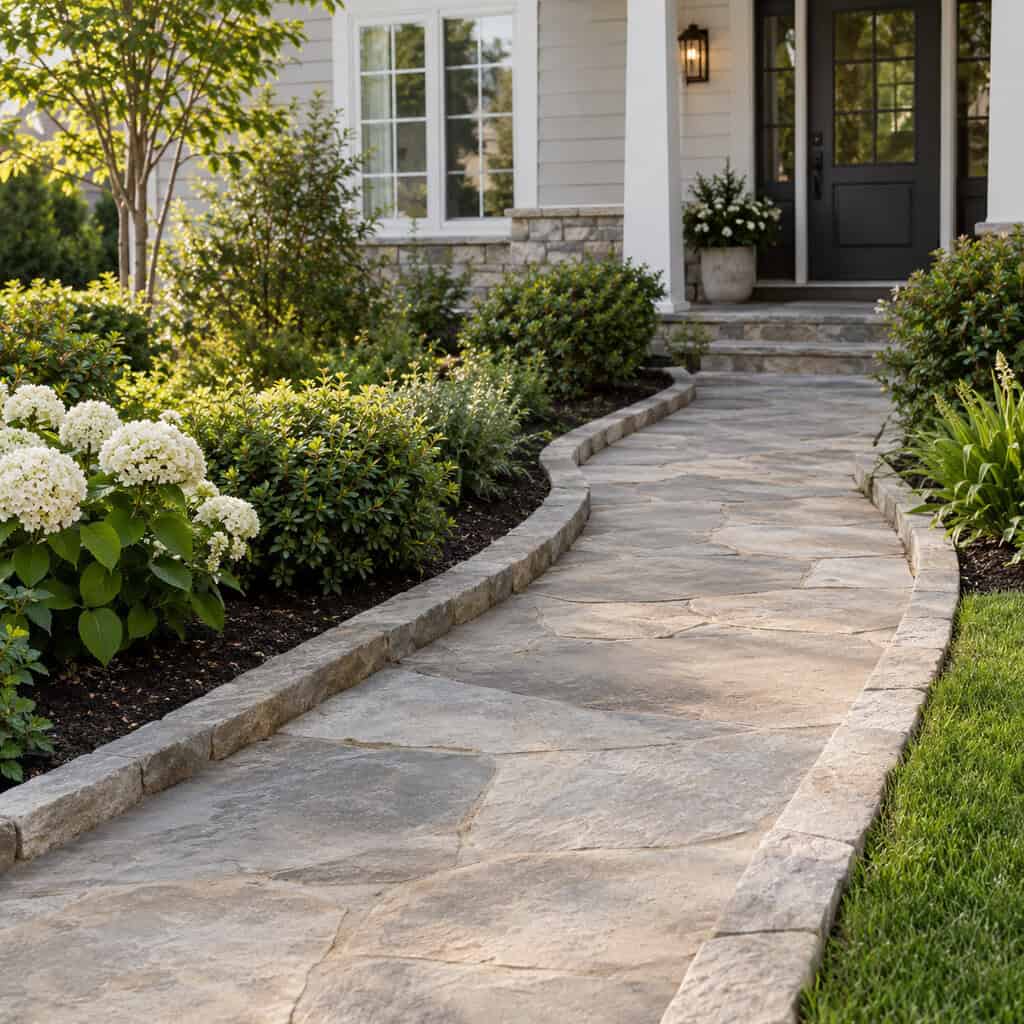
Brick edging. Flagstone steppers. Concrete pavers at the patio. River rock in the side bed.
Four materials, four eras of homeownership, zero coherence. No plant budget fixes it.
Pick two and repeat them. The same fieldstone at the walk, the steps, and the bed edge starts to look like a choice someone made rather than materials that accumulated.
Cheap materials look expensive when they’re repeated. Expensive materials look cheap when they’re mixed.
21. One Big Mulch Ring Under the Tree
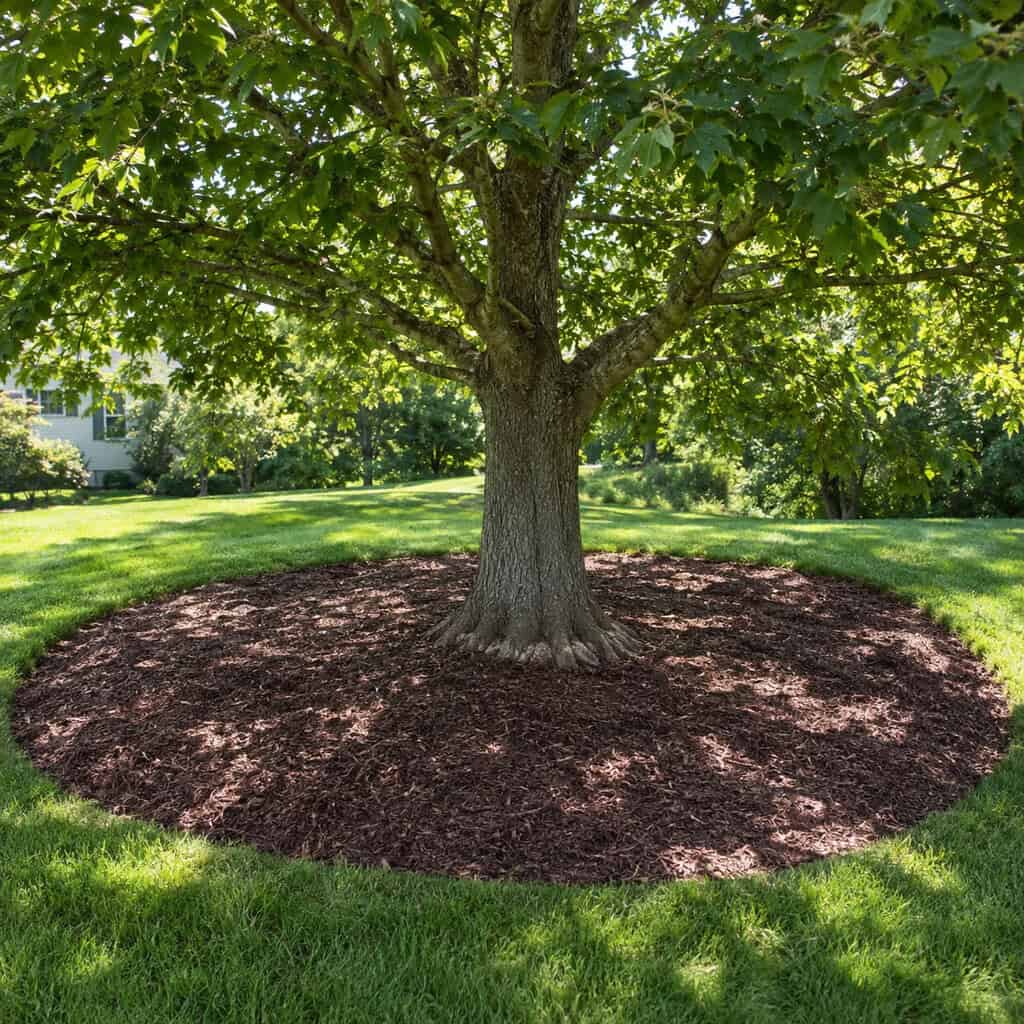
Mowing right up to the trunk leaves two problems: string-trimmer scars in the bark and a collar of thin, struggling grass that never fills in because it’s fighting the tree for water.
Cut one generous ring instead. Push it out toward the drip line if you can — three feet minimum, more is better.
Two to three inches of mulch, pulled back so the root flare stays visible. That flare should always be exposed. Bury it and you’re growing rot against live bark, which is how mulch volcanoes slowly kill trees over a decade.
The tree gets protected roots. The yard gets a base.
22. Divide Perennials Into Free Plants

That neighbor with the full, established beds probably didn’t buy most of it.
Hostas, daylilies, sedum, coneflower, iris, and nearly every ornamental grass split cleanly into three or four plants every few years. A spade through the crown in early spring or early fall, replant the pieces, water them in.
They’ll sulk for two weeks and then take off.
Divisions are also currency. Offer someone a hosta clump and you’ll go home with something you don’t have.
23. Use Warm Bulbs, Not Blue-White

Swap one bulb and watch the whole front of the house change.
5000K “daylight” LEDs make brick look gray, wood look dead, and the whole property look like a parking structure at 9 p.m. It’s the most common lighting mistake in American yards.
2700K warm white does the opposite. Brick warms up, foliage goes rich, the house looks lived in.
Check the box. The number is printed right on it. This costs the price of bulbs and changes every evening from now on.
24. Layer Big to Small, Back to Front
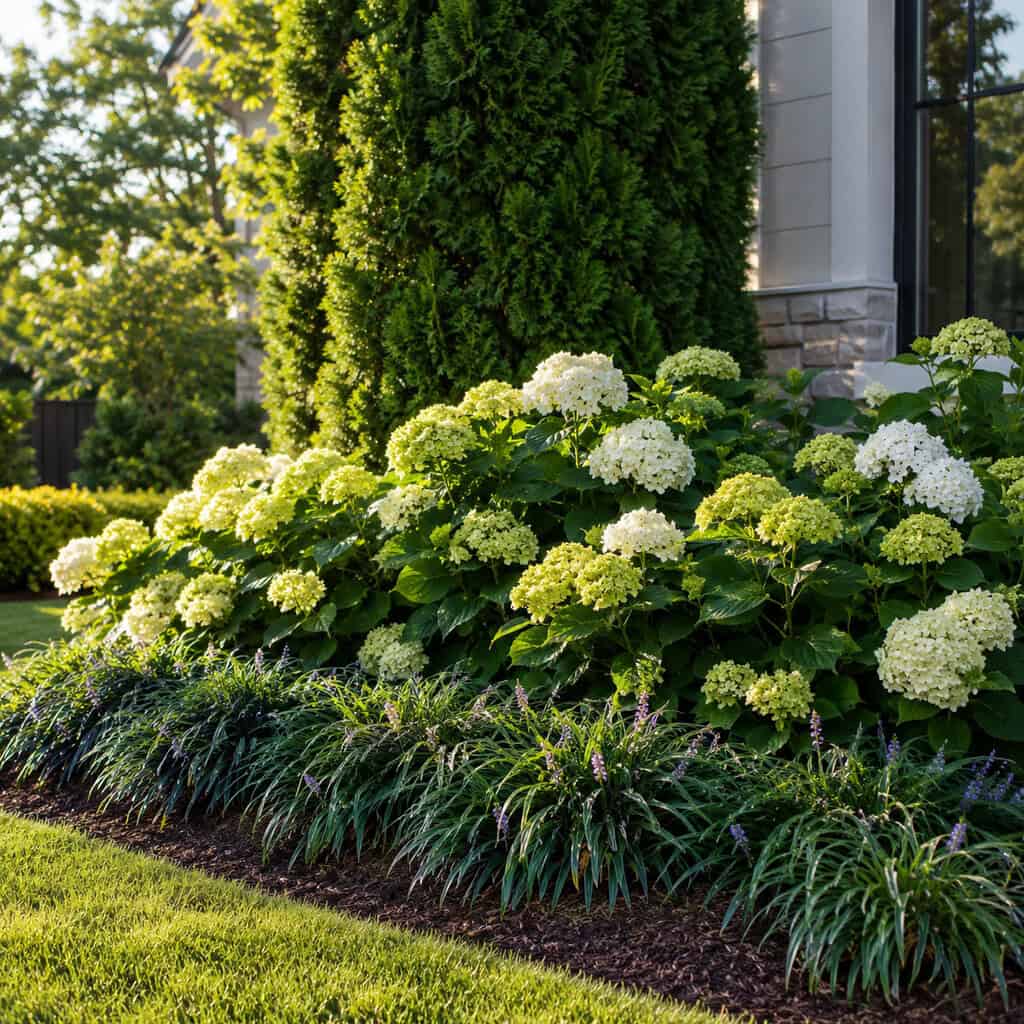
A single row of identical shrubs across the front of a house reads as a hedge that somebody lost interest in.
Professional beds run three tiers. A tall anchor at the back — a small tree, a columnar evergreen, a tall grass. A mid-height mass in front of it. Then a low edging plant that spills slightly over the mulch line.
That front layer is the one homeowners skip, and it’s why their beds look unfinished. The low plant is what closes the composition.
Depth is what makes a bed look full. Not plant count.
25. Plant Groundcover Instead of Annual Flats
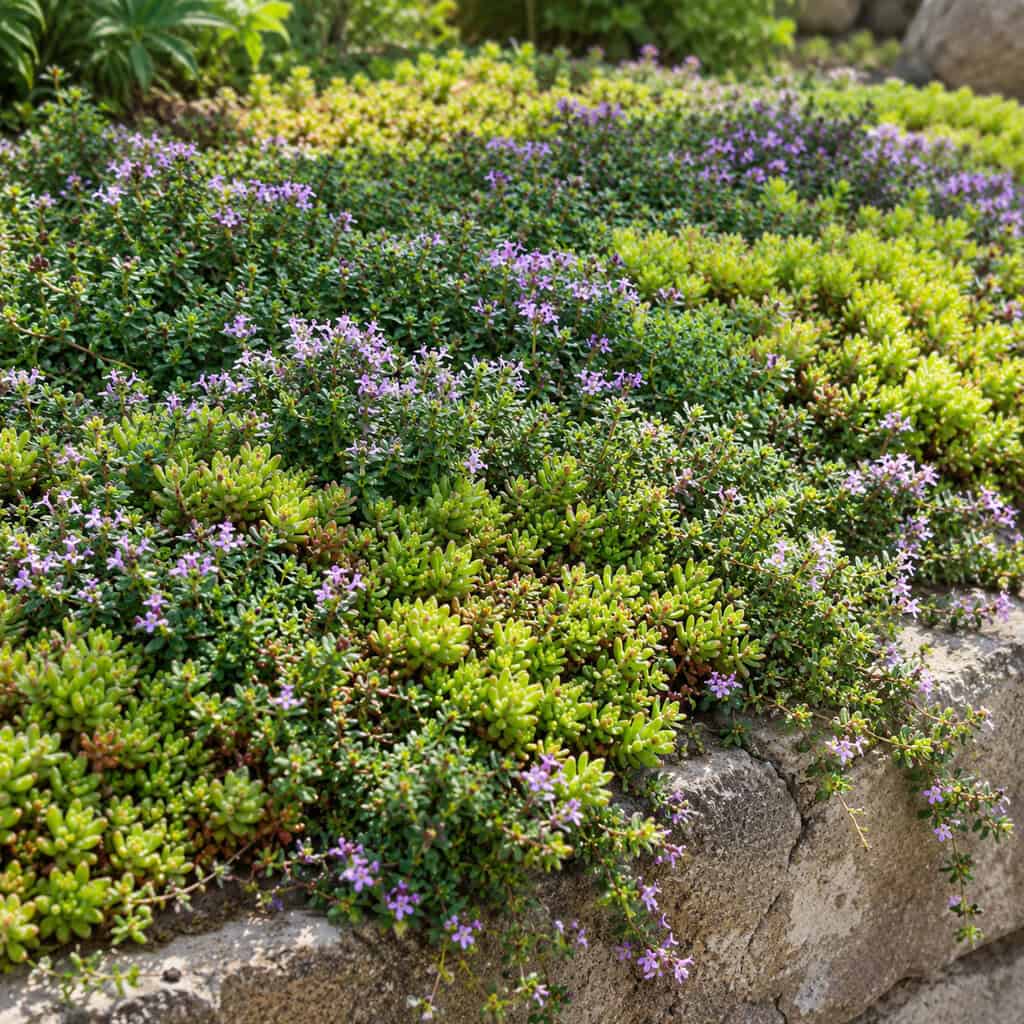
Six flats of impatiens every May is a rental fee. You pay it again next year, and the year after.
Creeping thyme, sedum, ajuga, liriope, or pachysandra fill the same square footage and come back on their own.
They also knit together into a continuous carpet, which is exactly the look that says a bed has been there a while and someone has been tending it.
Plant them the year you’re tired of buying flats. By year two you’ll wonder why you waited.
26. Shop the End-of-Season Clearance
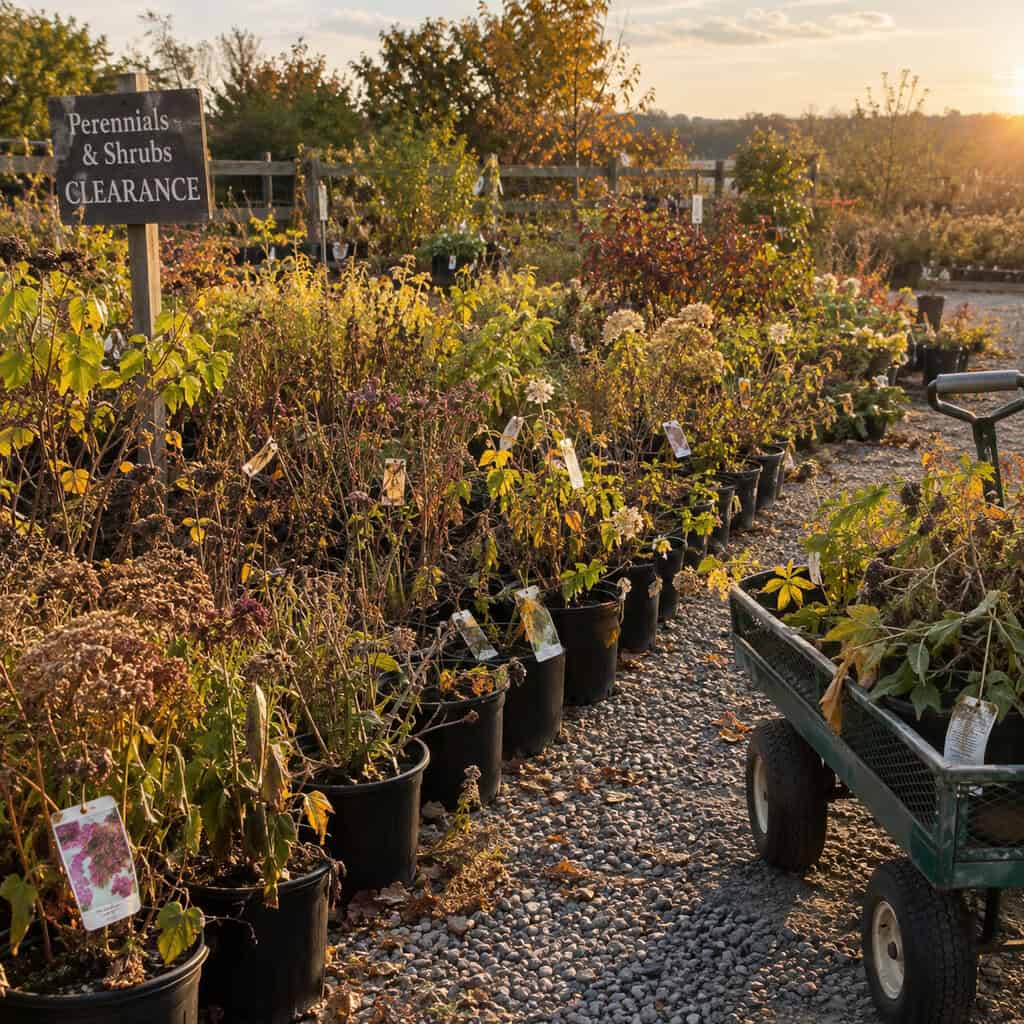
September is when nurseries stop watering and start discounting. Perennials, shrubs, and trees hit 50 to 75 percent off because nobody wants to overwinter inventory.
That scruffy August foliage tells you nothing about next spring.
Fall is also when root establishment happens best — warm soil, cool air, less heat stress on a transplant. You’re buying at the bottom of the price curve and planting at the top of the success curve.
| Spring Planting | Fall Planting | |
|---|---|---|
| Price | Full retail | 50–75% off |
| Selection | Best | Picked over |
| Soil temp | Cold, slow roots | Warm, fast roots |
| Heat stress | Summer right after | Months to settle |
| Watering load | Heavy all summer | Light until frost |
Buy the plant, not the plant’s September haircut. Cut it back, get it in the ground, and forget about it until April.
27. Add Evergreen Bones for Winter
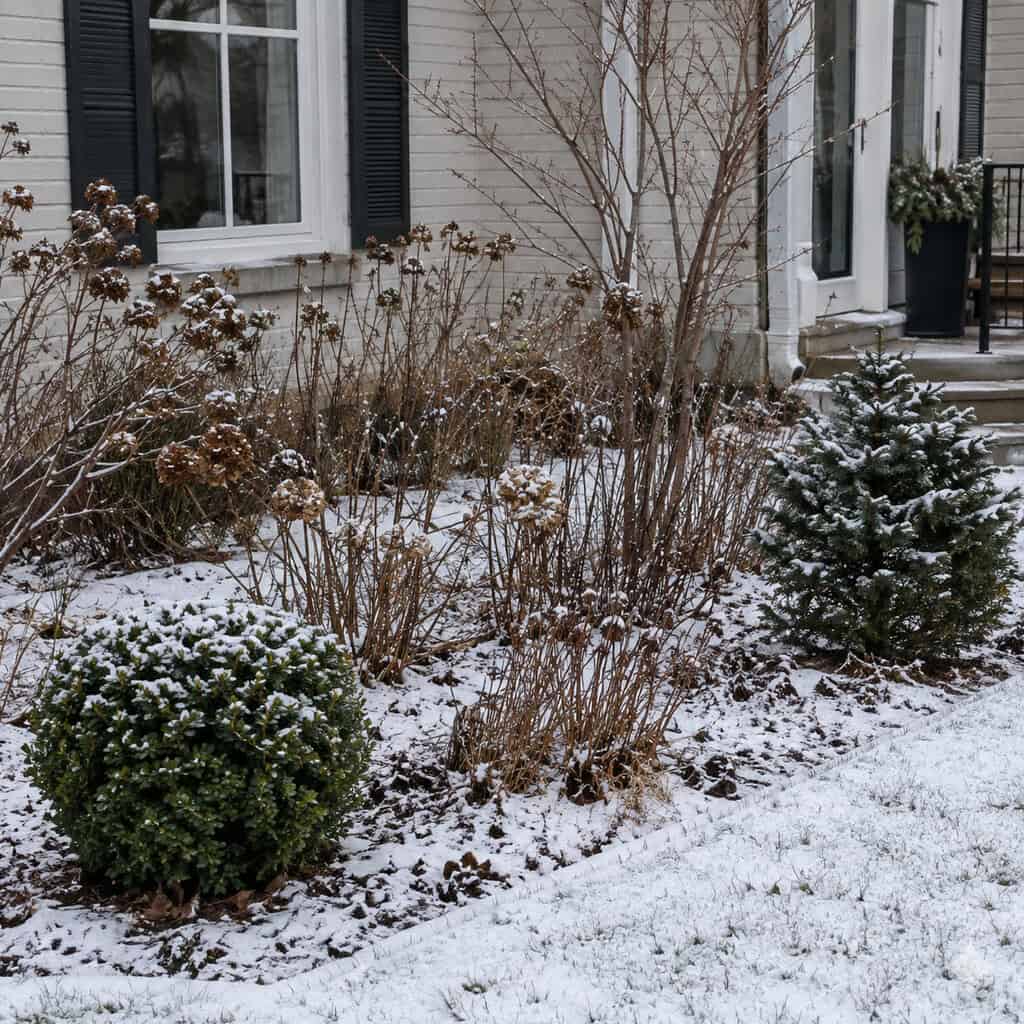
A yard built entirely from perennials is beautiful for seven months and looks abandoned for five.
Three or four evergreens fix it. Boxwood, dwarf conifers, inkberry, a compact holly — placed at the corners and flanking the door so they hold the shape when everything else is cut back.
February is when your neighbors form their opinion of your yard, because it’s when there’s nothing to distract them.
28. Make the Front Door Symmetrical

Two matching pots. Two matching shrubs. That’s the whole thing.
The six feet around a front door is the only part of a landscape that visitors physically stand in. They wait there. They look down. They notice.
Matched pairs there signal care more than anything you could do at the property line — and university extension design guides keep circling back to the front entry as the place to concentrate effort, which University of Missouri Extension spells out plainly.
It’s also the trick people comment on out loud. Nobody says “nice bed line.” Everybody says “those pots look great.”
Almost nothing on this list is about plants, and nothing on it requires a designer.
It’s edges, repetition, restraint, and the willingness to spend a Saturday with a spade. The yards that look like money mostly look like attention. There’s a reason homeowners with expensive-looking yards tend to do less, not more.
Pick three from this list. Do them before the neighbors notice why your yard suddenly looks different.