


Every October the same argument plays out in driveways and garden club Facebook groups. One neighbor shears the hostas to the ground the second the leaves yellow. The other leaves the whole mushy mess standing until April.
Both camps swear they’re right. Both plants come back.
So the question isn’t really survival — hostas are tough enough to shrug off almost anything short of a backhoe. It’s about slugs, voles, crown rot, and how much work you want waiting for you in spring. Here’s how the two approaches actually stack up.
What Cutting Hostas Back Means
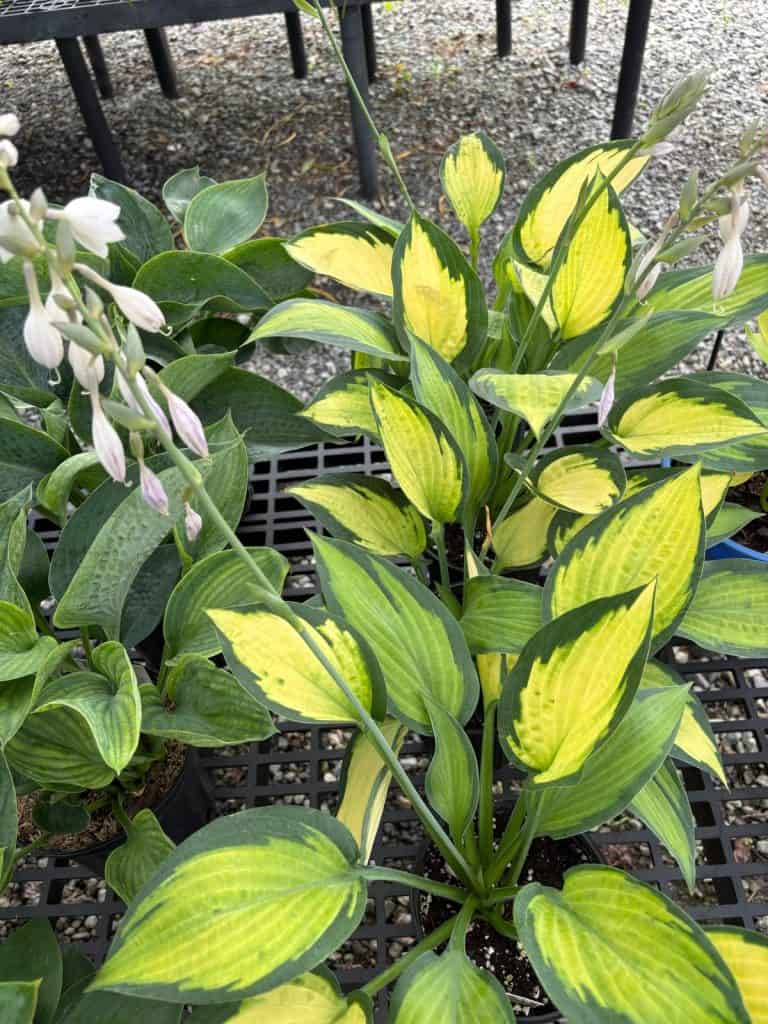
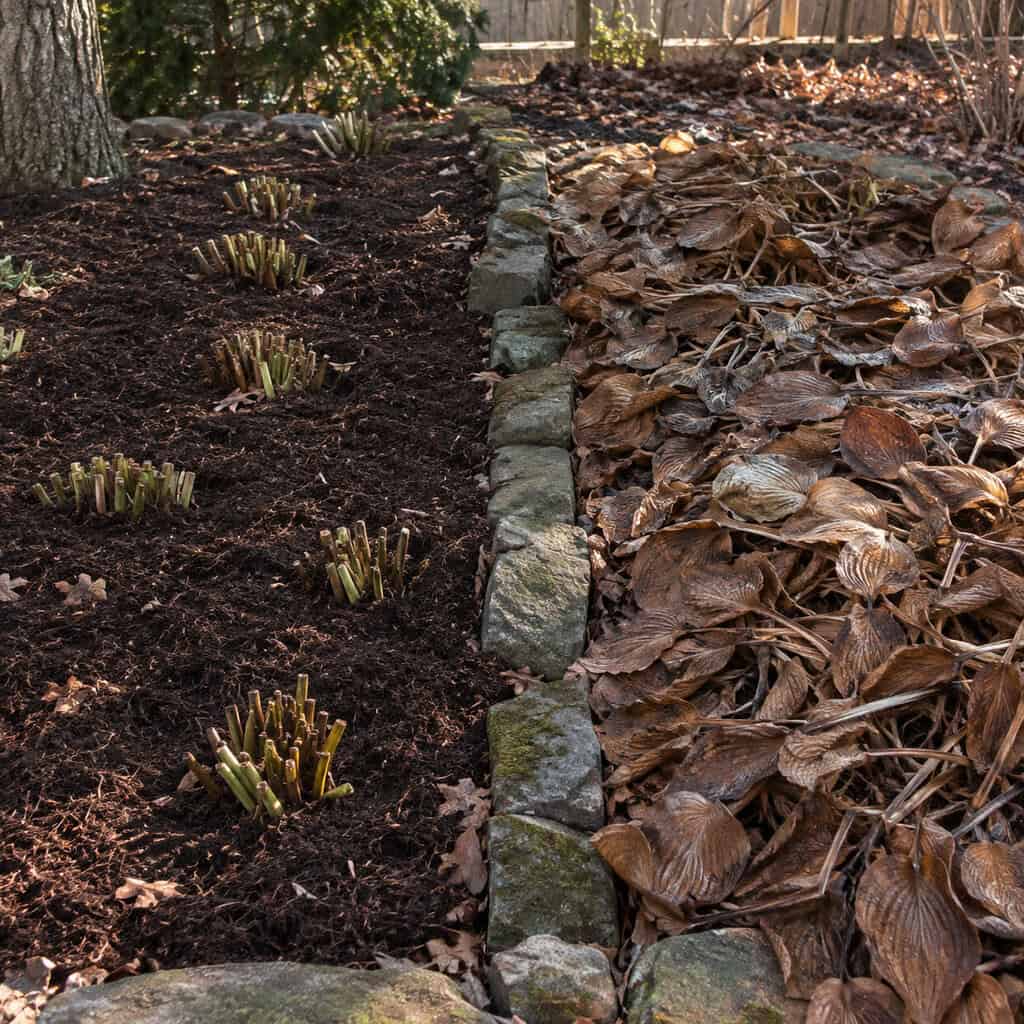
Cutting back means shearing the foliage off at or just above the crown once the leaves have collapsed and turned yellow or tan. Hedge shears, a sharp knife, or a pair of pruners — all of it works.
The big win is sanitation. Hosta leaves are slug hotels, and the dead, wet foliage sitting over the crown is exactly where slugs and their eggs overwinter. The University of Illinois Extension points to removing that spent foliage as a way to cut down on slug populations and foliar nematodes the following year.
Timing matters more than the cutting itself. Wait until the leaves have yellowed and gone limp after a hard frost — that’s the plant finishing its transfer of energy down into the crown. Cut green leaves in September and you’re robbing the plant of stored carbohydrates it needs for next year’s flush.
The downside is bare soil. A clipped hosta bed looks like a graveyard of little stubs from November through May, and you lose whatever insulation the dead leaves were providing against freeze-thaw heaving.
What Leaving Hostas Up Means
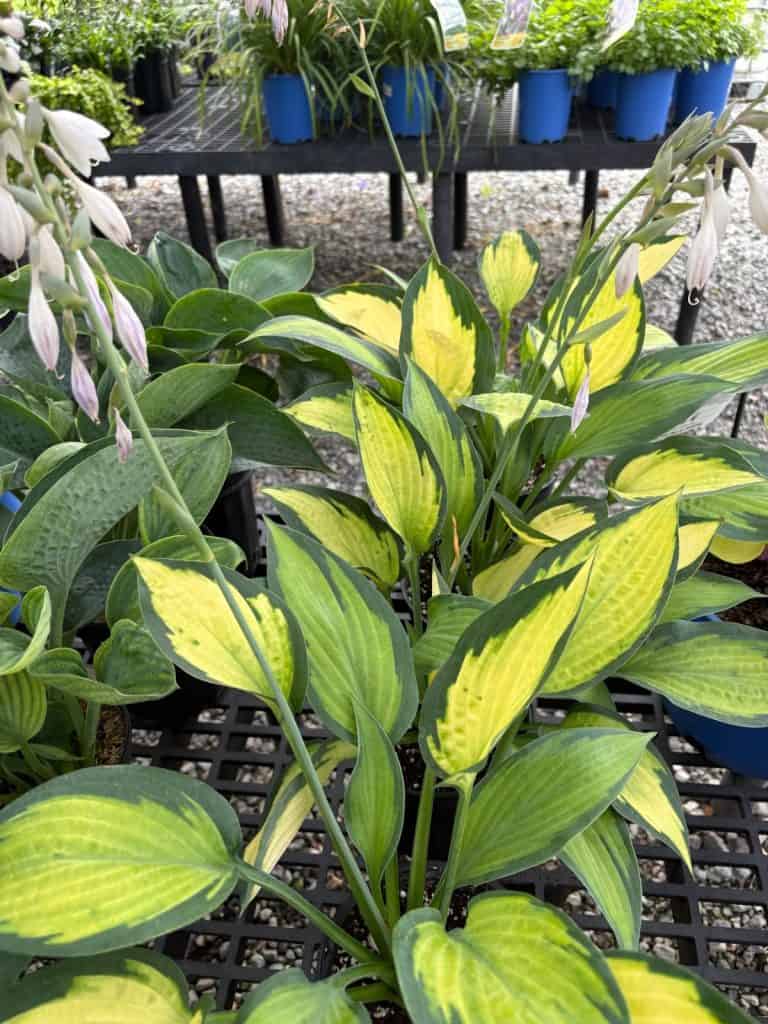
Leaving them up is exactly what it sounds like. The leaves collapse, freeze, and turn into a flat brown blanket over the crown that stays there until spring cleanup.
There’s a real case for it. That mat holds a layer of still air and snow over the root zone, which buffers the crown against the repeated freeze-thaw cycles that shove shallow-rooted perennials out of the ground. Young divisions planted late in fall benefit the most.
It also costs nothing and takes zero time. If you’re already skipping half the fall cleanup list on purpose, this fits right in.
The cost shows up in May. Decomposing hosta leaves turn into a slick, sour-smelling slime that’s miserable to rake out of emerging shoots, and by then those tender new spears are brittle enough to snap when you pull at the debris around them. Slugs that bedded down under the mat are already there, waiting, right as the first leaves unfurl.
Voles are the other problem. A thick layer of insulation over a crown is a tunnel system with a roof, and vole-chewed hosta crowns don’t announce themselves until nothing comes up.
Head-to-Head
Here’s the short version before the details.
| Cut Back | Leave Up | |
|---|---|---|
| Slug control | Clearly better | Worse |
| Winter insulation | Needs added mulch | Built in |
| Vole risk | Low | Higher |
| Spring work | Almost none | Slimy and slow |
| Bed appearance | Bare stubs | Brown mat |
The split isn’t even. Cutting back wins on most practical measures — the one real argument for leaving them is insulation, and that’s something you can replicate with mulch.
Pest Pressure
Slugs overwinter as adults and eggs in exactly the kind of damp organic debris dead hosta leaves create. Clear it and you break the cycle before it starts.
Foliar nematodes work the same way, surviving in leaf litter and moving back up into new growth with spring moisture. If your hostas showed brown streaks between the veins last August, that was nematodes, and leaving the leaves is handing them a free winter.
Winner: Cutting back, decisively.
Winter Protection
A collapsed canopy of leaves does insulate. In Zone 4 and 5, where freeze-thaw heaving is a genuine threat to anything planted after September, that matters.
But two inches of shredded leaf mulch or pine straw does the same job without the slug problem. Mulch after the ground freezes, not before, or you’re just inviting rodents to move in early.
Winner: Leaving them up, but only if you skip mulch entirely.
Spring Cleanup Effort
Shearing dead hostas in November takes about thirty seconds per plant with hedge shears. Doing it in April takes five minutes per plant, and you’ll break emerging shoots doing it.
Cold, dry fall foliage rakes out clean. Spring foliage is a wet mat that clings to everything.
Winner: Cutting back, for anyone who values their spring weekends.
Crown Rot Risk
Hosta crowns sitting under a sopping blanket of decomposing leaves through a wet, mild winter are prime candidates for petiole blight and crown rot. Southern gardeners in Zones 7 and 8 see this more than northern ones, where things just freeze solid.
Air movement around the crown is the fix, and bare soil gives you that.
Winner: Cutting back, especially in mild-winter regions.
Looks
Neither option is attractive. A cut bed looks empty; an uncut bed looks like something died there.
If the bed is visible from the street, cut back and mulch — at least it reads as intentional. The same logic applies to anything in the front yard, where a neglected-looking bed drags the whole house down.
Winner: Cutting back, by a nose.
Bottom Line
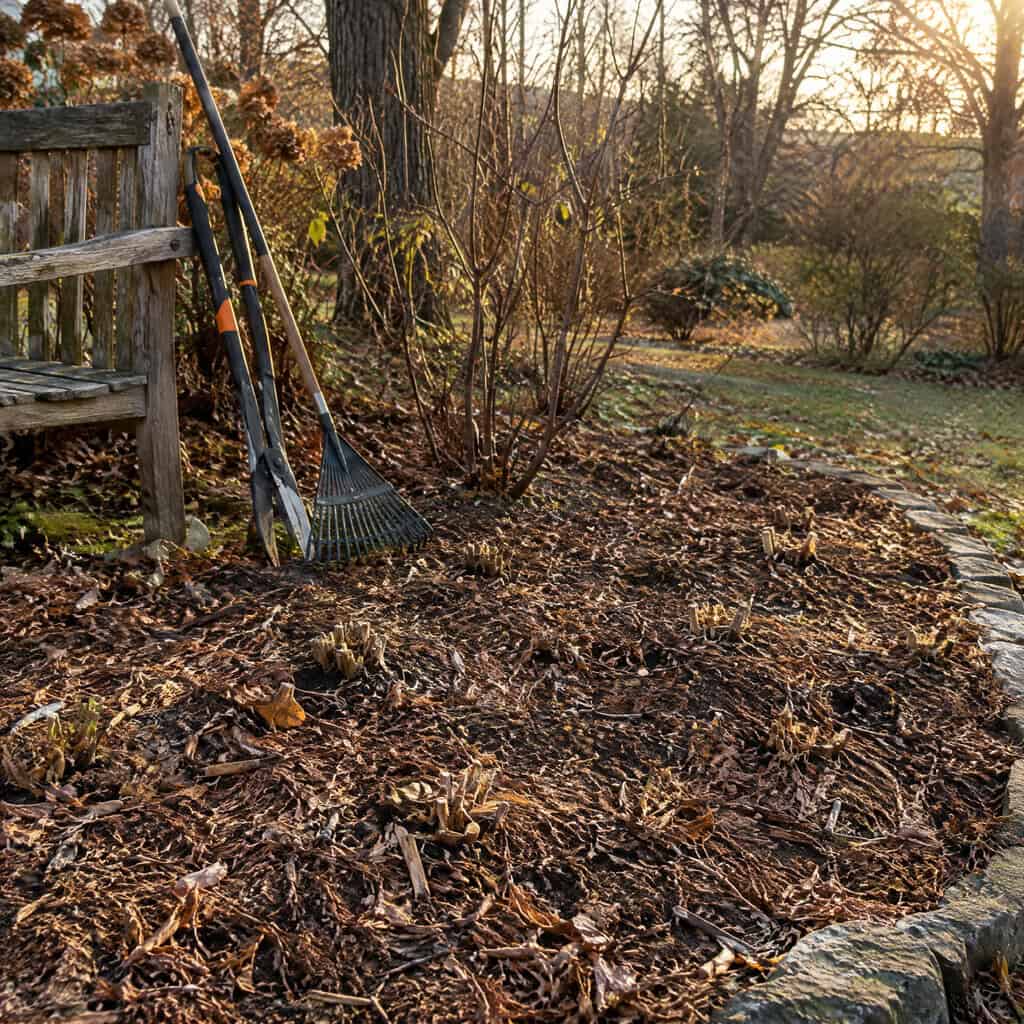
For most homeowners, cut them back. Wait for a hard frost to knock the leaves flat, shear them to a couple inches, and haul the debris out of the bed — don’t compost it if you had slug or nematode damage.
Then mulch lightly once the ground freezes if you’re in Zone 5 or colder, or if you divided and replanted that fall. That gets you the insulation without the pest hotel.
Leave them up only if your winters are brutal, your hostas are newly planted, and you’ve never had a slug problem worth mentioning. Even then, get out there in early April before the shoots break ground. Waiting until you see green is how good hostas get snapped off at the neck.