


Walk past a yard that looks expensive and try to say why. It’s rarely the plants.
It’s the crisp line where the mulch meets the grass. The way the same shrub repeats down the bed. A dark fence that makes everything in front of it glow.
None of that costs much. Most of it costs nothing at all.
The gap between a forgettable yard and a magazine-worthy one comes down to a handful of moves that designers lean on and homeowners overlook. Restraint. Repetition. Clean edges. A little light after dark.
You don’t need a landscaper’s invoice to get there. You need a spade, a few bags of mulch, and the discipline to stop dotting random plants everywhere.
Here are 25 tricks that make a backyard look like money — and what each one actually costs.
1. Cut a Crisp Spade Edge Around Every Bed
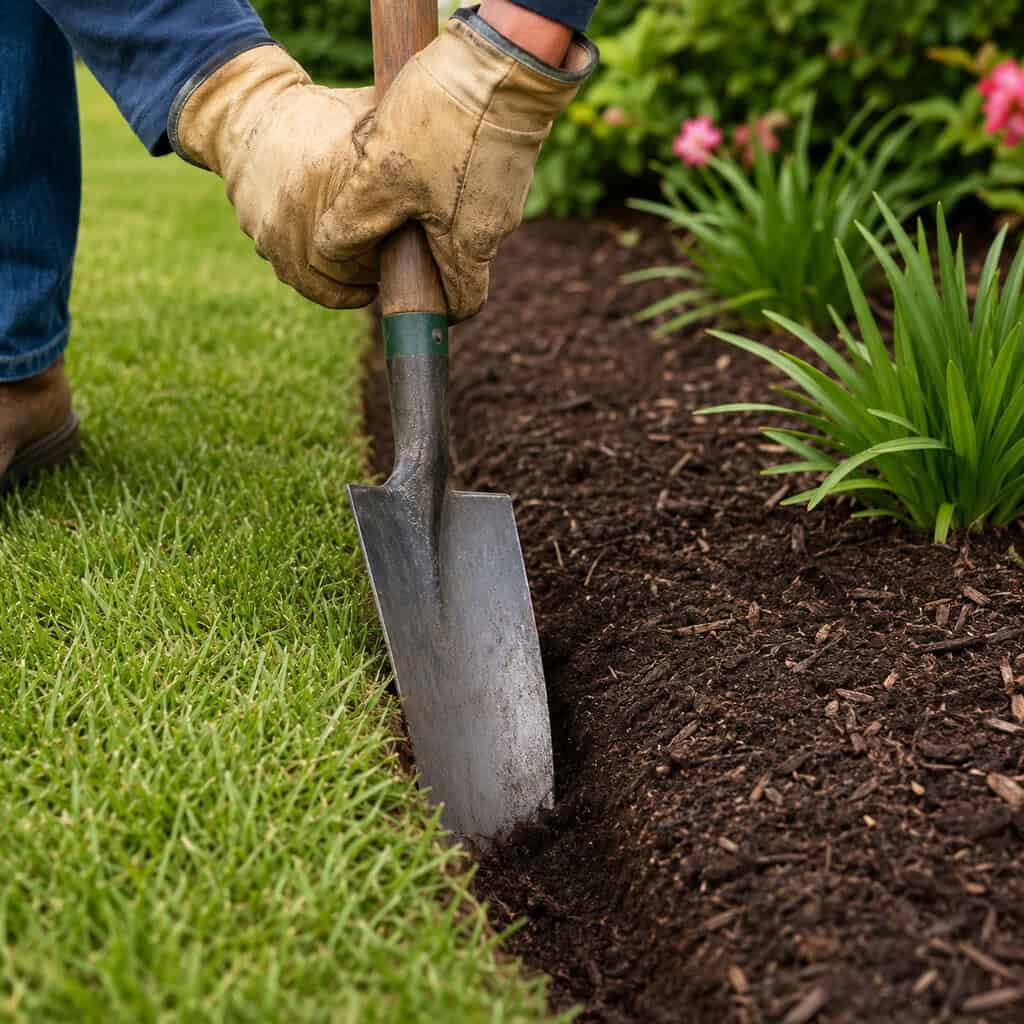
Start here. It’s free, it takes an afternoon, and it changes everything.
Drive a flat spade straight down where the lawn meets the bed, then angle a second cut to pull out a clean wedge of soil. You’re carving a shallow trench — a dark, defined trough that separates grass from mulch.
That single dark line is what your eye reads as “professionally done.” Beds without it look like they’re bleeding into the lawn.
Re-cut it twice a season and it stays sharp. A whole yard’s worth of this trick costs the price of blisters.
2. Blanket the Beds in Fresh Dark Mulch
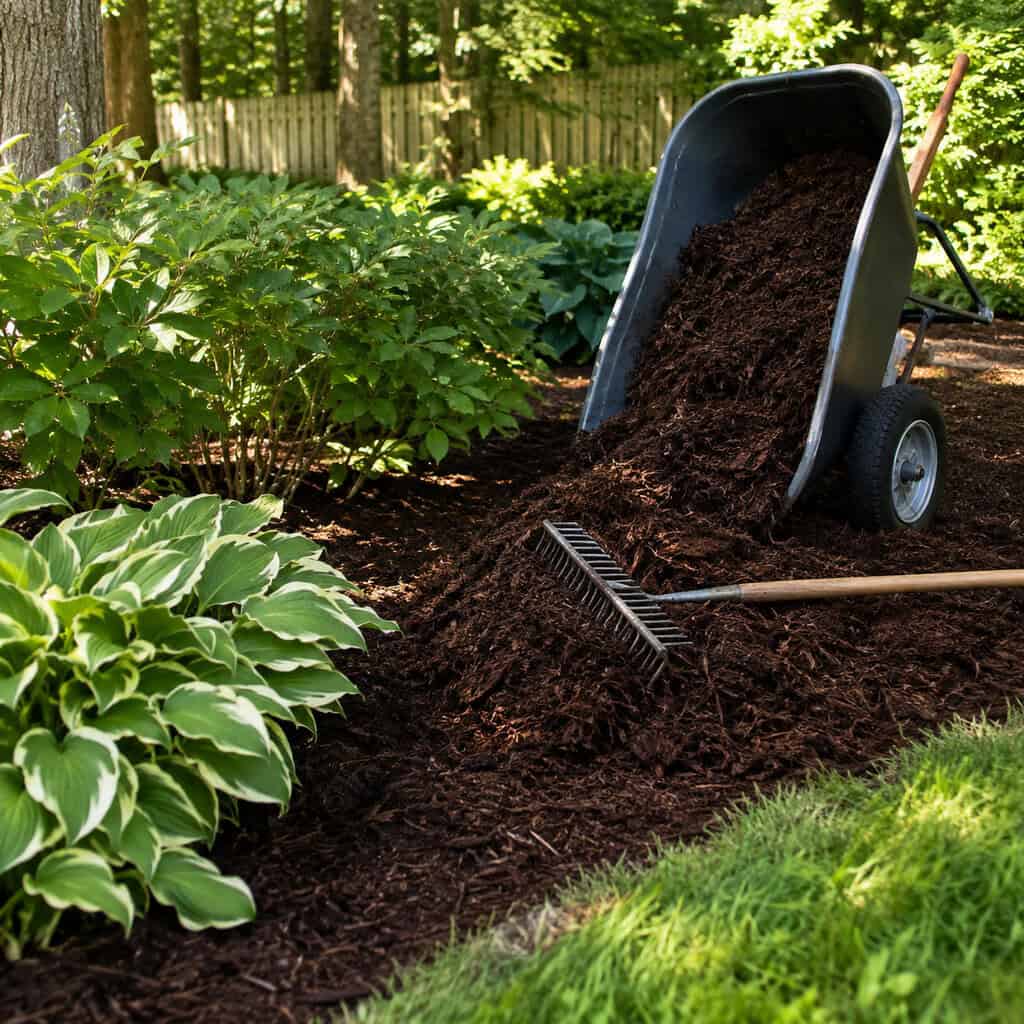
Mulch is the cheapest luxury in the yard. Three to five dollars a bag.
Fresh dark mulch covers bare soil, hides drip lines and gaps, and pulls a random collection of plants into one intentional-looking design. It’s the great equalizer.
Colorado State University Extension recommends a layer of about two to four inches — deep enough to smother weeds and hold moisture, not so deep you smother roots, per CSU Extension.
Keep it a few inches back from stems and trunks. Piled-up “mulch volcanoes” rot bark and scream amateur. If you’re topping beds, know how much a bag of mulch actually covers before you load the cart.
3. Plant in Odd-Numbered Clusters of 3, 5, or 7
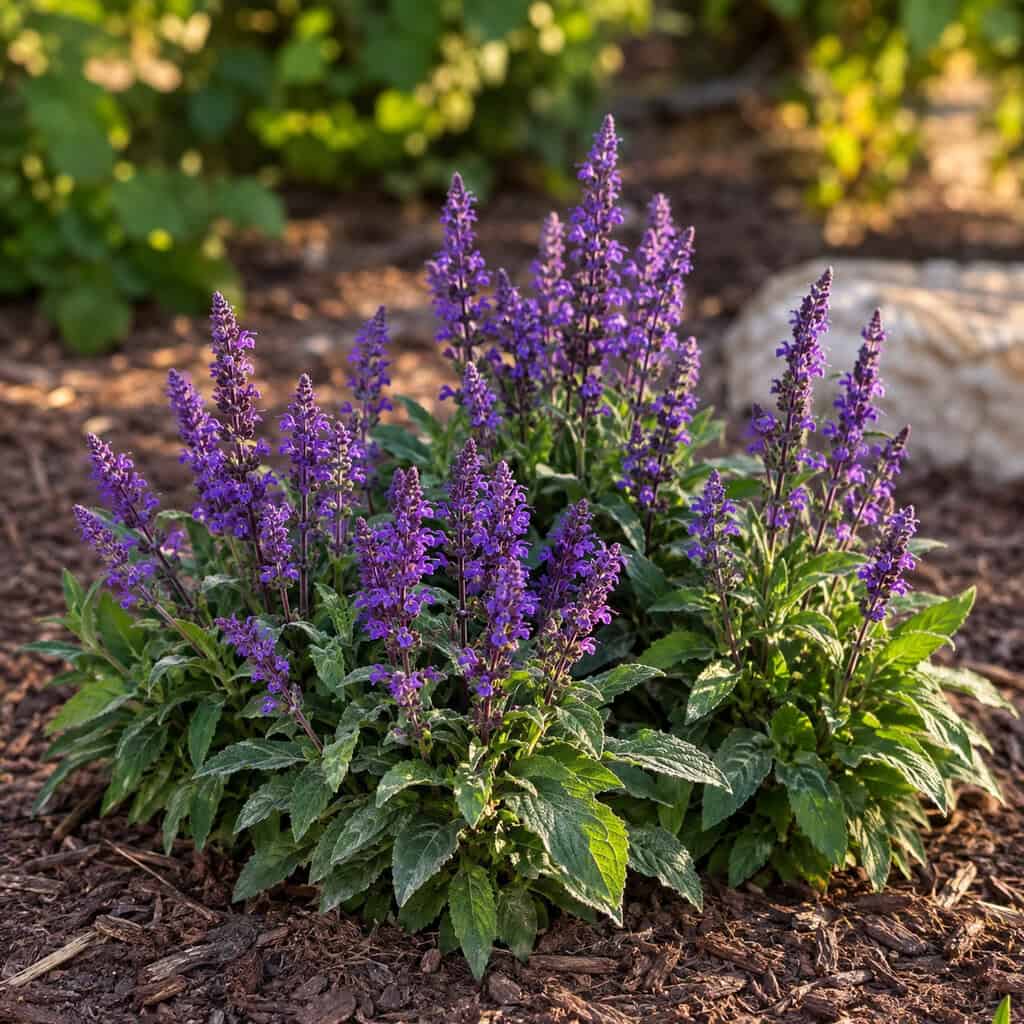
One plant here, one plant there. That’s how yards end up looking like an afterthought.
Group the same plant in threes, fives, or sevens instead. The eye reads a cluster as lush and deliberate. A single plant reads as a leftover.
Odd numbers work better than even ones — they don’t split neatly, so the grouping feels natural rather than staged.
Buying three of one thing is also cheaper to shop for and easier to arrange than a cart full of singles.
4. Repeat the Same Plant in Drifts
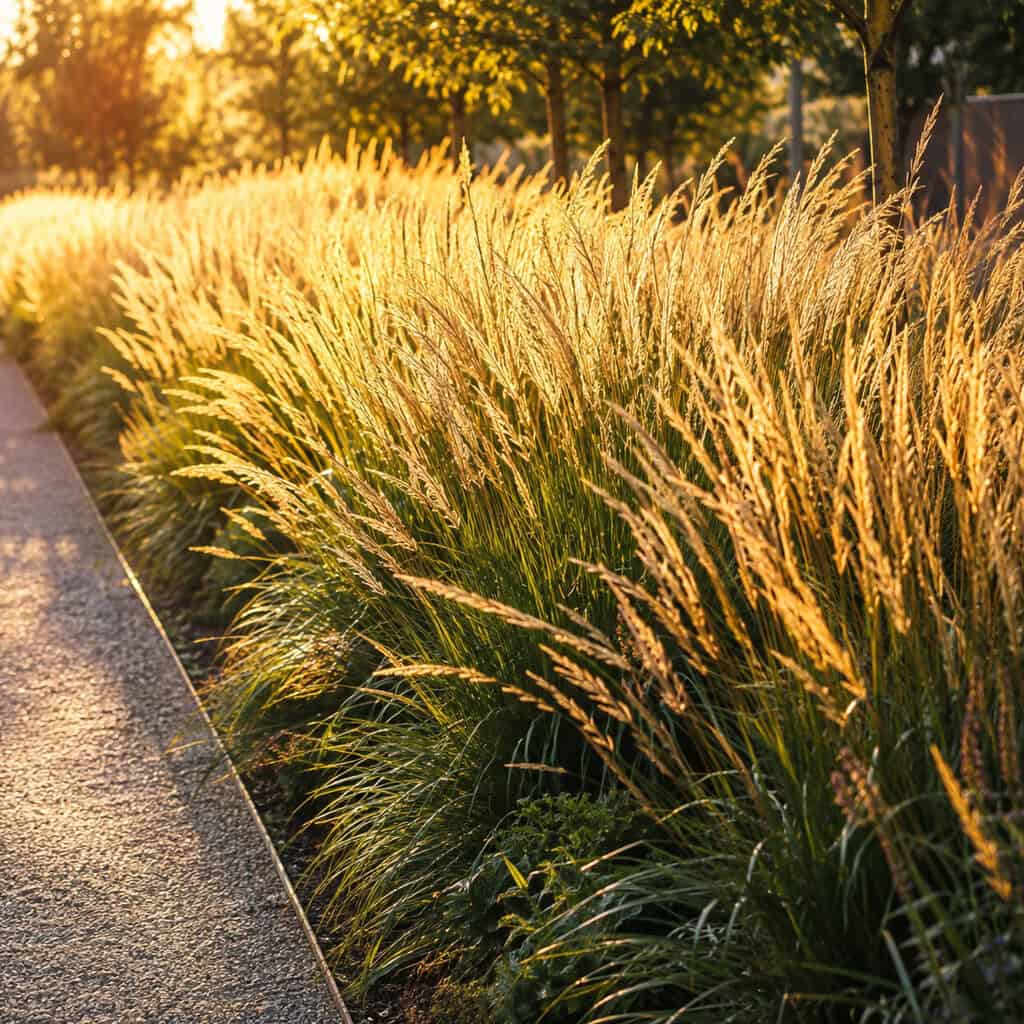
Repetition is the quiet trick behind almost every expensive garden.
Take that odd-number cluster and stretch the idea. Run the same species in a sweeping drift down the bed, and repeat it again farther along. That rhythm is what makes a space feel designed instead of collected.
Monrovia calls mass planting one of the highest-impact moves available — it gives unity and calm where mixed plantings give clutter.
It works with shrubs, grasses, perennials, even grouped pots. Pick a workhorse and let it carry the show.
5. Stick to a Tight Color Palette
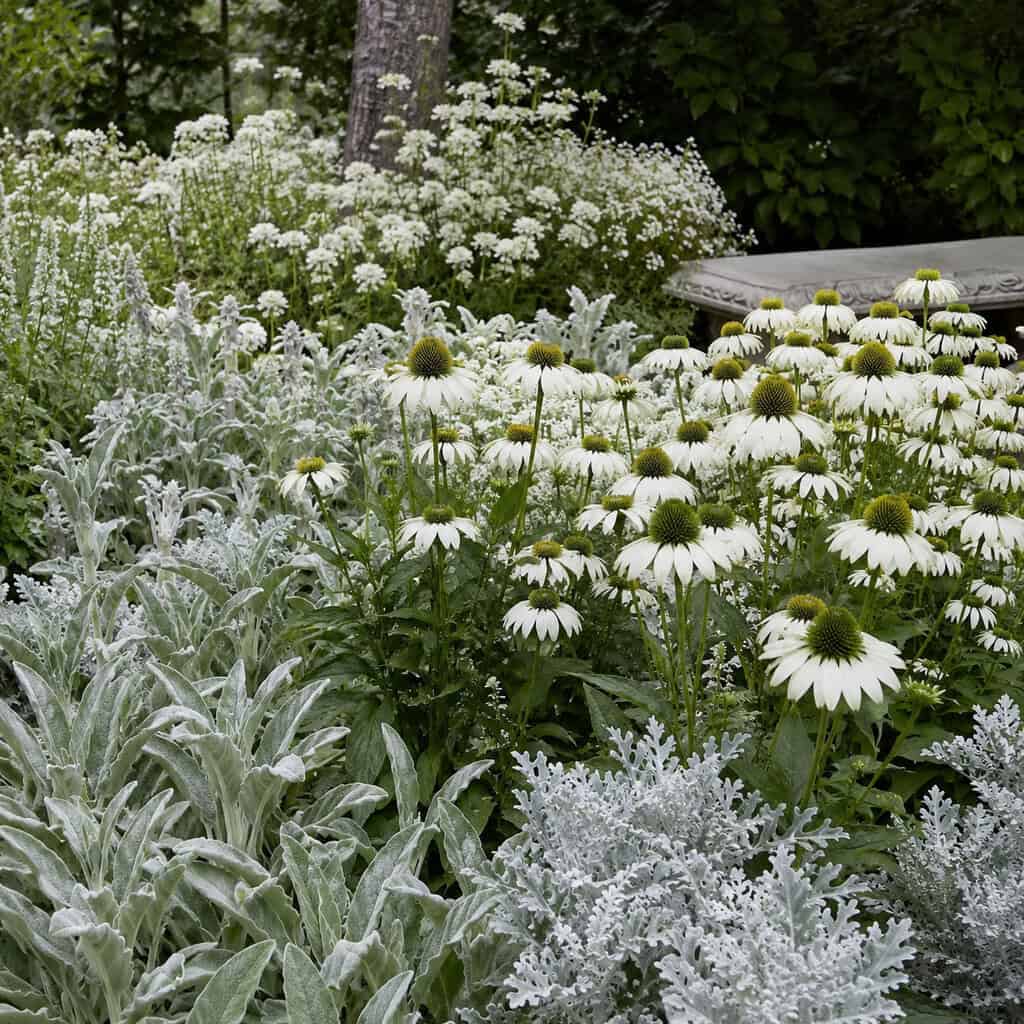
Scattering every color you like turns a bed into visual noise.
Pick two or three colors and hold the line. Repeat the same purple, the same white, the same silvery foliage in different spots. Restraint reads as luxury.
This costs nothing — it’s a decision, not a purchase.
A tight palette also makes the whole yard feel bigger, because your eye isn’t stopping at every clashing bloom. If you want color that keeps showing up, lean on perennials that keep blooming into fall.
6. Layer Plants Tall-in-Back, Low-in-Front
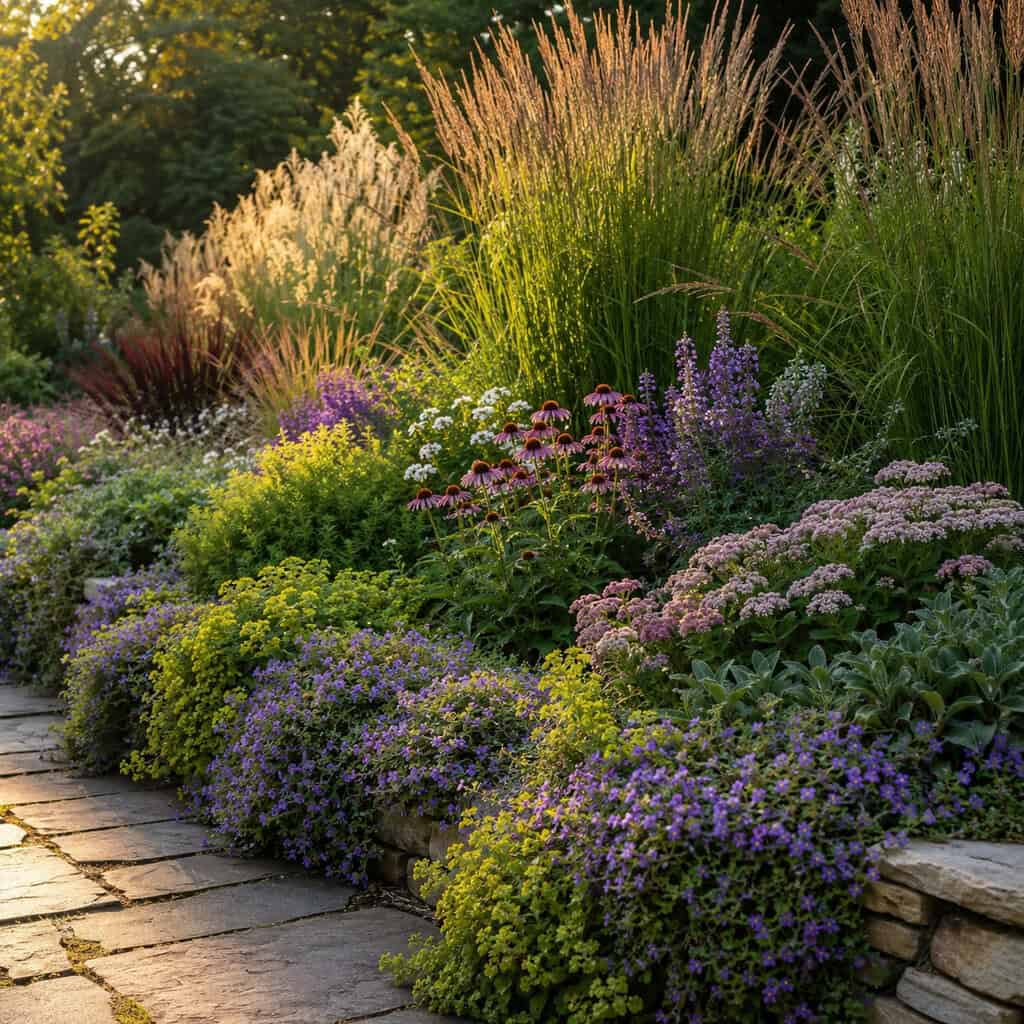
Flat beds look flat. Layered beds look full.
Put your tall stuff at the back — grasses, upright shrubs. Mid-height perennials in the middle. Low groundcover spilling over the front edge.
That tiering creates depth and a cascading effect that fills the whole vertical space.
You already own the plants to do this. It’s an arrangement, not a shopping list. The NC State Extension landscape-design guide treats this layering as a core principle, not a flourish.
7. Choose Perennials Over Annuals
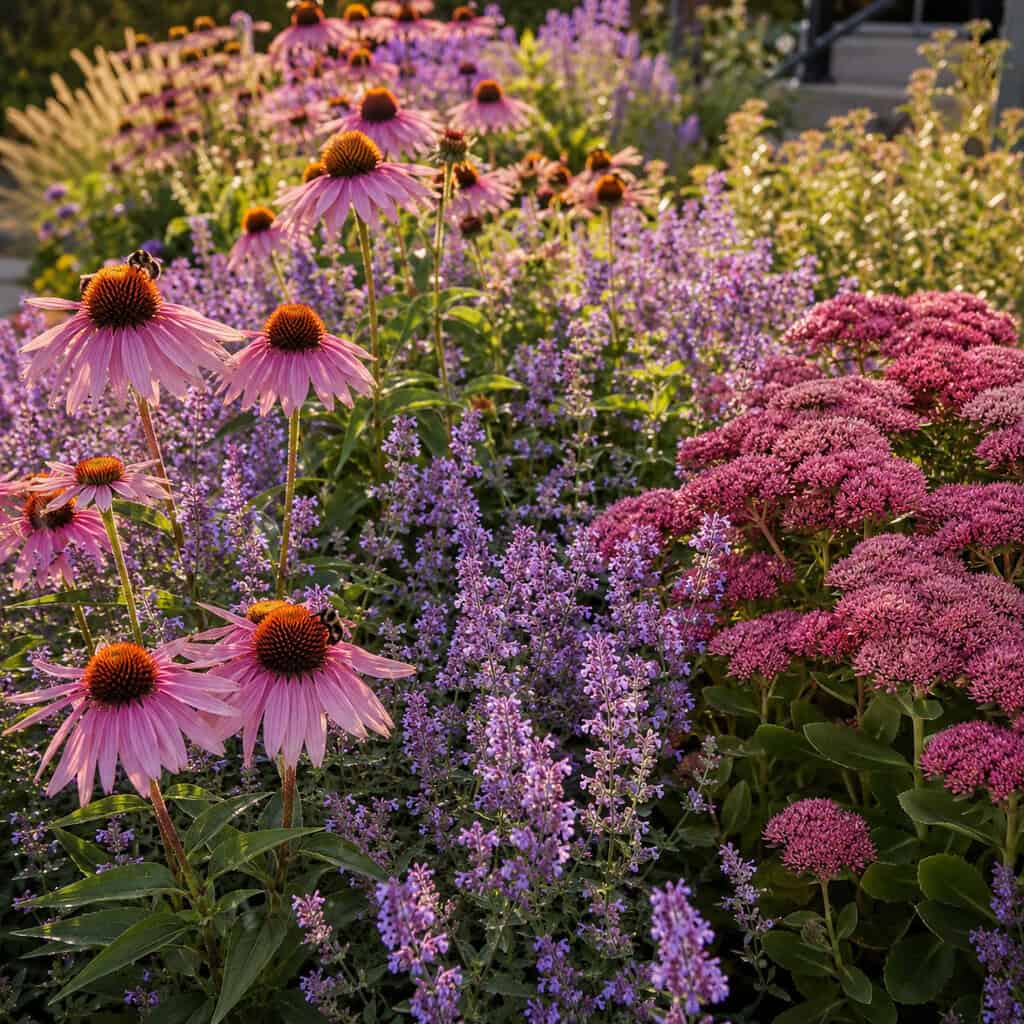
Annuals die every fall. You buy them again every spring. Forever.
Perennials come back on their own, year after year, for free. This is exactly where frugal meets fancy — many of the most expensive-looking plants are the toughest, cheapest ones in the store.
Coneflower, salvia, sedum, catmint, daylily. Buy once, split them in a few years, and fill more beds for nothing.
Front the money once. Then stop paying. There’s a whole roster of perennials you plant once and never replant.
8. Add Backbone With Clipped Boxwood
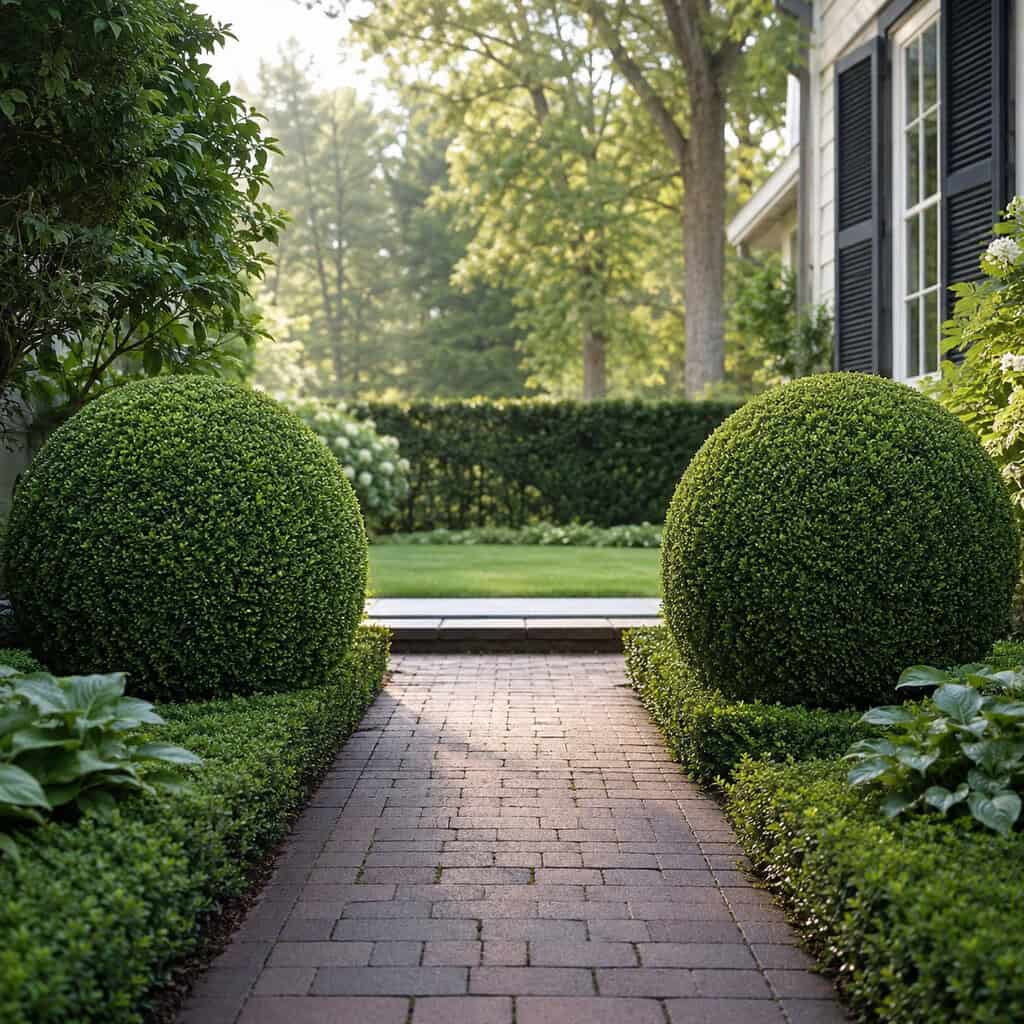
Flowers come and go. Structure stays.
A matched pair of clipped boxwood — balls, cones, or a low hedge — is one of the most enduring high-end looks in landscaping. Evergreen structure holds the whole design together through winter, when everything else has quit.
It photographs like a formal garden even when the beds around it are bare dirt.
Shear them once or twice a year to keep the tight silhouette. That crisp geometry is the entire point.
9. Add Movement With Ornamental Grasses
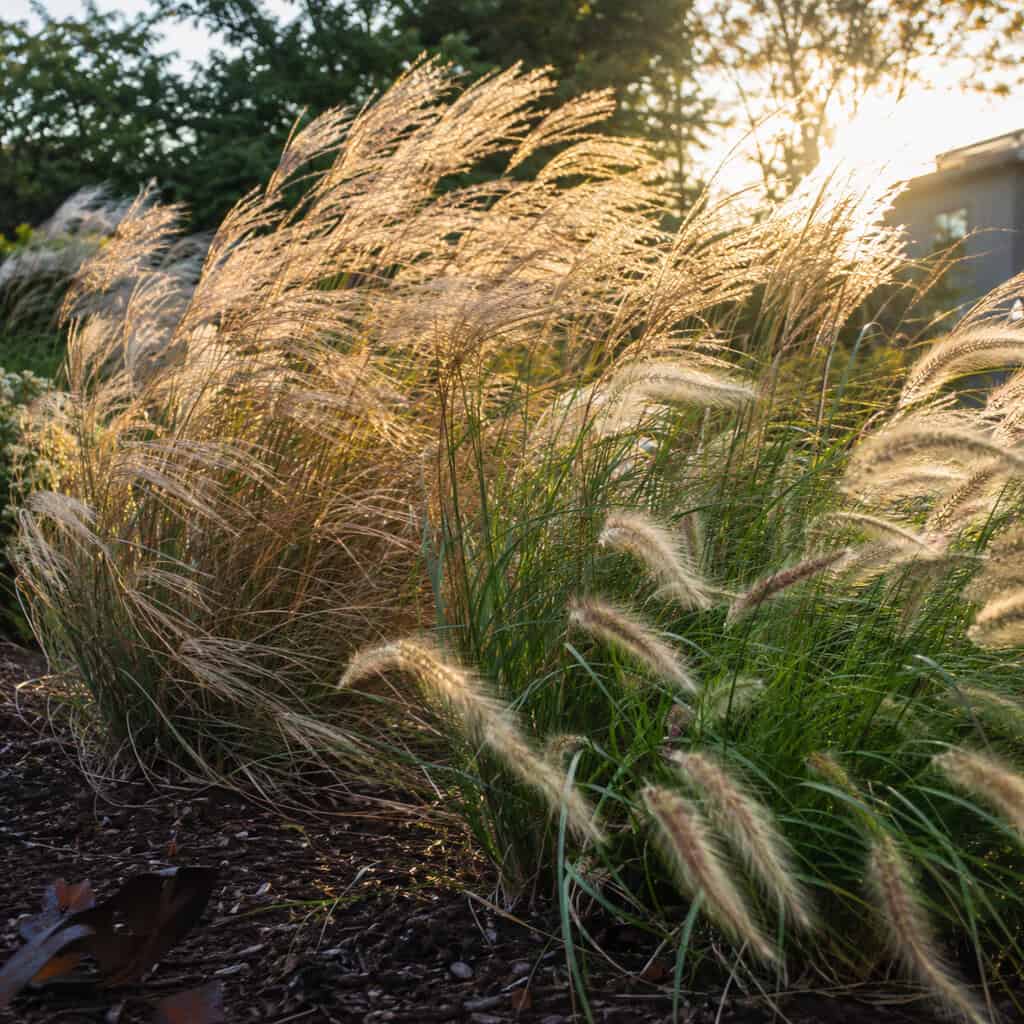
Grasses do something no shrub can. They move.
Feather reed grass, fountain grass, little bluestem — they bring height, motion, and airy texture that breaks up a static bed. Designers use them to soften hard lines and add sound when the wind picks up.
Most cost little and return every season.
They read as sophisticated without adding a scrap of clutter. Cut them back once in late winter and you’re done. When it’s time to divide an overgrown clump, here’s how to dig up ornamental grass cleanly.
10. Flank an Entrance With Matching Planters

Symmetry reads as expensive to the brain, almost automatically.
Two identical planters on either side of a door, a gate, or the top of a step create instant order. Head gardeners have used this trick for centuries because it works on any budget with any plant.
Match the pots, match the plants inside them. That’s the whole rule.
Boxwood, a pair of tidy grasses, or seasonal color all work — as long as both sides mirror each other.
11. Go Big With One Oversized Statement Planter

A pot crammed with plants looks busy. A big pot holding one modest plant looks architectural.
Scale is the trick. An oversized, textured planter with a slightly undersized specimen reads as deliberate and gallery-like, not stuffed.
You can find a bold container under $50 if you shop the end-of-season sales.
One strong pot can anchor an entire corner of a patio. Let the empty space around the plant do the talking.
12. Stain the Fence Black or Charcoal

This one feels backwards until you see it.
Pale orange-brown timber shouts for attention and shrinks the yard. A dark fence — black, charcoal, deep bronze-green — recedes into the background, making the space feel bigger and every plant in front of it pop.
Livingetc calls it the single most cost-effective way to make a basic fence look smart.
A few cans of exterior stain and a weekend. The green of your plants against a dark boundary is the effect designers pay for.
13. Install Thin Steel Edging for Razor-Sharp Lines
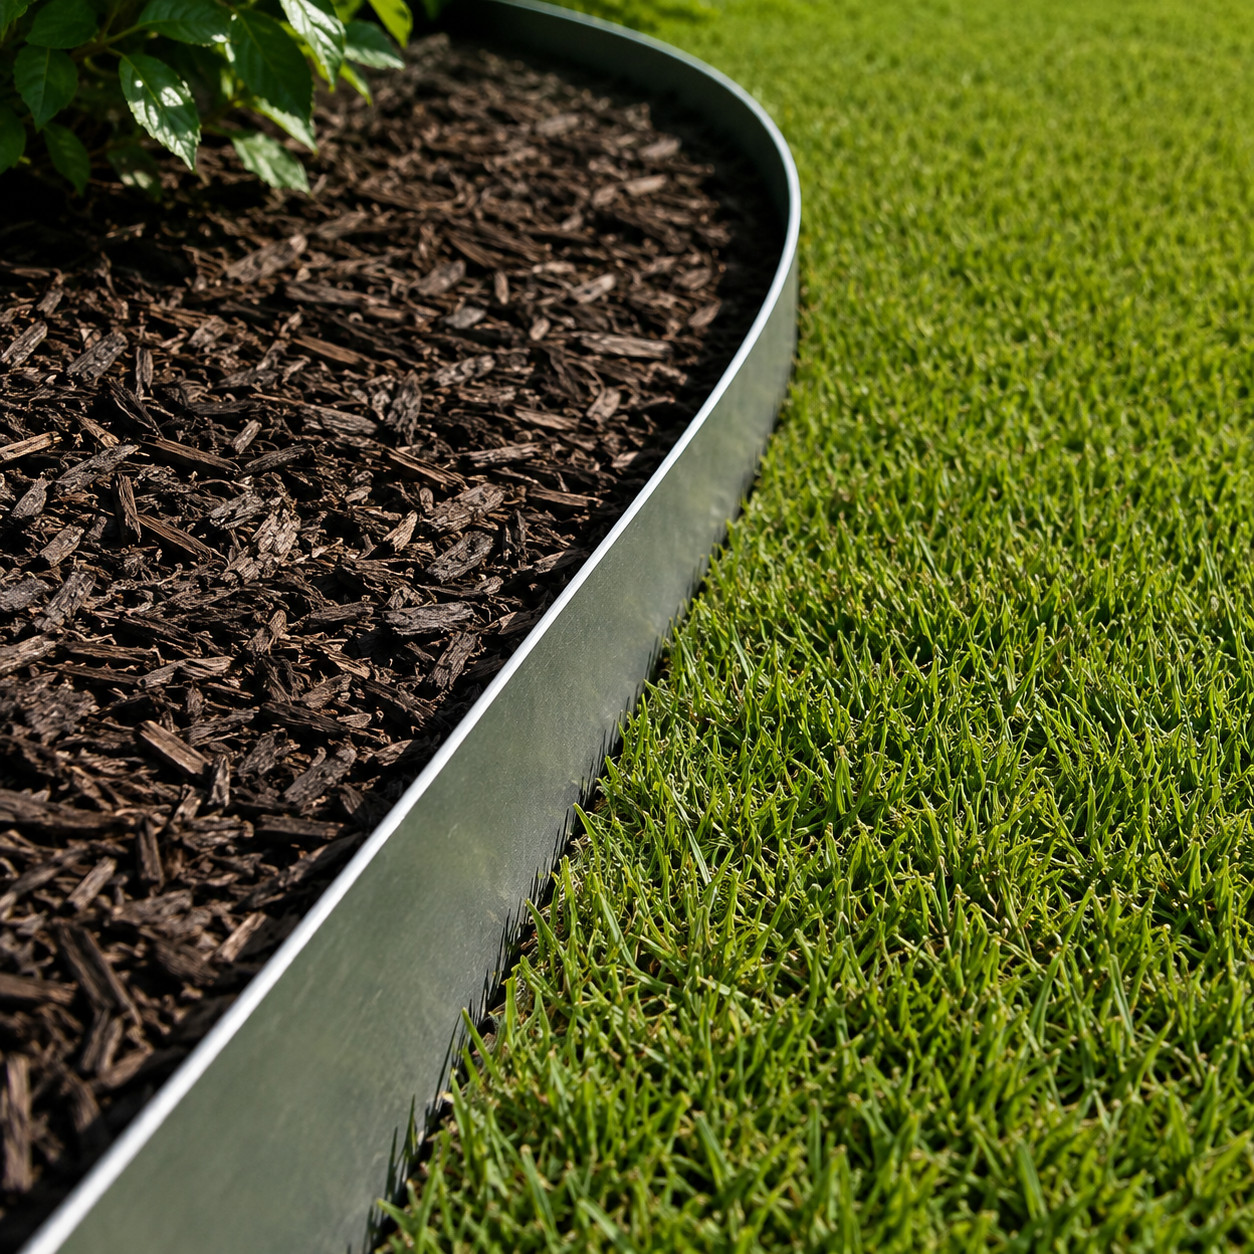
The spade edge in trick one is great. Thin steel edging makes it permanent.
Slim metal edging gives the razor-sharp lines you see in high-end magazines at a fraction of a stone or paver border. Once it’s set, it nearly disappears — leaving a crisp, intentional edge that bends easily around curves.
It also stops mulch from washing into the lawn and grass from creeping into the beds.
Steel and aluminum both outlast the flimsy plastic roll edging. If you’re cutting a piece to length, here’s how to cut steel landscape edging without wrecking it.
14. Lay a Gravel Patio Instead of Pavers
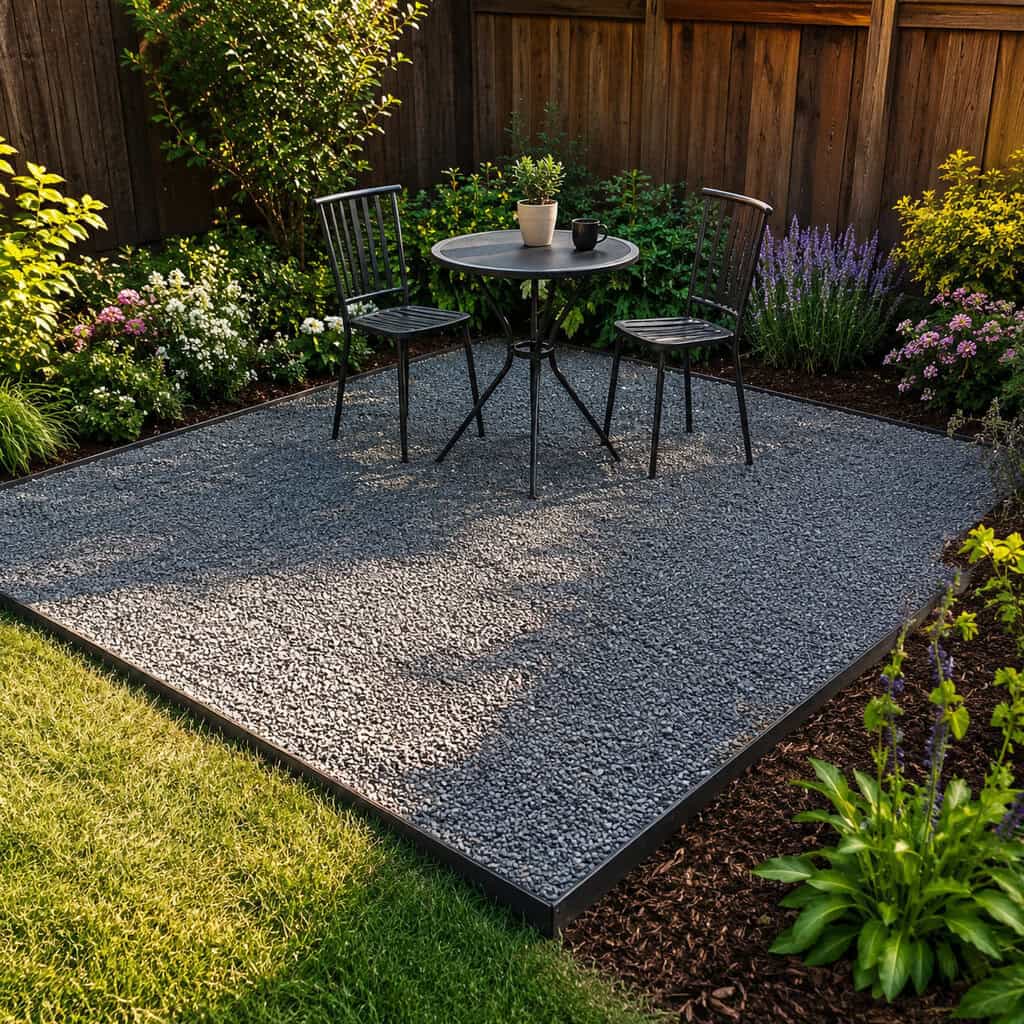
A paver patio can run into the thousands. A gravel one is a fraction of that.
Frame out a simple rectangle, lay landscape fabric, add a border of steel edging or timber, and fill with compacted crushed gravel. You get a stylish, defined outdoor room for a fraction of the price.
The clean framed shape is what sells it. A random spread of rock looks like a spill — a bordered rectangle looks like a design choice.
Angular crushed gravel packs tighter and shifts less than smooth pea gravel underfoot.
15. Build a DIY Stone Fire Pit

Nothing anchors a backyard like fire. And nothing has to cost less to build.
Professional fire features and steel bowls get pricey fast. A DIY pit built from stacked retaining-wall blocks or fieldstone becomes a magazine-worthy focal point for a weekend of work — and it adds real resale appeal.
The simplest version uses trapezoidal retaining-wall blocks made for curves. They lock together in a circle roughly three to four feet across without any mortar, stacked two or three courses high. A ring of that size seats a small circle of chairs comfortably.
For a more permanent build, set a fire-brick liner inside the outer stone ring. Fire brick handles repeated high heat that regular block and standard pavers can crack under. Skip river rock entirely for the interior — trapped moisture inside smooth stones can turn them into hazards when heated.
Site it smart. Keep the pit at least ten to fifteen feet from the house, fences, and low branches. Set it on a non-flammable base — gravel or sand, never a wood deck. Check local codes and any burn bans before your first fire.
Surround the finished pit with a gravel apron and a few chairs and you’ve built the one feature guests gather around all night. When you’re prepping the base, here’s what to put in the bottom of a fire pit.
16. Wind a Stepping-Stone Path Through the Yard
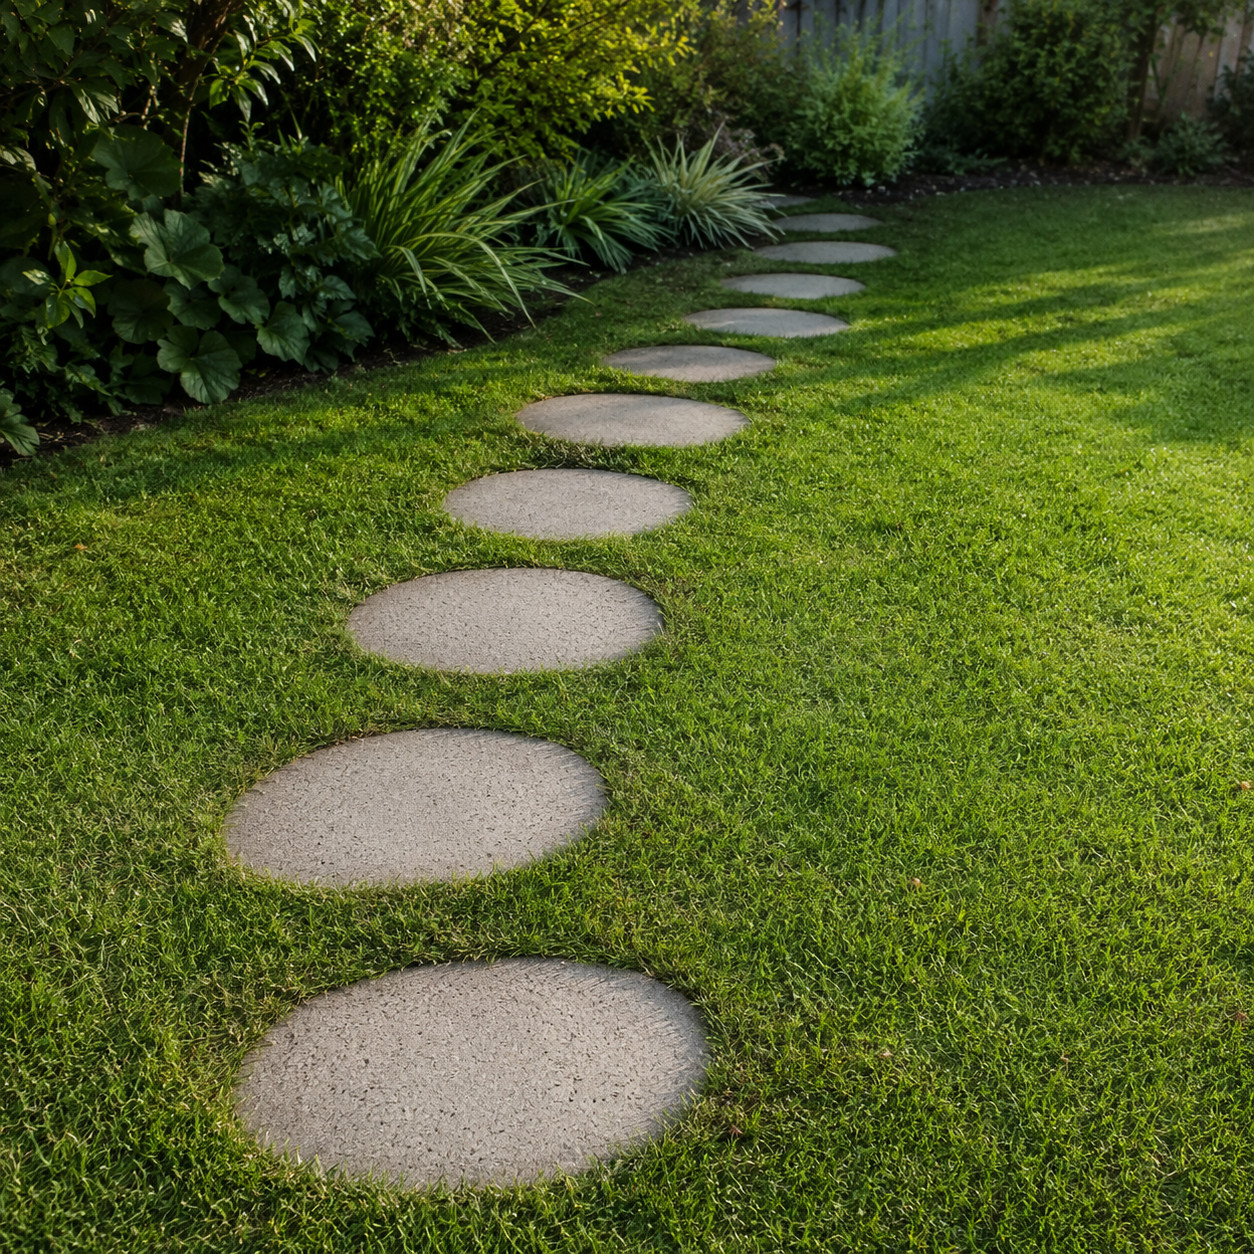
A defined path does three jobs at once. It improves flow, kills muddy shortcut patches, and adds the structure that reads as professionally landscaped.
Natural flagstone looks premium but costs more. Cast your own from a $5 bag of Quikrete and an old container or plastic mold — you can make a dozen for pocket change.
Set them a comfortable stride apart, roughly two feet center to center.
Nestle each stone flush with the soil so the mower rides right over it. A path that curves out of sight makes even a small yard feel like it keeps going.
17. Uplight a Tree After Dark

Most yards vanish at sunset. The expensive ones come alive.
Uplighting a mature tree — one or two fixtures at the base, aimed up through the canopy — creates drama, depth, and a nighttime presence that makes a property memorable. It’s the exact technique luxury homes pay landscapers thousands to install.
You can fake most of it. Low-voltage LED kits and solar spike lights cost a fraction of a pro system and install with a screwdriver and a mallet — no electrician required.
The one rule that separates good from garish: less is more. Two or three fixtures on a specimen tree read as elegant. Ten fixtures flatten the tree into a floodlit billboard.
Layer it for depth. A soft “moonlighting” fixture set high in a tree casts dappled shadows down like real moonlight, while a ground uplight grazes the trunk texture. Two different light sources on one tree is what pros mean by layering.
Low-voltage systems outperform solar on cloudy stretches and in shade, since solar stakes need direct daytime sun to charge. If you want reliable output year-round, run the low-voltage transformer. Kichler and other lighting guides note that good landscape lighting also extends usable evening hours and can nudge perceived property value — a rare upgrade that works while you sleep.
18. String Café Lights Overhead

The single cheapest way to transform a patio at night.
A warm overhead glow from café-style string lights turns a plain slab into a styled evening room. Zigzag them across the space or run them along a fence line for the price of a few strands.
Go with warm-white bulbs, not cool blue. Warm light flatters everything.
Run them to a permanent anchor point and they read as built-in, not temporary. This is the upgrade guests notice first and the one that costs the least.
19. Add a DIY Container Fountain

Water features usually mean big money and big excavation. Not this one.
Drop a small submersible pump into a large glazed ceramic planter, plug the drainage hole, ring the base with smooth stones, and you’ve got an elegant fountain. The trickling sound delivers the sensory richness people link to expensive landscaping.
The whole build is a pump, a pot, and an afternoon.
Moving water also masks street noise and draws birds. Small motion, big payoff.
20. Anchor the Furniture With an Outdoor Rug
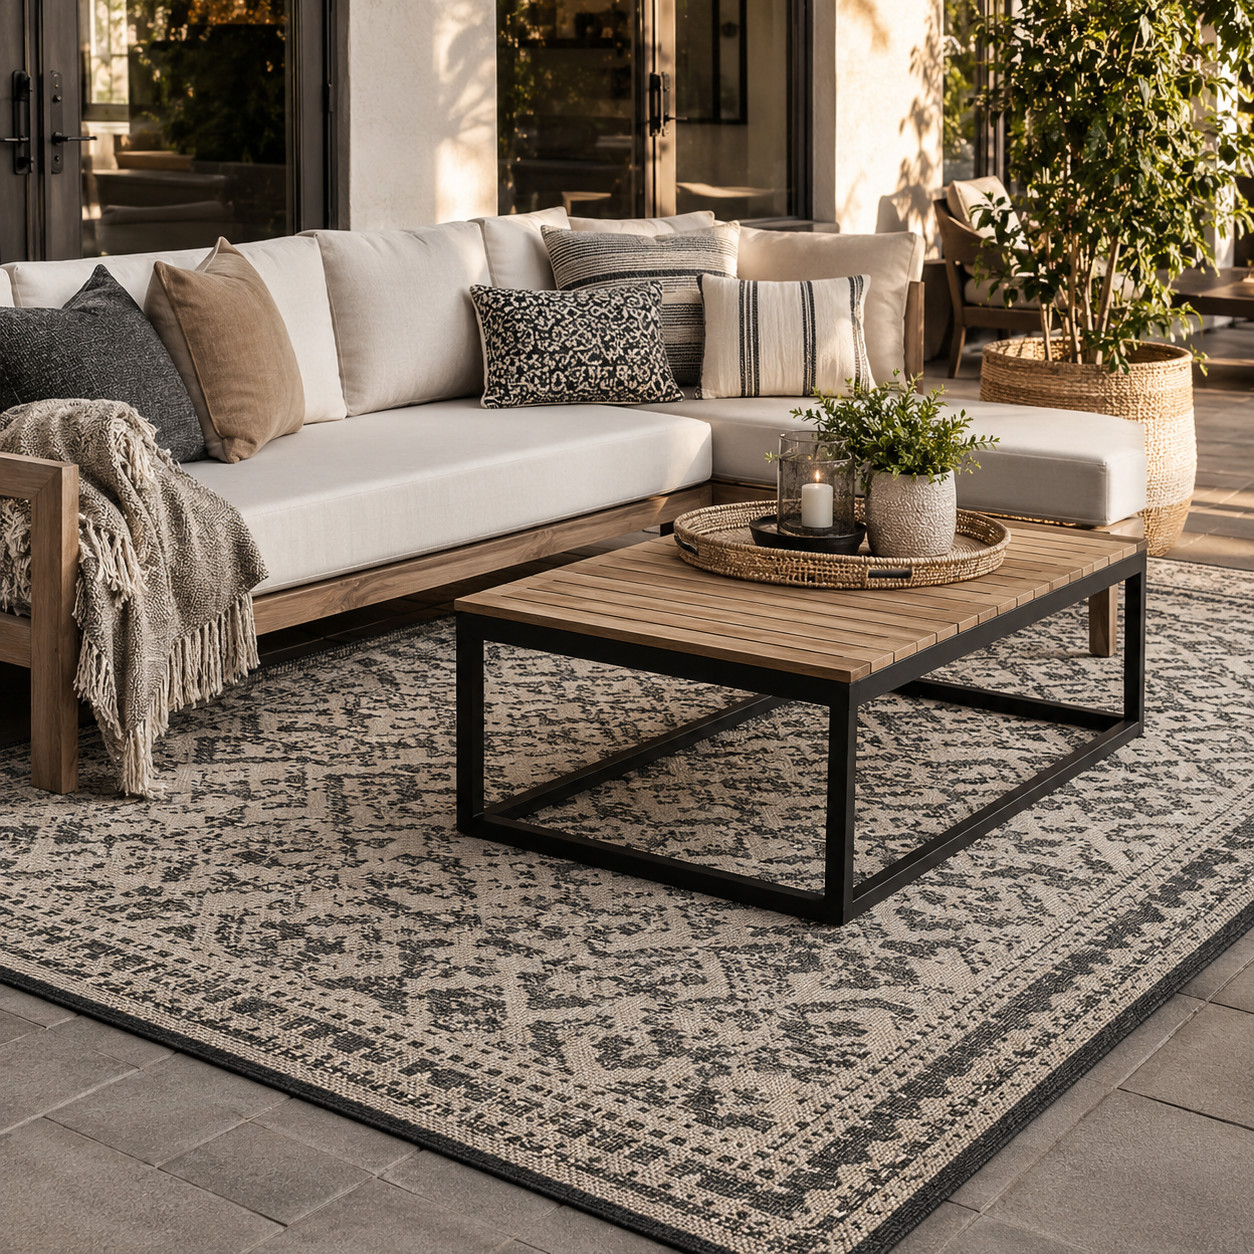
Loose furniture floating on a patio looks unfinished. A rug fixes it instantly.
An outdoor rug pulls a seating group together and creates the impression of a designed room. Budget retailers carry stylish options for under $50 that mimic high-end weaves.
Size up, not down. Get all the furniture legs onto the rug for the most cohesive look — a rug too small for the set actually makes the space feel cramped.
Pick a pattern that plays off your cushions and the whole grouping suddenly looks intentional.
21. Frame a Space With a Simple Pergola
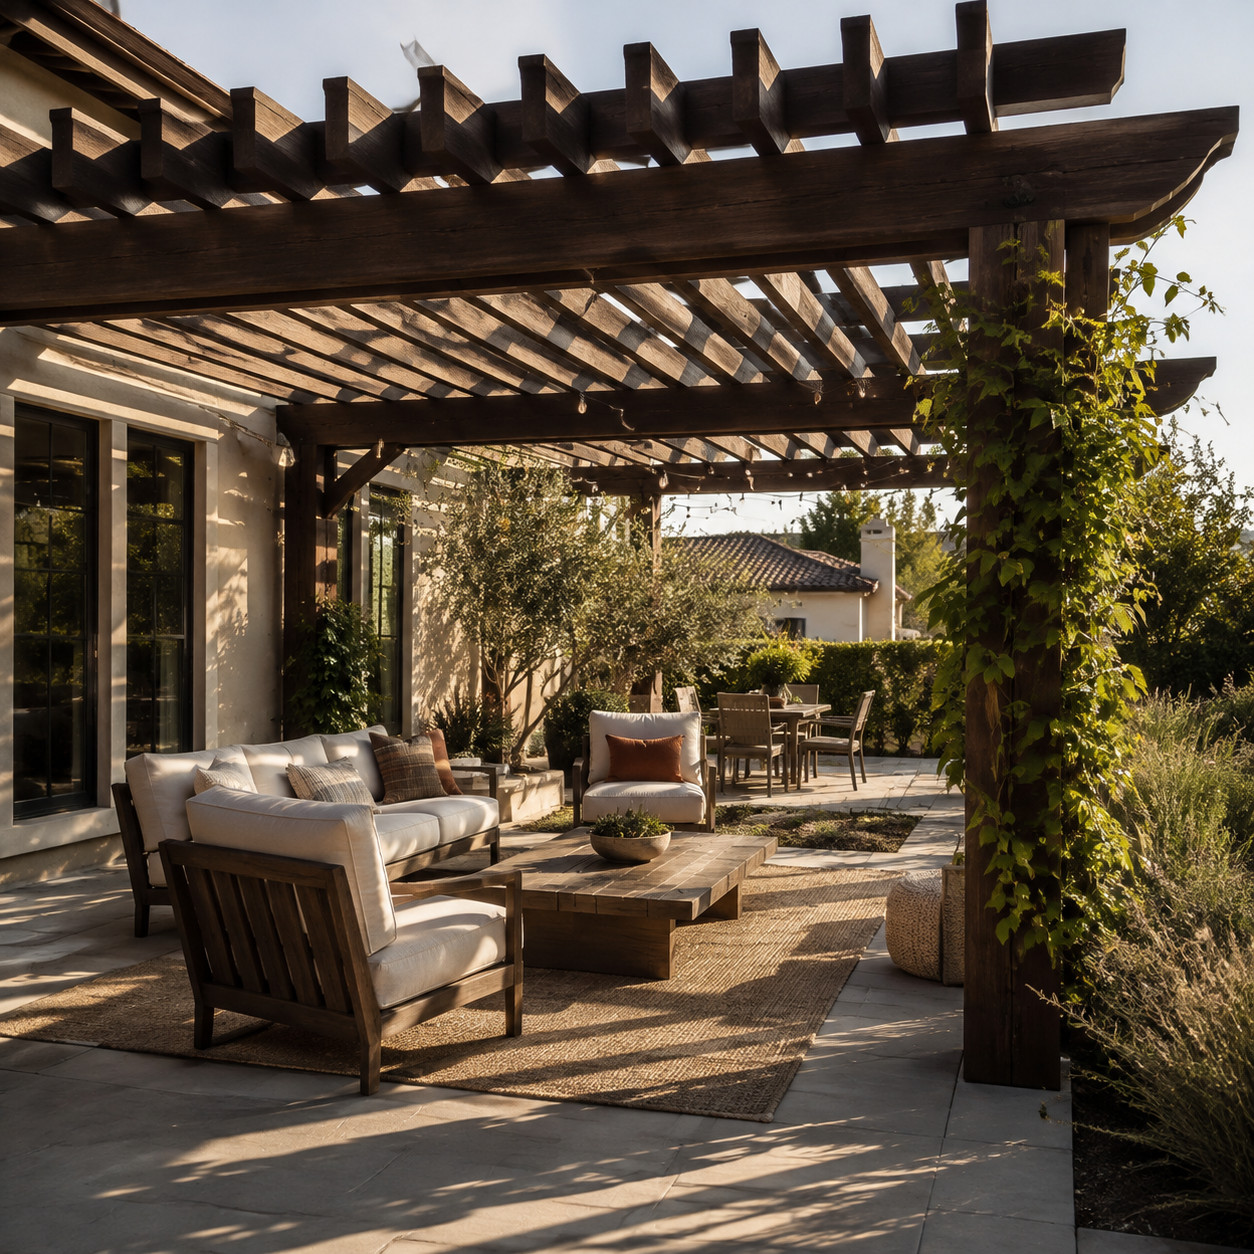
A pergola gives a flat yard something it almost never has: vertical architecture.
It carves out a defined outdoor room, throws light shade, and gives climbing plants and string lights somewhere to live. A professionally installed one eats a budget fast — often several thousand dollars with labor.
A DIY build delivers the same framed structure for far less. Cedar and pressure-treated pine are the common choices: cedar resists rot and looks premium but costs more, while treated pine is cheaper and holds up fine if you seal it.
Freestanding kits with pre-cut posts and brackets take most of the guesswork out for a first-timer. If you’re attaching it to the house, that’s a ledger-board job worth extra care — flash it properly so you don’t trap water against the wall.
Sink the posts in concrete footings below your frost line so it doesn’t heave in winter. Stain it to match a dark fence and it reads like it was always there. Train a vine up one side and the thing looks ten years established in two seasons.
22. Drop In a Statement Boulder
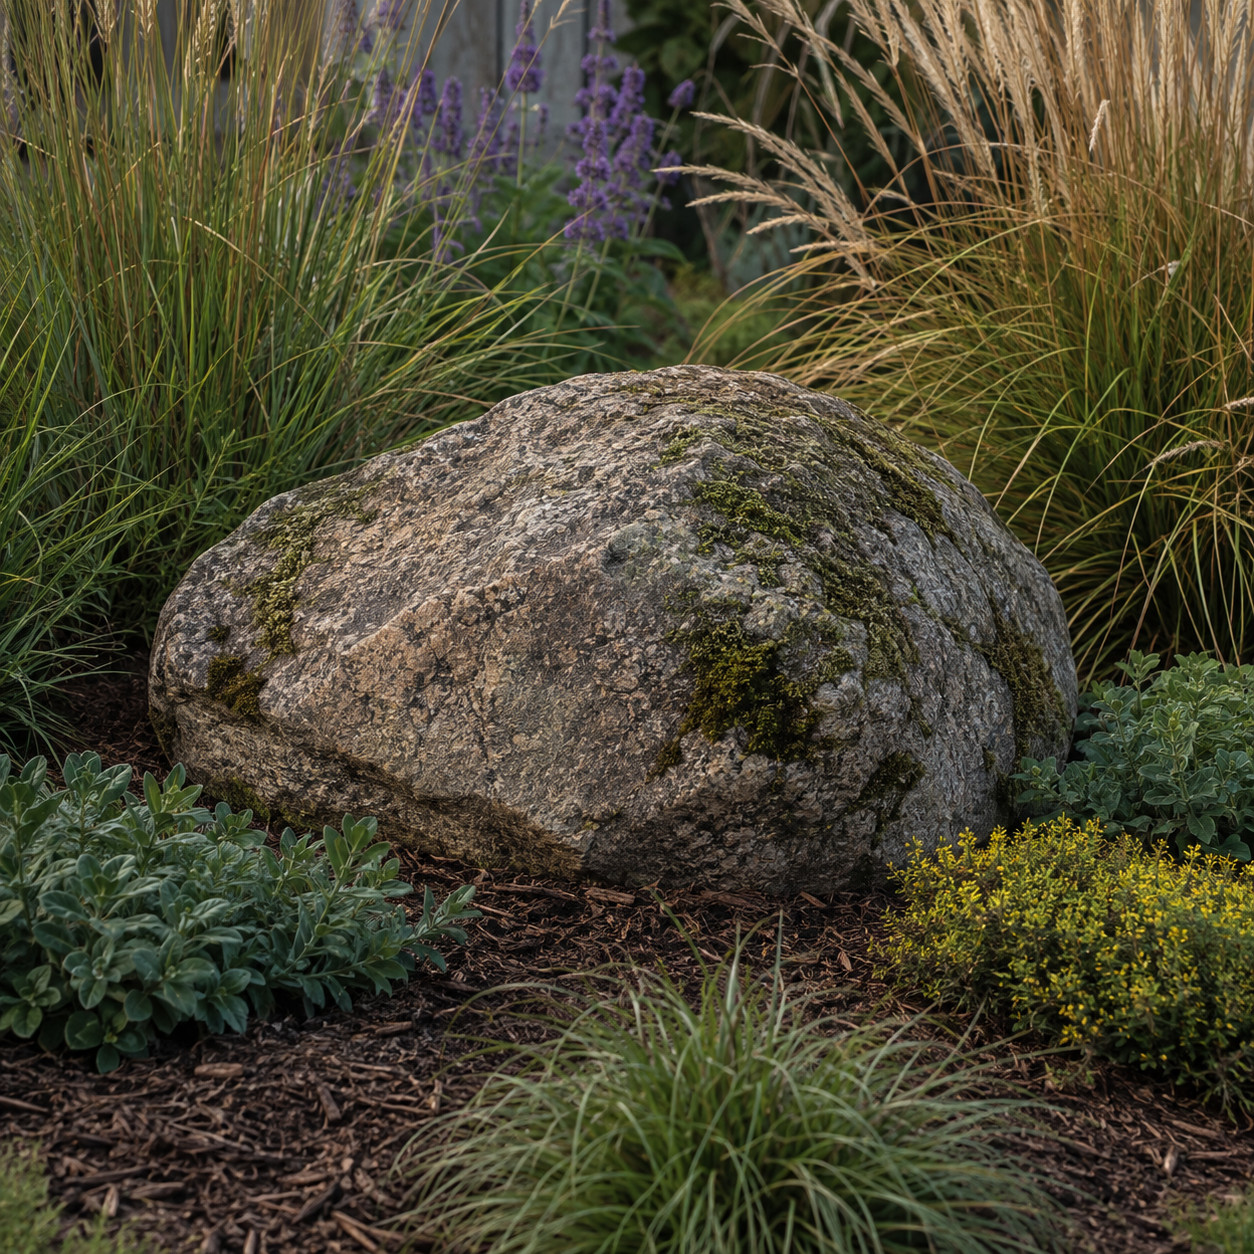
A single well-placed boulder acts as a natural sculpture — a low-upkeep focal point that never needs watering, pruning, or replacing.
Nestle it into a mulched bed so it looks half-buried and settled, like it’s been there for a century. A rock sitting on top of the soil looks dropped. A rock partly sunk looks native.
Large boulders are often free. Check construction sites, excavation projects, and local classifieds — plenty of people give them away to anyone willing to haul.
The only real cost is the muscle to move it. That’s a strong wow for zero dollars.
23. Swap Mulch for Decorative Stone in Key Spots

Mulch breaks down and needs re-topping every year. Decorative stone doesn’t.
In high-traffic or high-visibility spots — around a downspout, along a foundation, under a spigot — swapping mulch for river rock or crushed stone gives a more structured, permanent, high-end look.
Lay it over landscape fabric to keep weeds down and stop the stone from sinking into the soil.
Use it as an accent, not everywhere. A little stone against mulch and plants adds contrast — an entire yard of gravel reads cold. If grass keeps invading the rock, here’s how to stop grass from growing through rocks.
24. Build a Raised Bed for Instant Structure
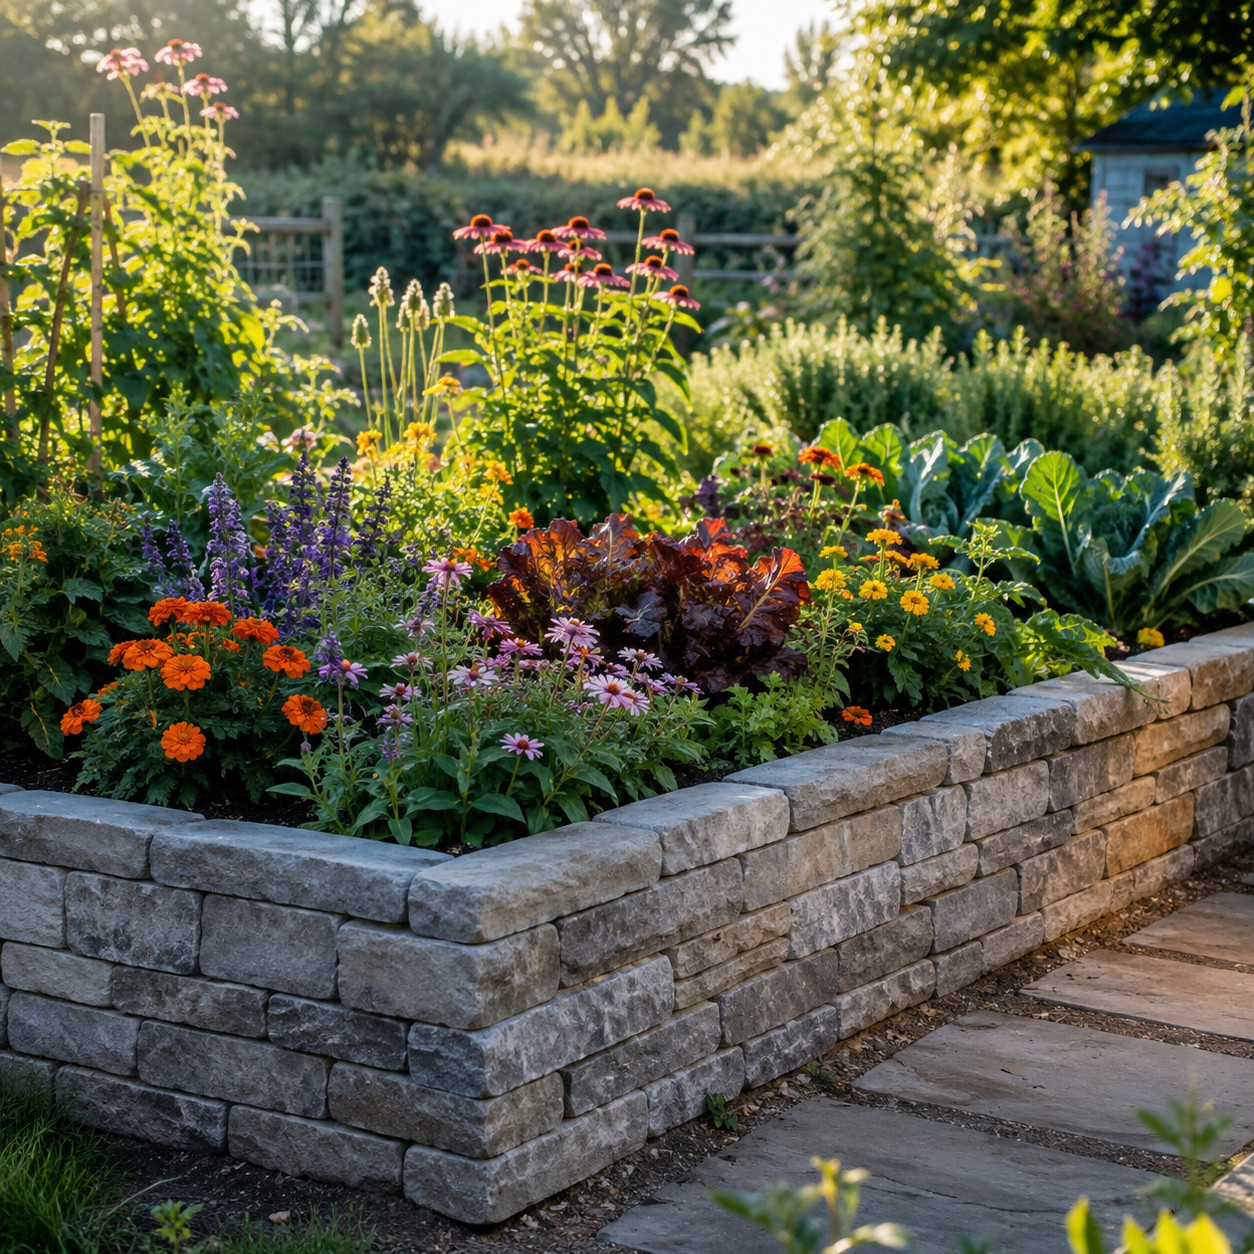
A raised bed adds dimension a flat border never can. It lifts plants to eye level, defines a garden zone, and boosts curb appeal with clean built lines.
Stone, brick, or timber all work. Match the material to your fence and hardscape so it reads as part of the plan.
The raised edge itself does design work — it frames whatever grows inside like a picture frame.
You can build a decent one in a weekend with no woodworking skill. Here’s how to build a raised garden bed in a weekend.
25. Freshen the Front Door With Bold Paint

This one leans toward the front of the house, but the payoff carries into everything around it.
A bold door — deep red, navy, matte black — makes the surrounding plants and planters look more vibrant and expensive by contrast. It’s a $25 quart of paint and a couple of hours.
Pair it with the matching planters from trick ten and the whole entrance snaps into place.
Color is the cheapest upgrade in the yard. Spend it where the most eyes land. According to University of Florida IFAS Extension, well-kept, thoughtful landscaping can meaningfully lift a home’s value — and it starts at the curb.
None of this needs a designer or a five-figure quote. The expensive look lives in the edges, the repetition, and the light — not the price tag on the plants.
Pick three tricks this weekend. Cut the edge, mulch the beds, string the lights. That alone will change how the whole yard reads.
The neighbors will assume you hired someone. Let them.