

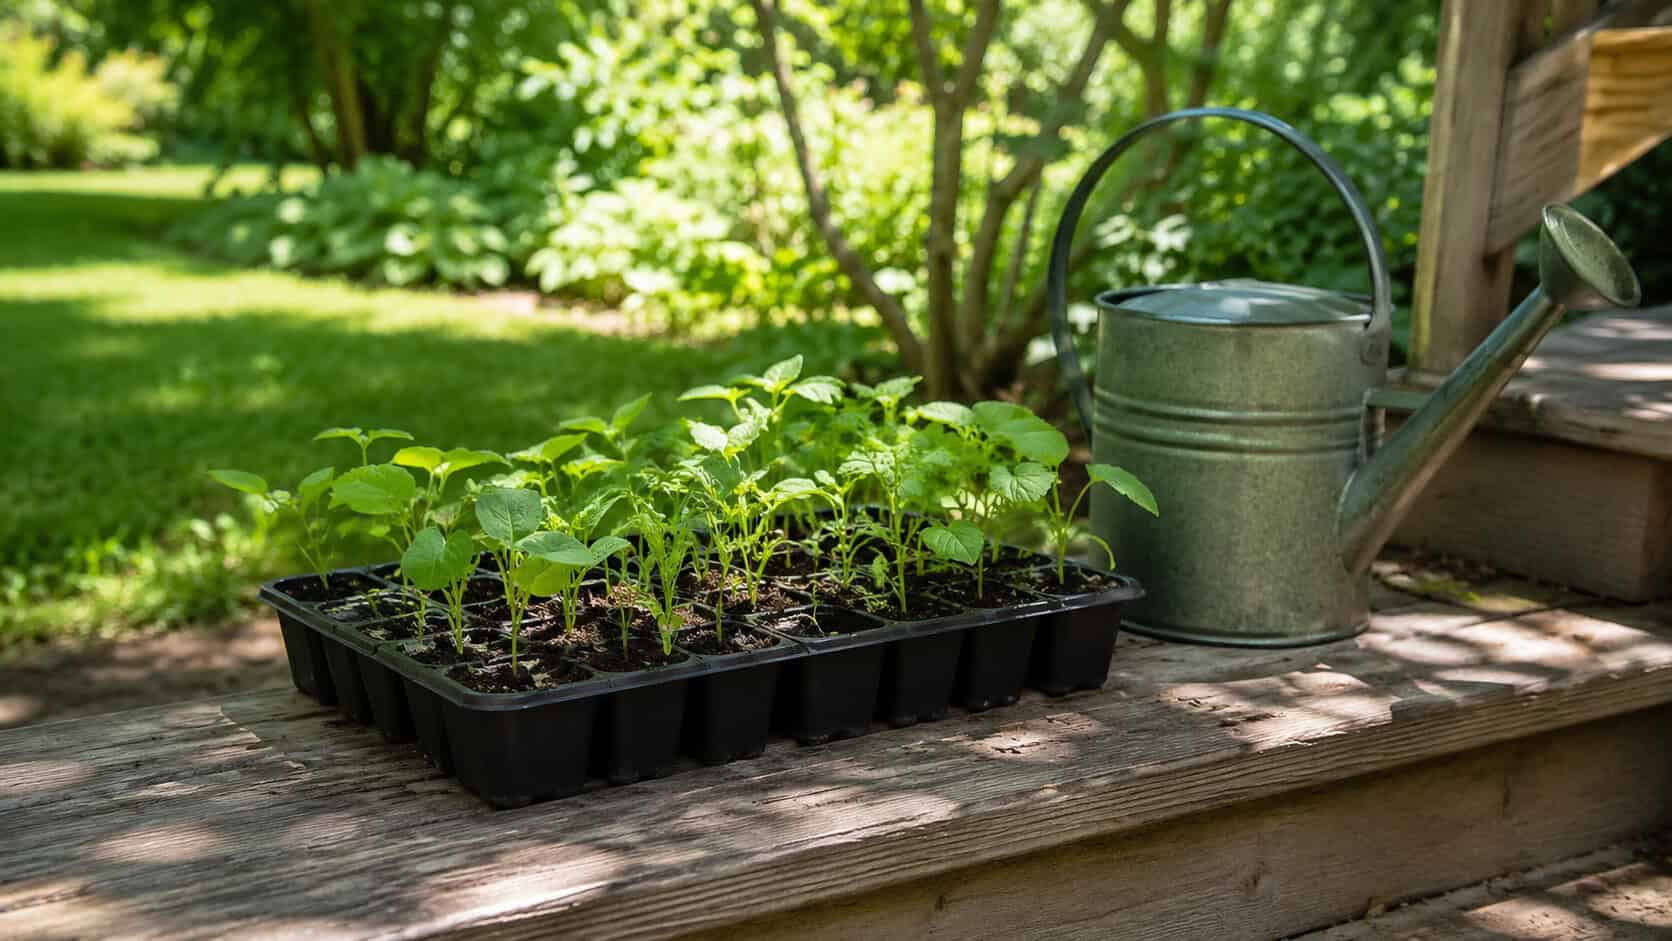
Buying seedlings at the garden center adds up fast. Four dollars a pot, six pots deep, and you’ve spent more than a whole seed packet costs for a single tomato plant.
Starting your own seeds indoors fixes that. You get more plants, more varieties, and a head start of six to eight weeks before your last frost.
The catch? Timing and light. Get those two right and the rest is mostly patience.
Here’s how to do it, from packet to garden bed, without killing everything along the way.
What You’ll Need
Nothing fancy. You’ll want clean containers with drainage holes, a bag of seed-starting mix (not garden soil, not potting soil — a light, sterile blend made for seeds), a shallow tray to catch water, and your seeds. A plastic dome or some clear plastic wrap helps hold humidity early on.
The one thing worth spending money on is light. A shop light with two fluorescent or LED bulbs hung a couple inches above your seedlings beats any windowsill. A sunny window sounds good but almost never is — plants stretch toward it and flop over. A heat mat is optional but speeds up germination for warm-season crops like peppers.
Step 1: Figure Out Your Timing
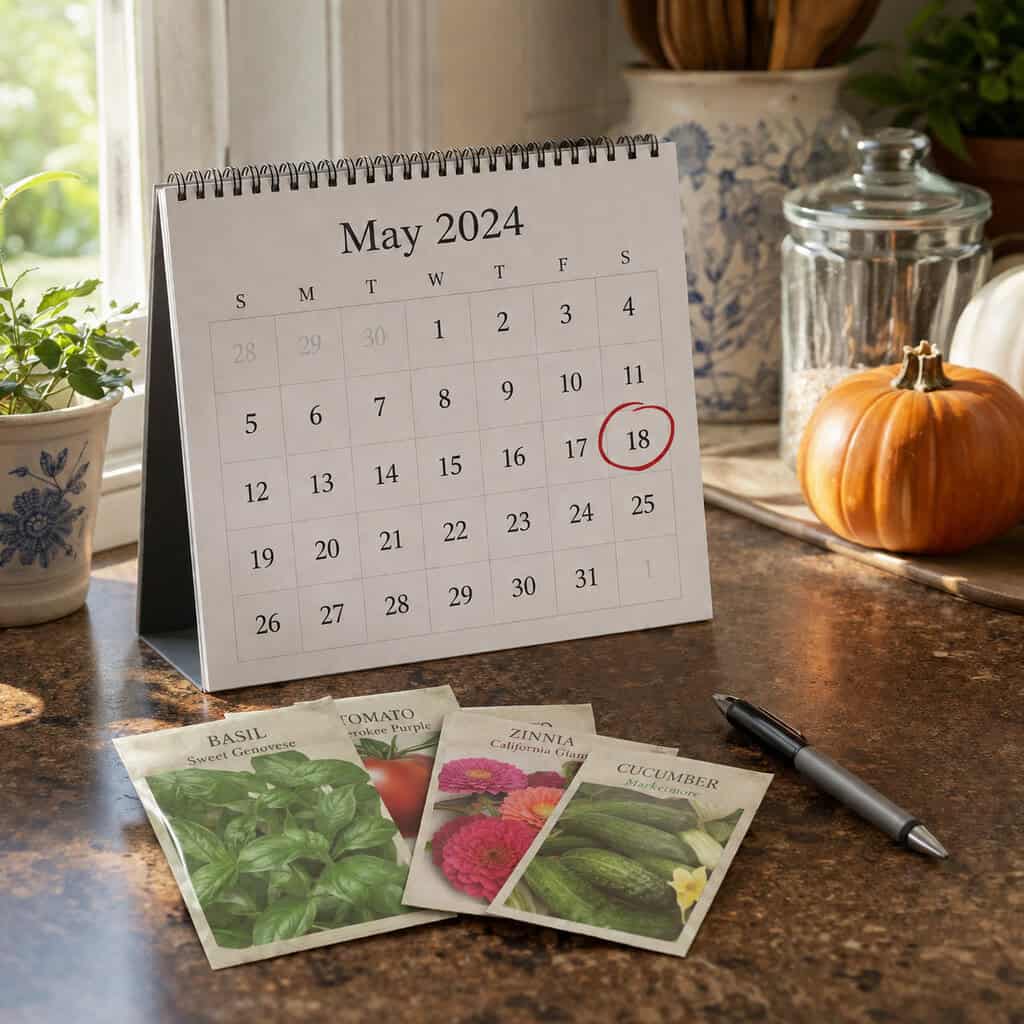
Everything starts with your last frost date. Look it up for your zip code before you buy a single thing.
Most seed packets tell you to start indoors “6 to 8 weeks before last frost.” Count backward from that date and mark your calendar.
Tomatoes and peppers want the full head start. Cucumbers, squash, and melons only need two to three weeks — start those too early and they get leggy and root-bound before it’s warm enough to plant them out.
Don’t rush this. An extra two weeks indoors does more harm than good.
Step 2: Fill and Moisten Your Containers
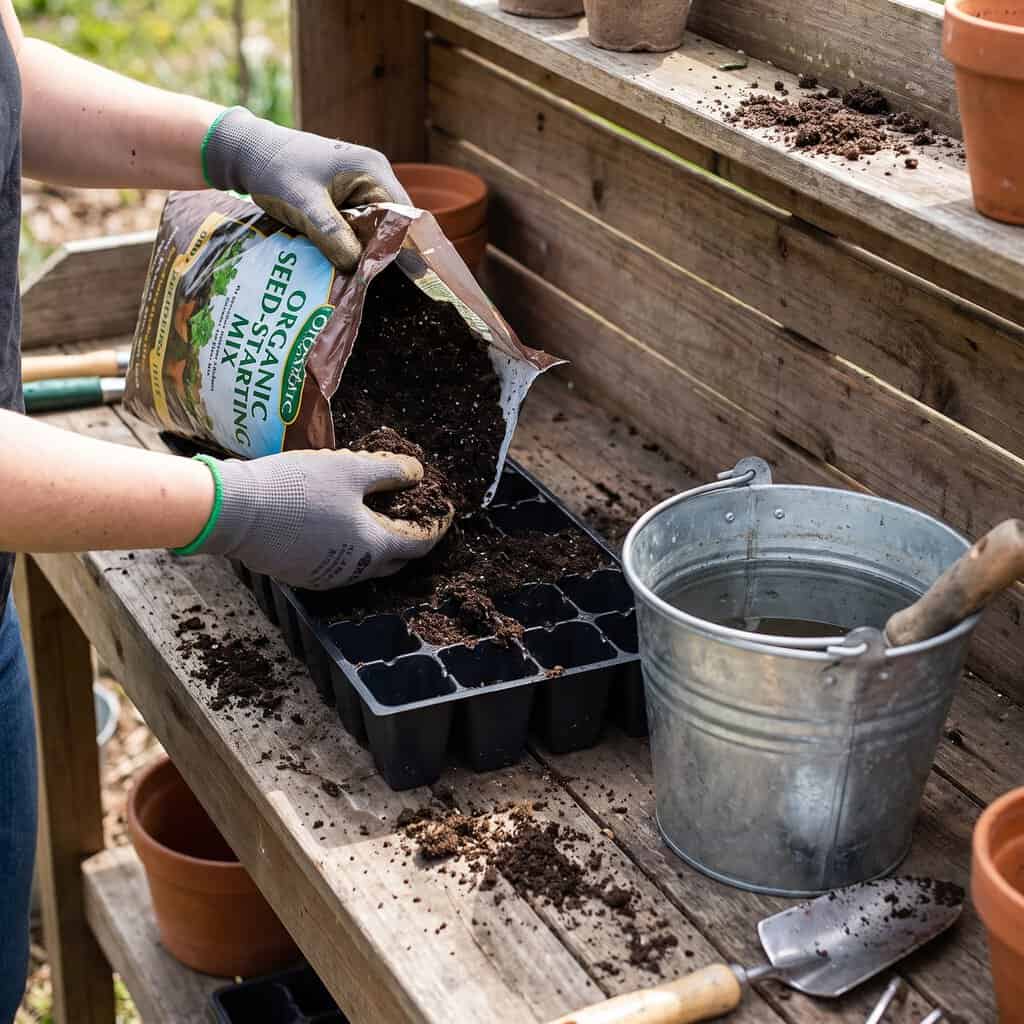
Dump your seed-starting mix into a bucket or bowl and add warm water. Stir it until it’s damp like a wrung-out sponge, not soaking.
Dry mix repels water and floats. Wetting it first saves you a mess later.
Fill each cell or pot to just below the rim, then tamp it down lightly with your fingers. You want firm contact, not packed concrete.
Step 3: Sow the Seeds at the Right Depth
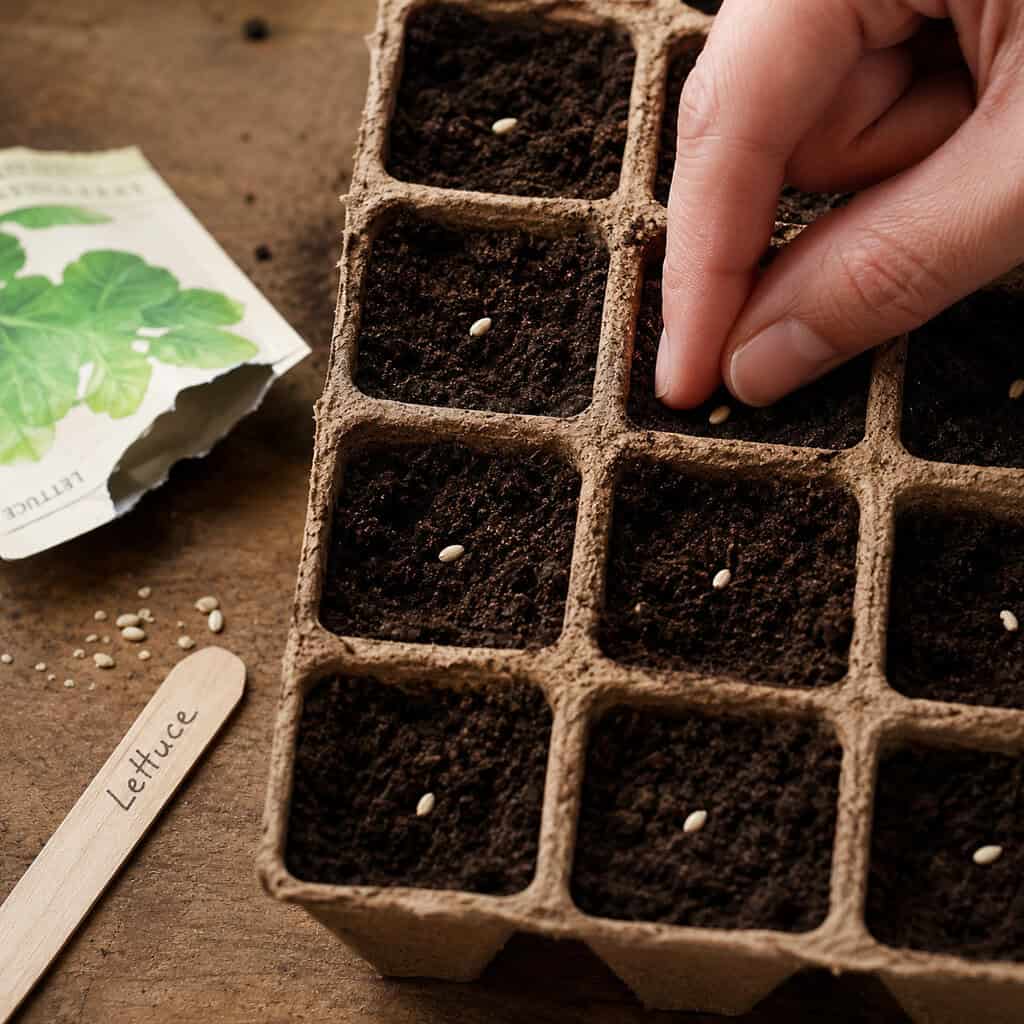
The rule is simple: plant a seed about two to three times as deep as it is wide. Tiny seeds like lettuce barely get covered. Big seeds like beans go down half an inch.
Drop two seeds per cell. Not every seed sprouts, and doubling up is cheap insurance.
Press each seed in, cover lightly, and mist the surface so you don’t wash them out of place. The University of Minnesota Extension recommends labeling everything now — trust that advice. Every seedling looks identical for the first few weeks.
Step 4: Keep Them Warm Until They Sprout
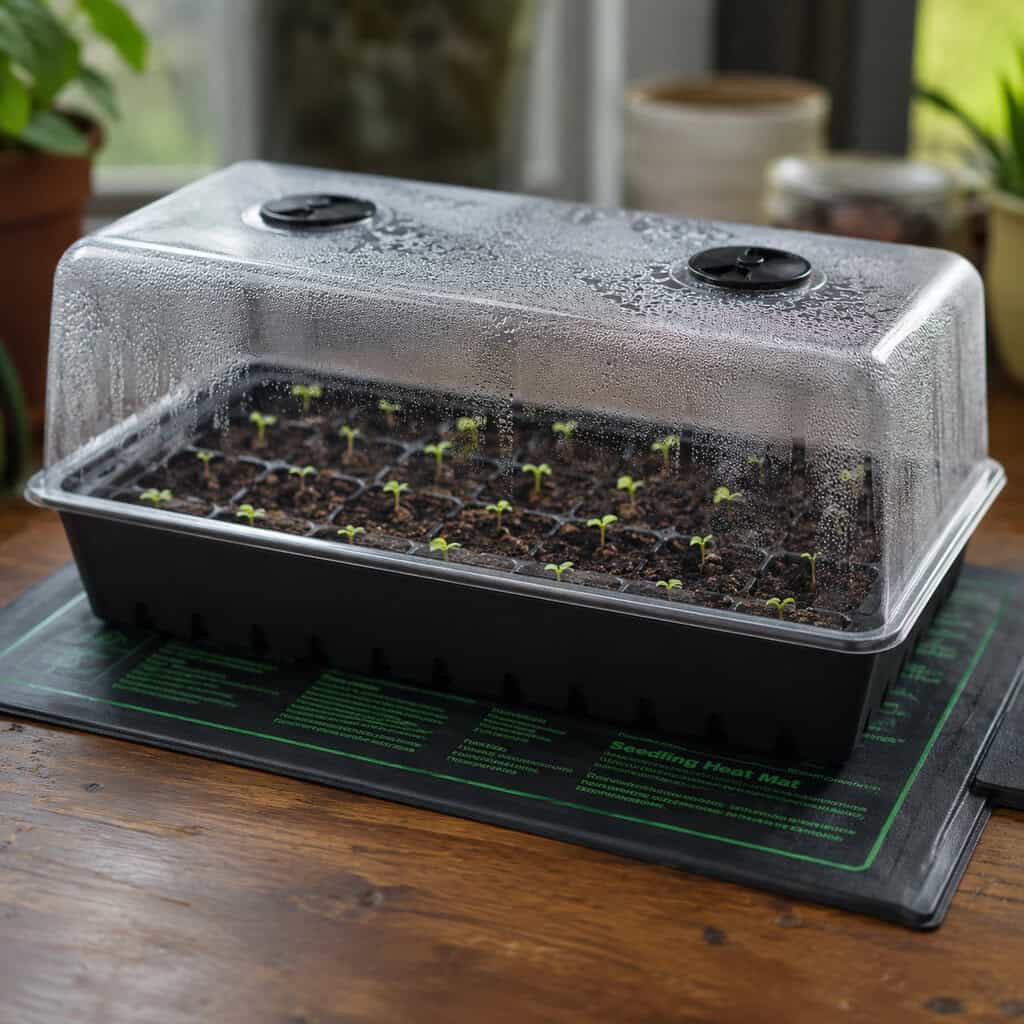
Seeds don’t need light to germinate. They need warmth and moisture.
Cover the tray with a clear dome or plastic wrap to trap humidity, and set it somewhere warm. The top of the fridge works. A heat mat works better for peppers and tomatoes, which like soil around 75 to 80°F.
Check daily. The mix should stay damp but never swampy.
Most seeds pop within 5 to 14 days. The moment you see green, the plastic comes off.
Step 5: Get Them Under Bright Light Immediately
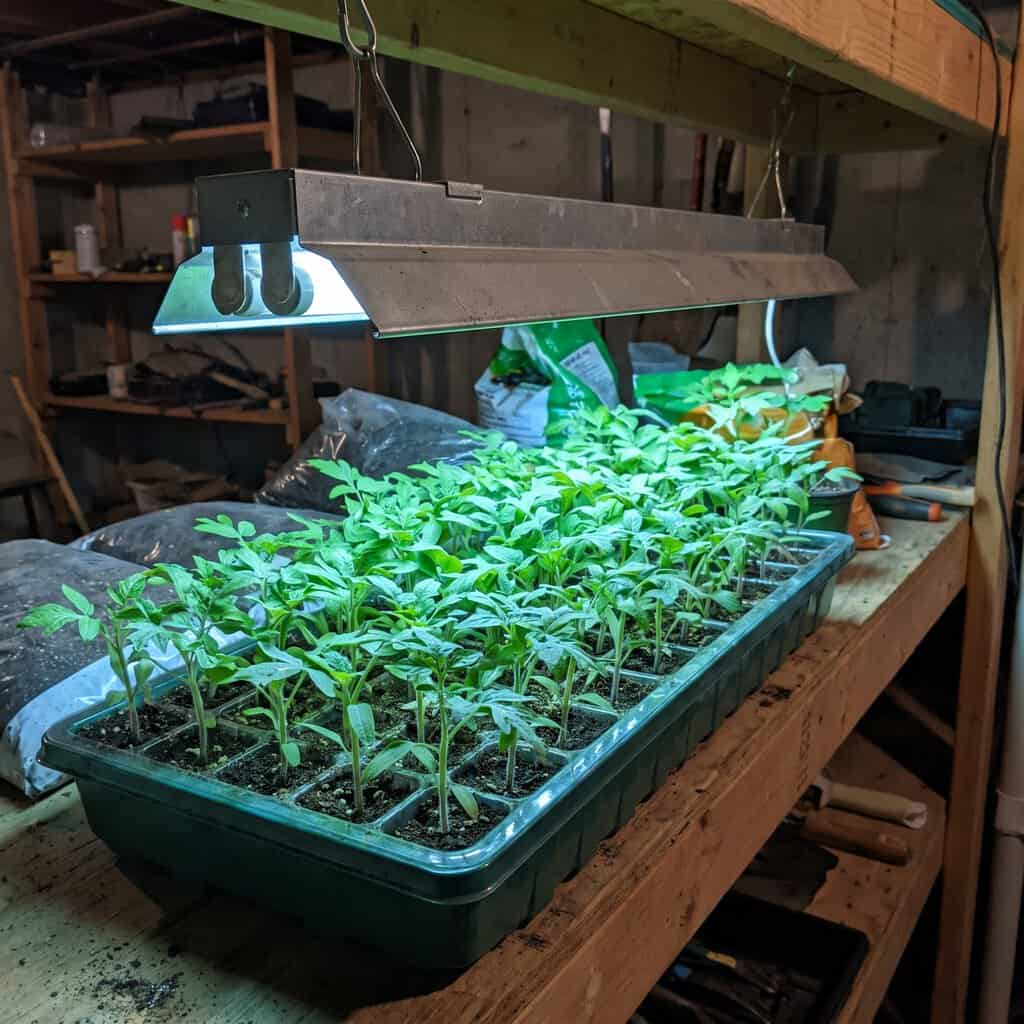
This is where most people lose the whole batch. A seedling that sprouts and doesn’t get strong light within a day starts stretching, and a stretched seedling is a weak one.
Hang your shop light two to three inches above the tops of the plants. Raise it as they grow to keep that gap tight.
Run the light 14 to 16 hours a day. A cheap outlet timer handles that for you so you don’t have to remember.
If your seedlings look pale, spindly, and are leaning hard in one direction, the light’s too far away. Lower it.
Step 6: Water, Feed, and Thin
Water from the bottom when you can. Pour into the tray and let the mix soak it up for 20 minutes, then dump what’s left. This keeps the surface dry and fungus down.
Once the first true leaves appear — the second set, not the little round starter leaves — start feeding with a diluted liquid fertilizer at half strength every week or two.
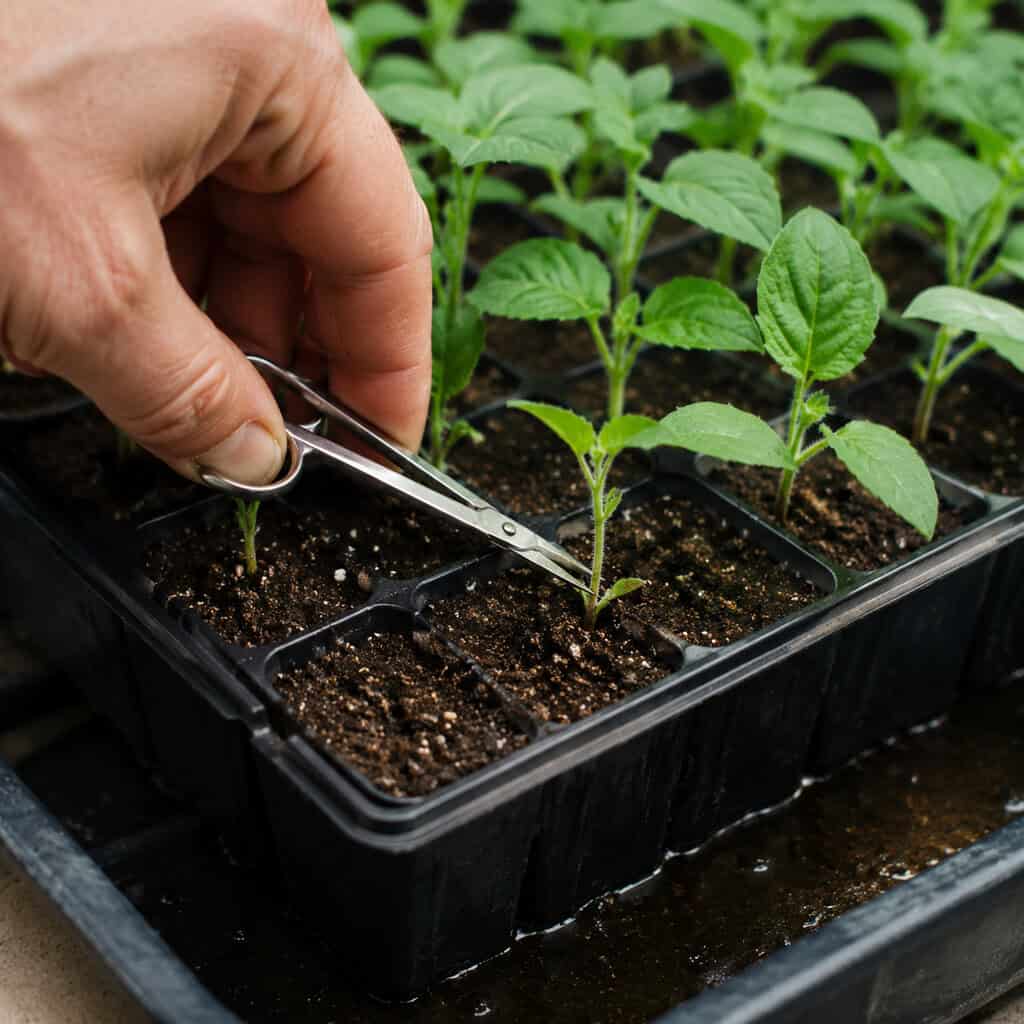
Now thin. Snip the weaker seedling in each cell at the soil line with scissors. Don’t pull it; you’ll disturb the roots of the one you’re keeping.
It feels wasteful. Do it anyway. Two crowded plants lose to one strong one every time.
Step 7: Harden Them Off Before They Go Outside
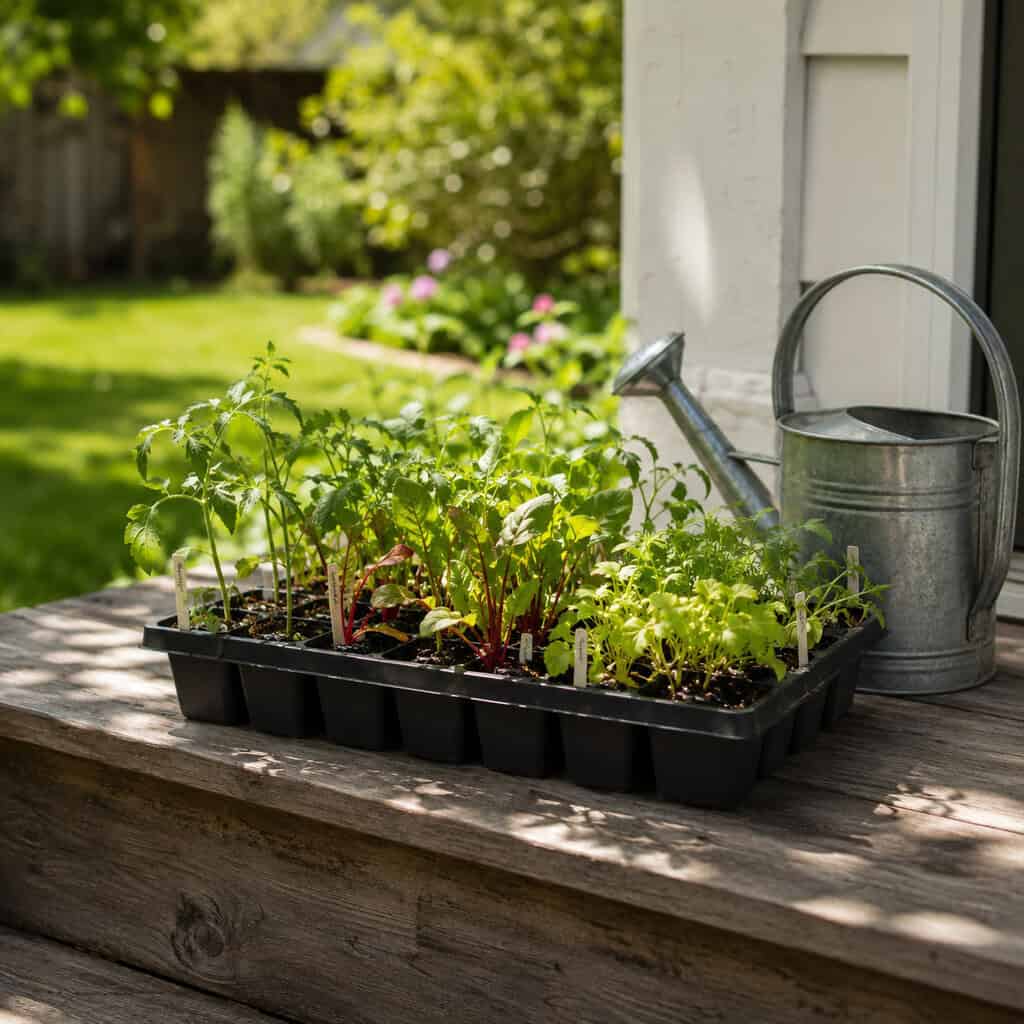
Indoor seedlings have never felt real sun or wind. Plant them straight into the garden and they’ll get scorched or snapped within hours.
Hardening off fixes that over 7 to 10 days. Start by setting them outside in a shady, sheltered spot for an hour or two, then bring them back in.
Add more time and more direct sun each day. By the end of the week they can handle a full day and an overnight stay. Utah State’s Extension guide on transplanting stresses this step for a reason — skipping it undoes weeks of work.
Keep them watered. Wind and sun dry small pots out shockingly fast.
Step 8: Transplant Into the Garden
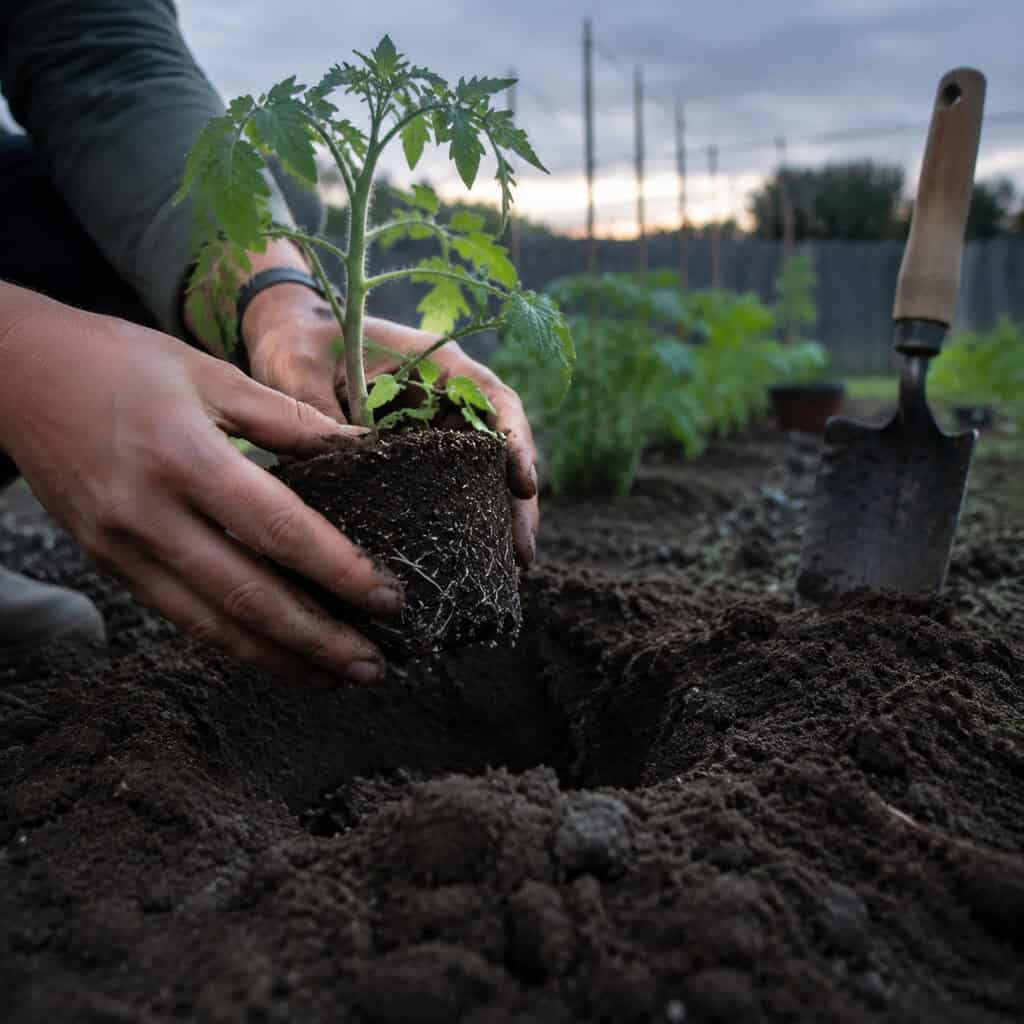
Wait until your last frost date has passed and the soil has warmed. A cool, overcast evening is the best time to plant — it gives roots time to settle before the sun hits.
Dig a hole a little larger than the root ball. Ease the seedling out by squeezing the container; never yank it by the stem.
Set it in at the same depth it grew, water it in well, and firm the soil around the base. Tomatoes are the exception — bury them deep, up to the top leaves, and they’ll root along the buried stem.
Water every day for the first week while the roots take hold.
Common Mistakes
Starting too early is the big one. A tomato started in January is a stressed, root-bound mess by May. Follow the count-back from your frost date and resist the urge to jump the gun.
Using garden soil is another. It’s heavy, it compacts, and it carries fungus that causes damping off — where healthy seedlings flop over dead at the soil line overnight. The University of Maryland Extension is blunt about using sterile mix for exactly this reason.
And skipping the hardening-off step. It’s tempting after all that waiting. Don’t.
When This Is Worth It
Starting seeds indoors pays off most for warm-season crops with a long runway — tomatoes, peppers, eggplant — and for varieties you’ll never find as transplants.
For fast, cold-tolerant stuff like beans, radishes, peas, and carrots, skip all of this. Sow them straight into the ground. They don’t transplant well anyway.
Get one season under your belt and it clicks. You’ll be starting flats for the whole neighborhood by year two.
Onions are a problem with me. We buy sets and plant after frost but they don’t grow much. When the green tops fall over most of them are hardly much bigger than when we planted them.