

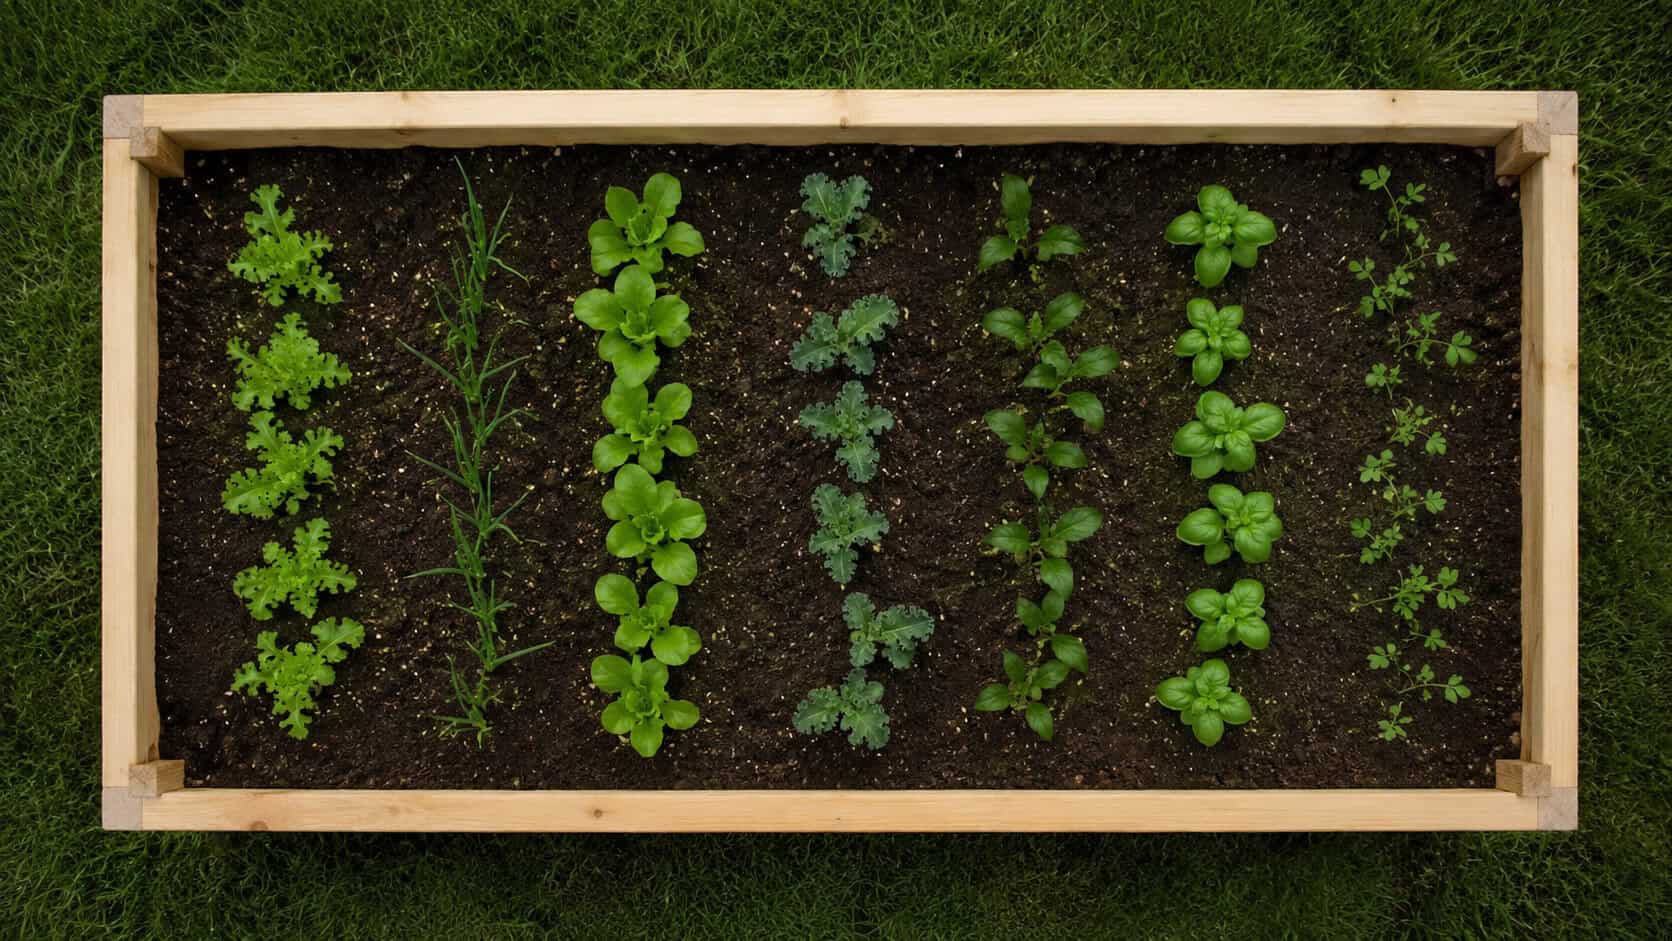
You want a raised bed. You’ve got two days and no carpentry background. That’s enough.
By Sunday afternoon you’ll have a sturdy 4-by-8-foot bed sitting level in your yard, filled and ready to plant. The whole thing goes together with a drill, a handful of screws, and lumber a hardware store will cut for you if you ask.
The part most beginners get wrong isn’t the building. It’s the soil and the leveling — skip those and your first bed sags, drains badly, and grows disappointment. This guide handles both.
Here’s how to knock it out in a weekend.
What You’ll Need
Grab four 8-foot boards and two of them cut in half for the ends — or buy two 8-footers and two 4-footers to save yourself a cut. Untreated cedar or Douglas fir are the standard picks; cedar resists rot for years and costs more, fir is cheaper and still lasts a good while. A 4-by-8 bed at 10 or 12 inches deep is the sweet spot for a first build.
You’ll also want 3-inch exterior deck screws, a cordless drill, a tape measure, a carpenter’s square, a level, and a shovel. For filling, plan on roughly 1 cubic yard of a topsoil-and-compost mix for a 4-by-8 bed at 10 inches deep. Cardboard for the bottom is free at any grocery store.
Step 1: Pick a Flat, Sunny Spot
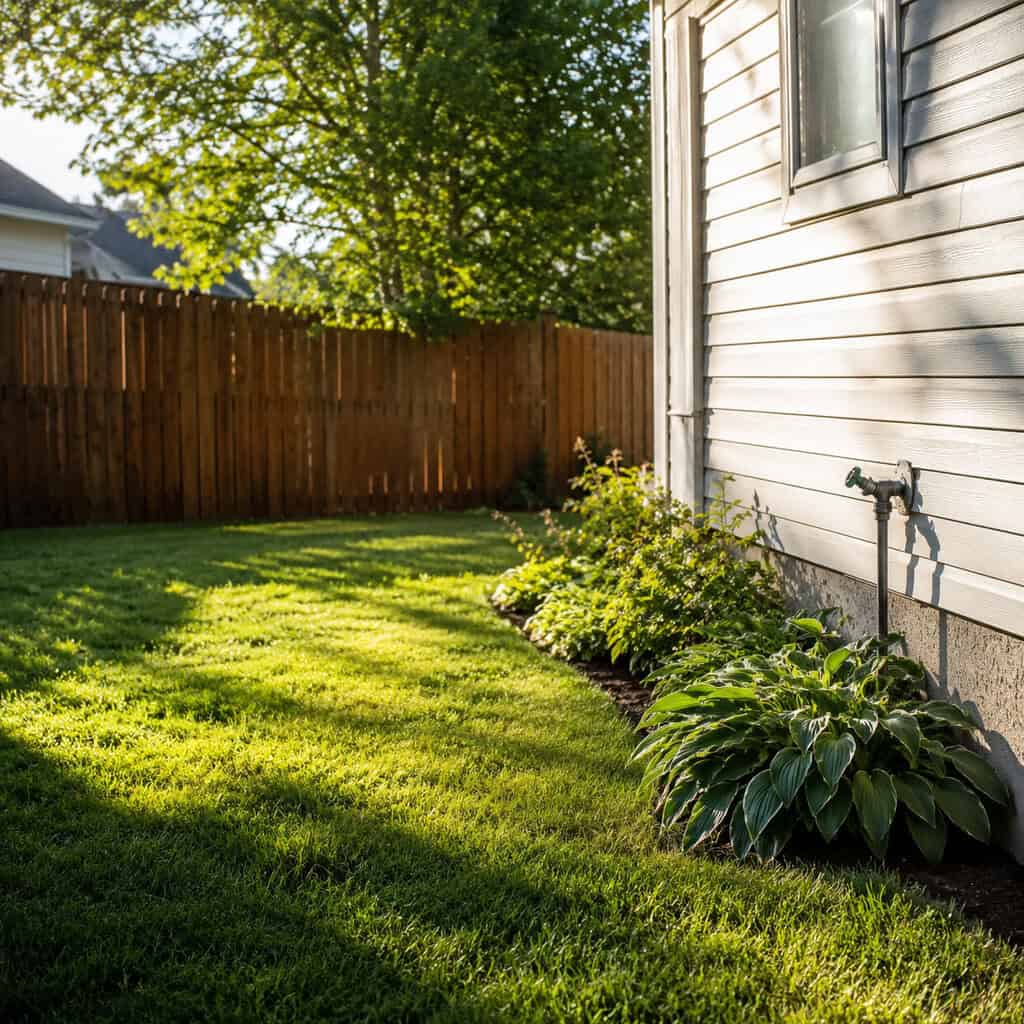
Most vegetables want six to eight hours of direct sun. Watch your yard for a day and find where the light actually lands.
Pick ground that’s close to level. A slight slope is fine — you’ll correct it in Step 4 — but a steep grade turns a weekend project into a retaining-wall project.
Keep it near a water source. Dragging a hose 80 feet twice a day gets old fast, and a bed within reach of a spigot is a bed you’ll actually water. If sun is limited, a container garden gives you more flexibility to chase the light.
Step 2: Measure and Cut Your Boards
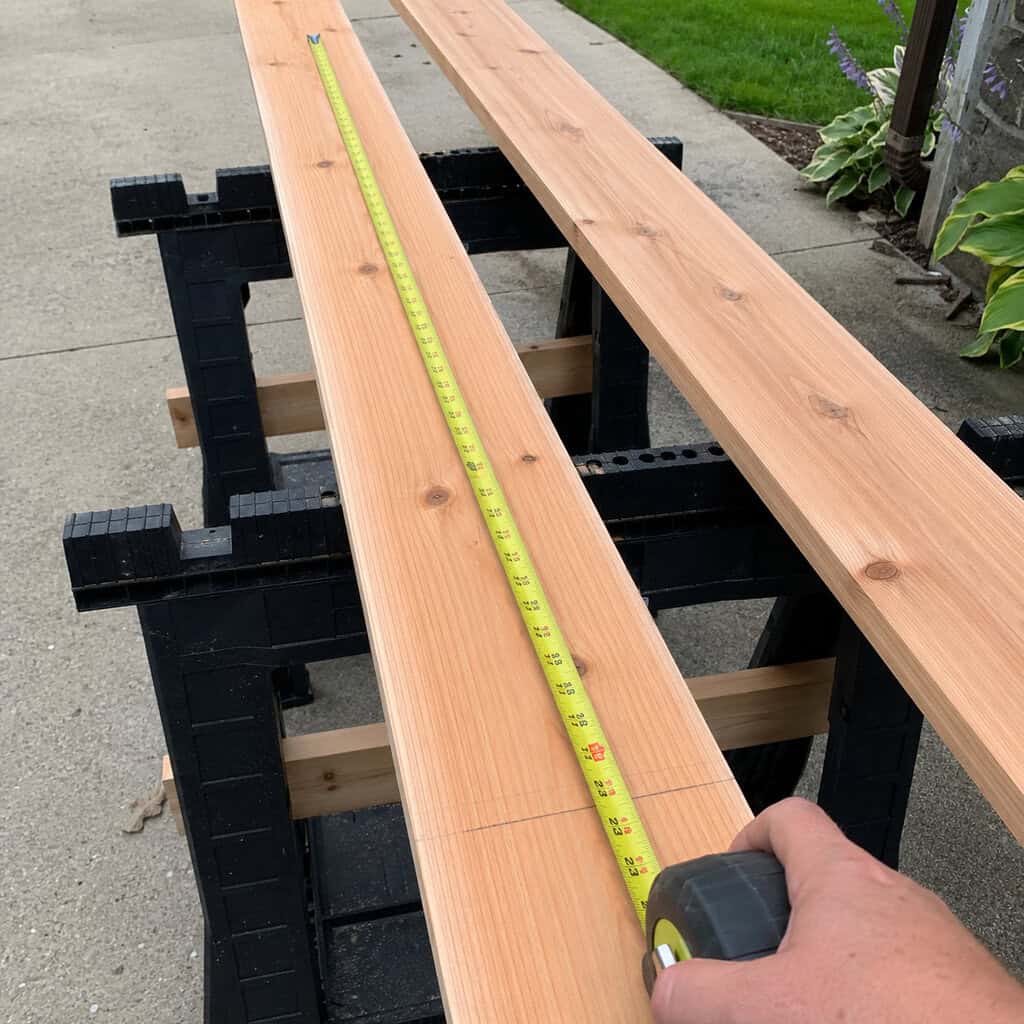
A 4-by-8 bed needs two boards at 8 feet and two at 4 feet per layer. Stack two layers for a 10-to-12-inch depth.
Have the store cut them if you don’t own a saw. Most home centers make the first cuts free or close to it, and their cuts are straighter than a first-timer with a circular saw.
Measure twice before anyone cuts. A board that’s off by half an inch throws the whole frame out of square.
Step 3: Assemble the Frame
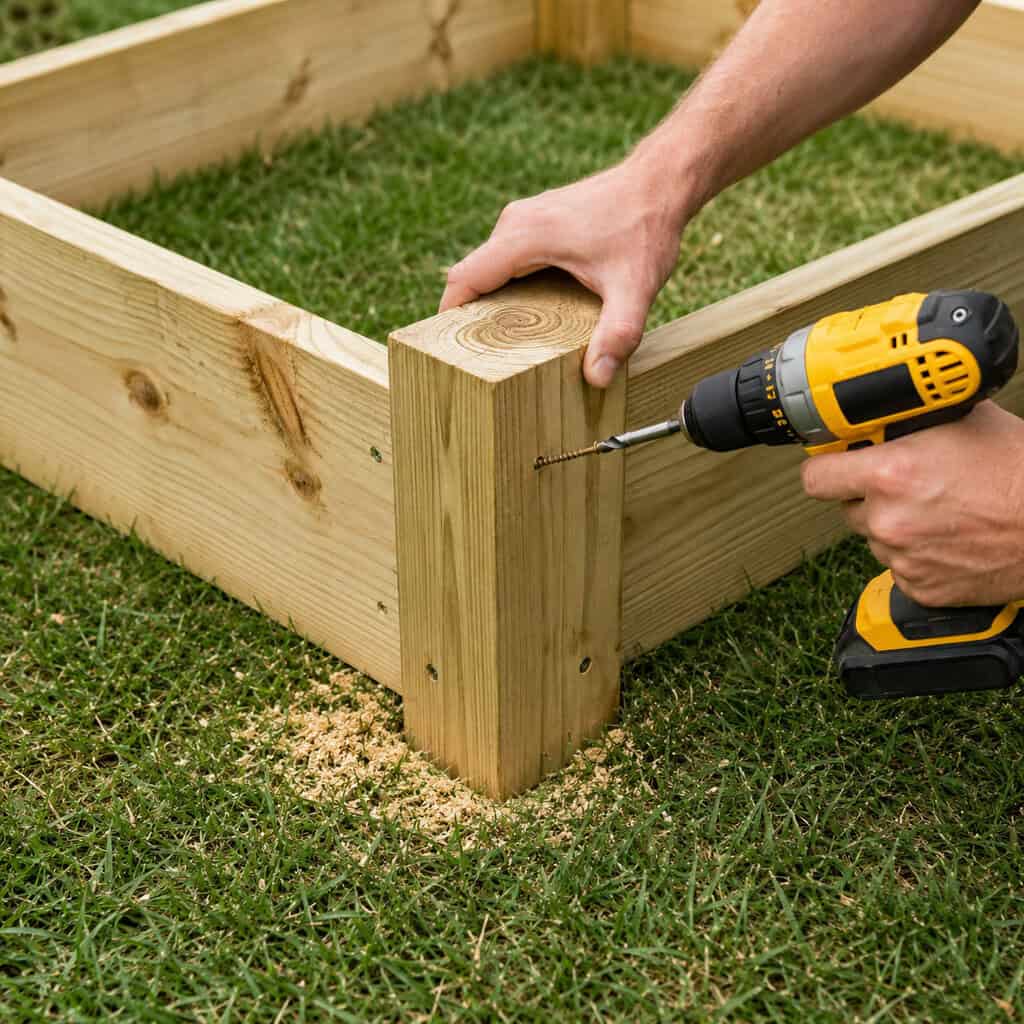
Lay the four boards on edge in a rectangle. Butt the short ends inside the long boards so the 8-foot sides overlap the ends.
Set a corner post — a 12-inch length of 4×4 — inside each corner. Screw through the outer boards into the post with three screws per side. That post is what keeps the corner from racking loose in a season or two.
Check each corner with the carpenter’s square as you go. Drive four screws per joint, not two. Utah State University’s extension notes that Utah State University Extension recommends corner supports for beds longer than a few feet, and it’s cheap insurance against sag.
Step 4: Level the Ground and Set the Bed
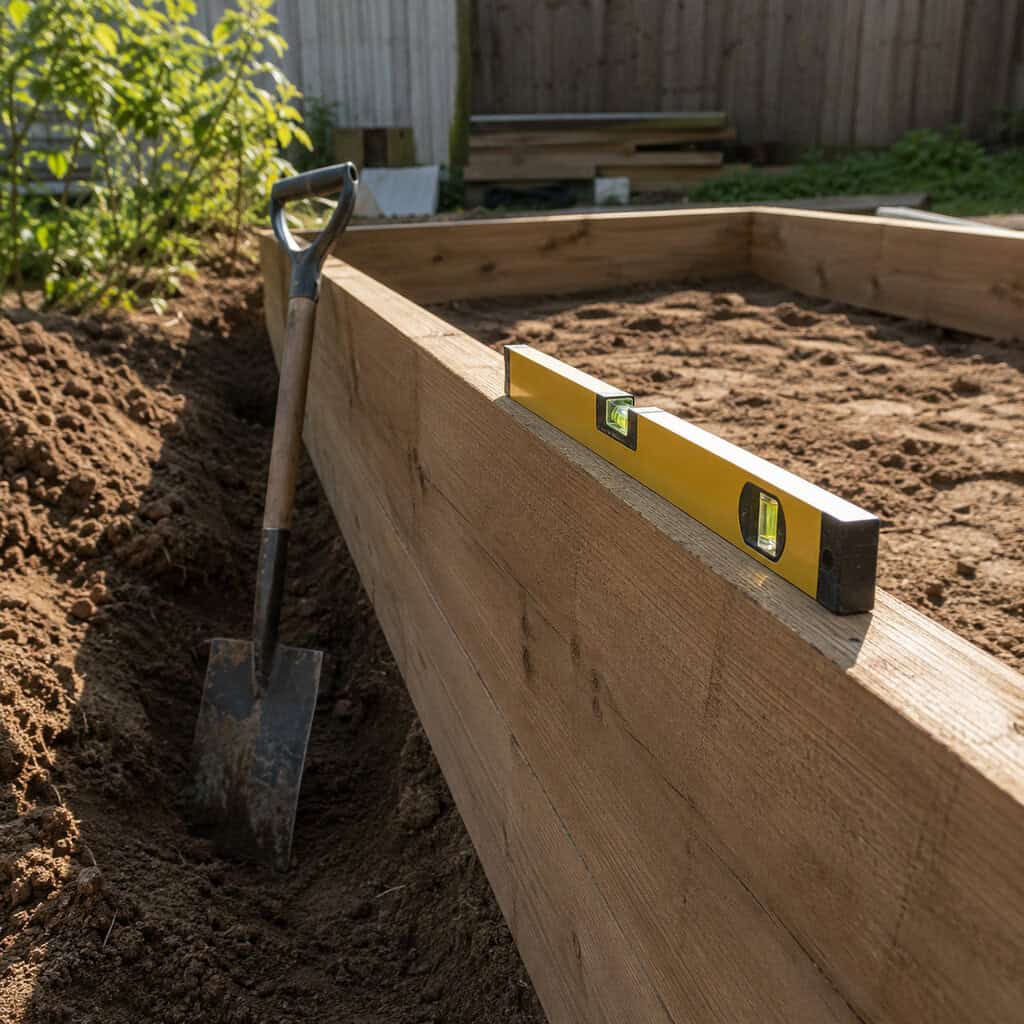
Set the frame where you want it. Lay your level across the top in both directions.
Dig out the high side rather than building up the low side. Scrape soil away under the frame until a level laid across the top reads true, then wiggle the bed down into the shallow trench so it sits snug.
Don’t skip this. A bed that’s out of level pools water on the low end and dries out the high end, and you’ll fight uneven growth all season.
Step 5: Line the Bottom With Cardboard
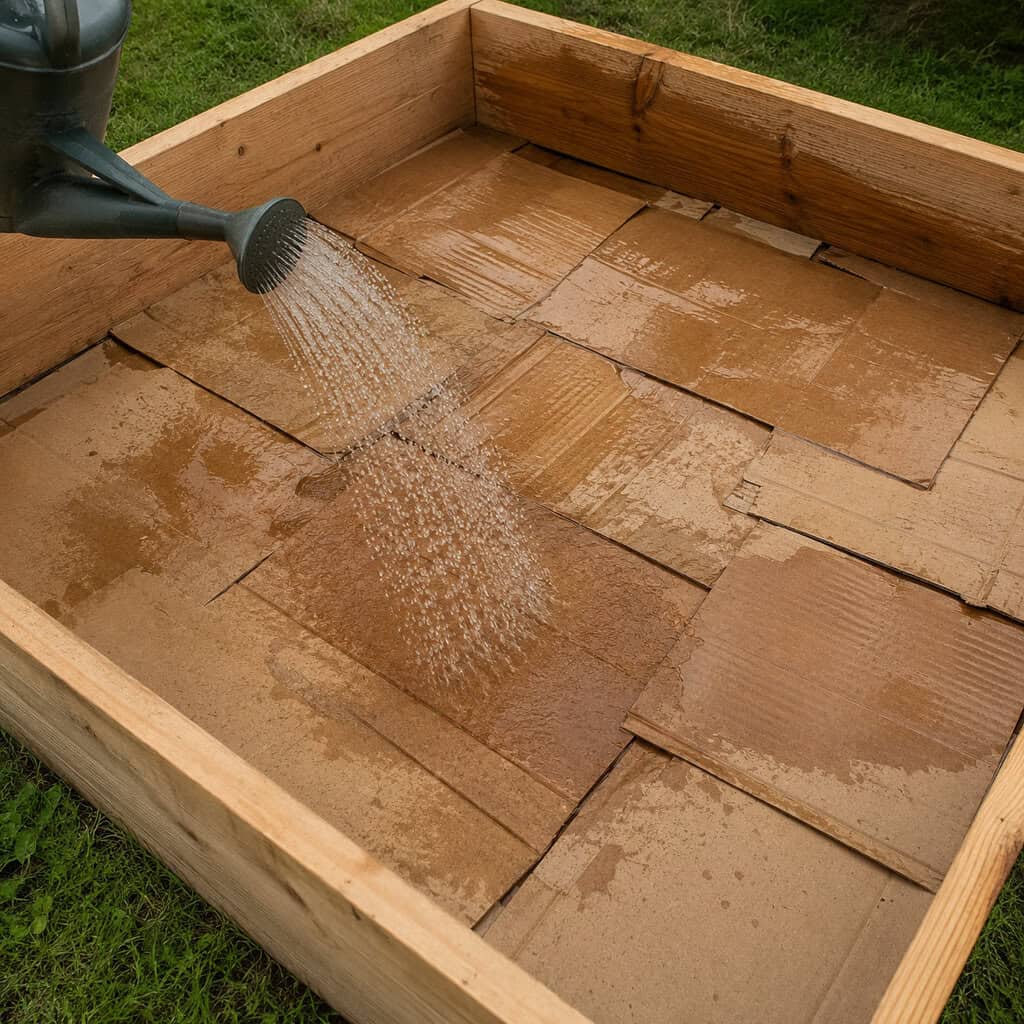
Lay flattened cardboard across the whole footprint inside the frame. Overlap the seams by several inches so no grass pokes through.
This smothers the existing lawn and weeds without chemicals. The cardboard breaks down over a few months while the roots underneath die off in the dark.
Wet it down before you add soil. Dry cardboard shifts around and wants to blow away the second you turn your back.
Step 6: Fill With the Right Soil Mix
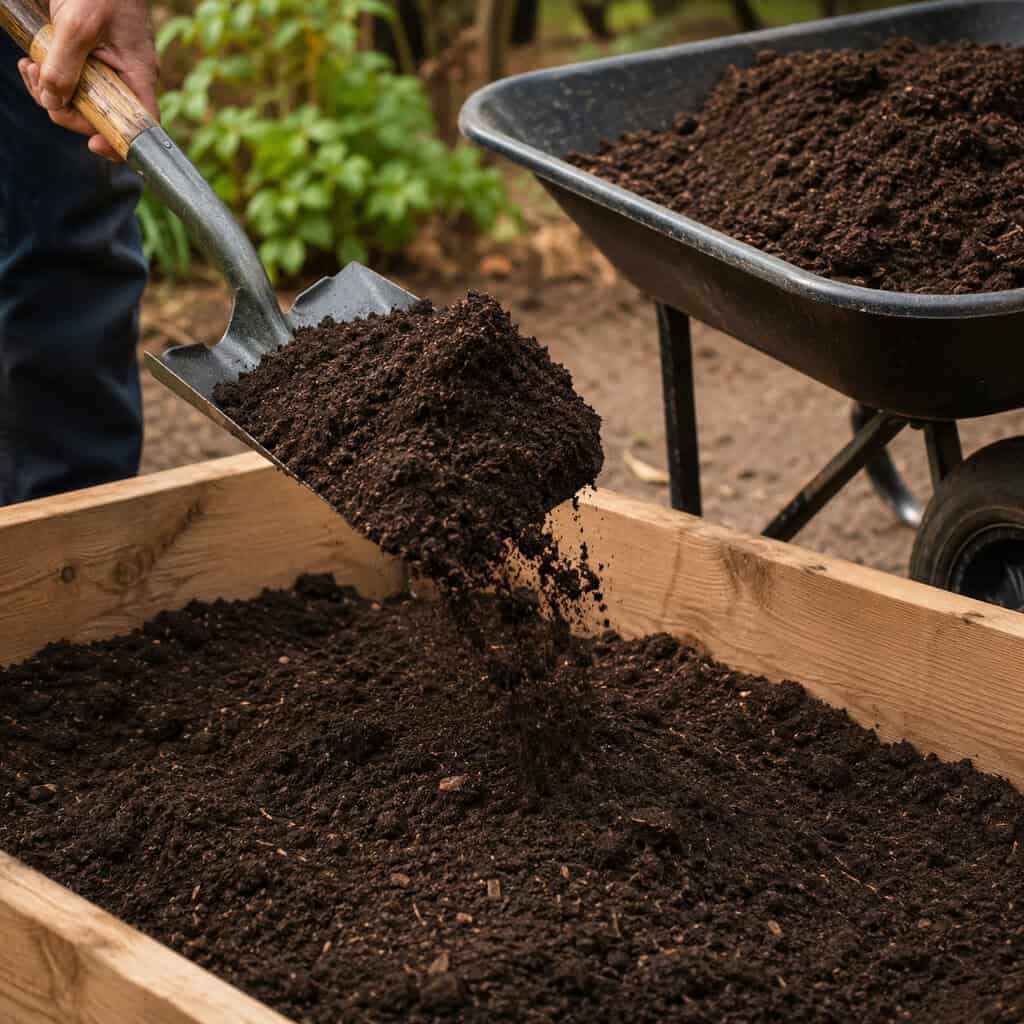
Skip the bag labeled “garden soil” meant for in-ground beds — it packs down hard in a raised frame. A blend of roughly 60 percent topsoil to 40 percent compost drains well and feeds your plants.
Fill to about an inch below the rim so water doesn’t spill over the edge. Expect the level to drop as the soil settles over the first few weeks, so keep some mix in reserve to top it off. Penn State Extension recommends a loose, compost-rich blend for exactly this reason.
Good finished compost should look dark, crumbly, and smell like a forest floor. If yours smells sour, it isn’t ready.
Step 7: Water, Settle, and Plant
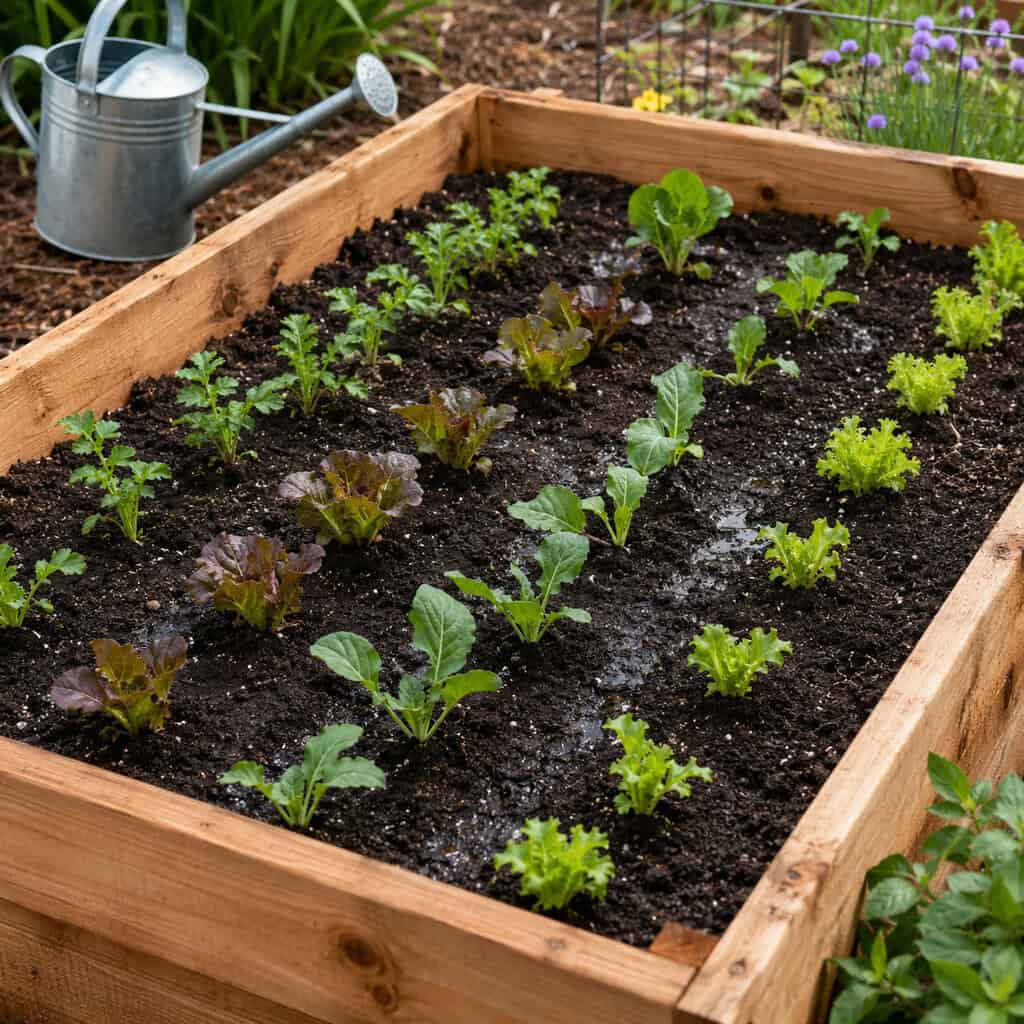
Soak the whole bed thoroughly before you plant anything. Water reveals the low spots and settles air pockets that would otherwise sink under your seedlings.
Top off any dips with your reserve mix, then let it sit an hour. Now you’re ready.
Set your plants or sow your seeds. Pairing the right neighbors matters as much as spacing — a little companion planting keeps pests down and yields up in a tight bed.
Common Mistakes
Building on a slope without leveling. It’s the single biggest first-timer error, and it wrecks drainage.
Using pressure-treated lumber right up against edibles worries a lot of gardeners. Modern treated wood no longer uses arsenic, but if it bothers you, line the inside with heavy plastic or stick to cedar and fir.
Filling with cheap bagged topsoil alone. It compacts, drains poorly, and starves your roots — the compost is what makes the whole thing work.
And don’t build it too wide. Four feet across is the max for a bed you can reach the center of without stepping in, and stepping in packs the soil right back down.
Conclusion
A single 4-by-8 bed is a realistic Saturday-and-Sunday project, even if the last thing you built was IKEA furniture. Cut, screw, level, line, fill, plant.
This approach is right when you’ve got poor native soil, bad drainage, or a bad back that hates bending to ground level. If you’re gardening on a balcony or renting, containers make more sense than lumber and screws.
Build one this weekend. You’ll want a second by next season — most people do.