

You’ve got grass clippings piling up by the shed. Bags of leaves out at the curb every fall. Vegetable peels going straight into the trash.
All of it could be free fertilizer instead.
This guide is for anyone who’s never composted before and wants a setup that actually works — no fancy tumbler, no science degree, no weird smells drifting toward the neighbor’s patio. By the end you’ll know what to throw in the pile, what to keep out, how to keep it cooking, and how to tell when it’s ready to use.
Compost is the single cheapest way to improve garden soil. It feeds your plants, holds water, loosens hard clay, and keeps yard waste out of the landfill. And it costs you nothing but a little time.
Let’s get your pile started.
What Composting Actually Is
Composting is controlled rot. That’s the whole thing.
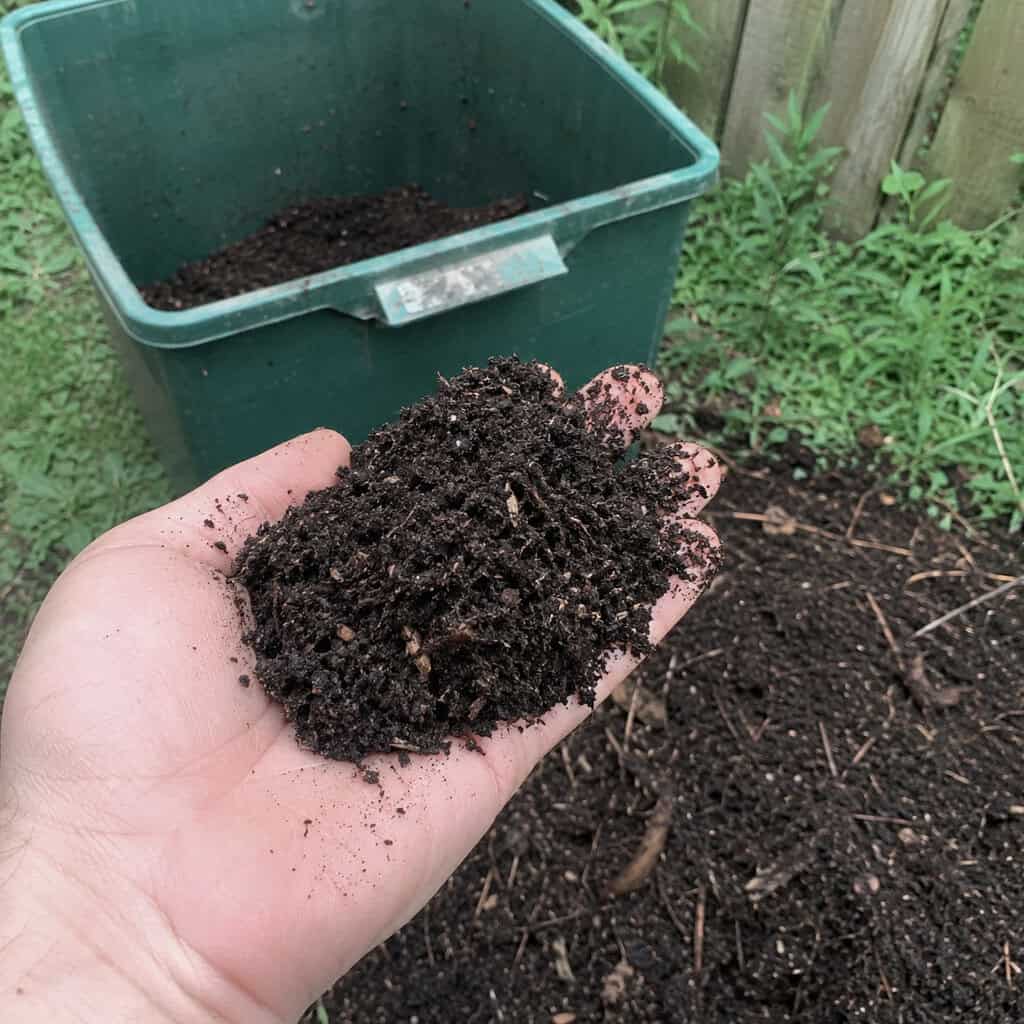
You’re taking dead plant material — leaves, clippings, kitchen scraps — and giving billions of microbes the right conditions to break it down. What’s left is a dark, crumbly, earthy-smelling material that looks like rich soil.
Gardeners call it “black gold” for a reason. A single handful is packed with nutrients and beneficial organisms your plants love.
The microbes doing the work need four things: carbon, nitrogen, air, and water. Get those in balance and nature handles the rest. According to the EPA, yard trimmings and food scraps make up more than 28% of what Americans throw away — most of which could be composted at home instead.
You don’t have to be precise. A sloppy pile still turns into compost eventually. But a little attention speeds things up from a year down to a couple of months.
Browns and Greens: The Only Rule That Matters
Every compost pile runs on two ingredients. Browns and greens.
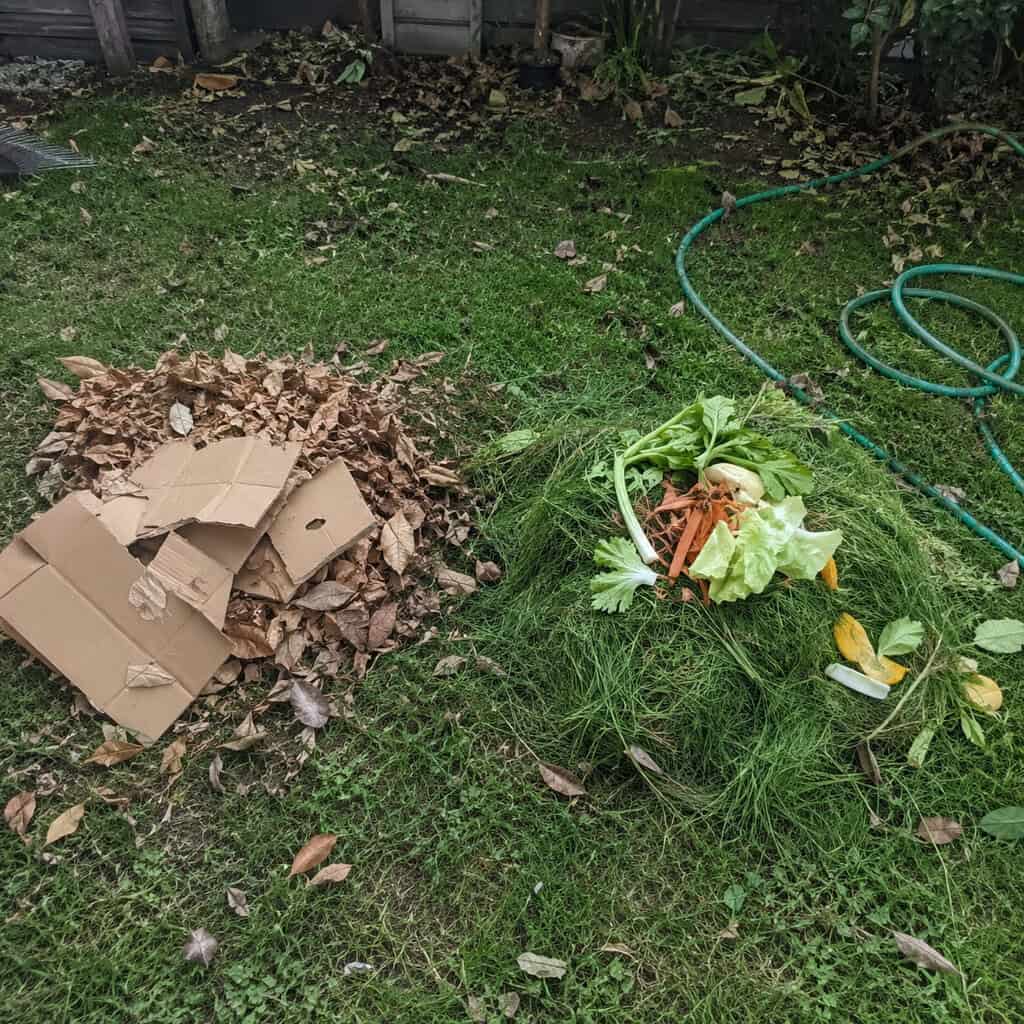
Browns are your carbon. Dry, dead stuff — fallen leaves, straw, cardboard, shredded paper, wood chips, dead plants. They give the pile structure and let air move through.
Greens are your nitrogen. Fresh, wet, living stuff — grass clippings, vegetable scraps, coffee grounds, fresh weeds. They feed the microbes and heat the pile up.
Aim for more browns than greens. Rough target: two or three parts brown to one part green by volume. If your pile smells sour, add browns. If it’s just sitting there doing nothing, add greens.
Here’s a quick cheat sheet for sorting your materials:
| Browns (Carbon) | Greens (Nitrogen) | |
|---|---|---|
| Common examples | Dry leaves, cardboard | Grass clippings, veggie scraps |
| Texture | Dry and coarse | Wet and soft |
| Job in the pile | Airflow, structure | Heat, nutrients |
| Too much causes | Slow, cold pile | Sour, slimy smell |
Nail this ratio and you’ve solved 90% of composting. Everything else is just fine-tuning. If you want to dig deeper on the nitrogen side, here’s a rundown of compost materials high in nitrogen.
What to Toss In (and What to Keep Out)
Most yard and kitchen waste is fair game. But a few things will wreck your pile, so it’s worth knowing the difference.
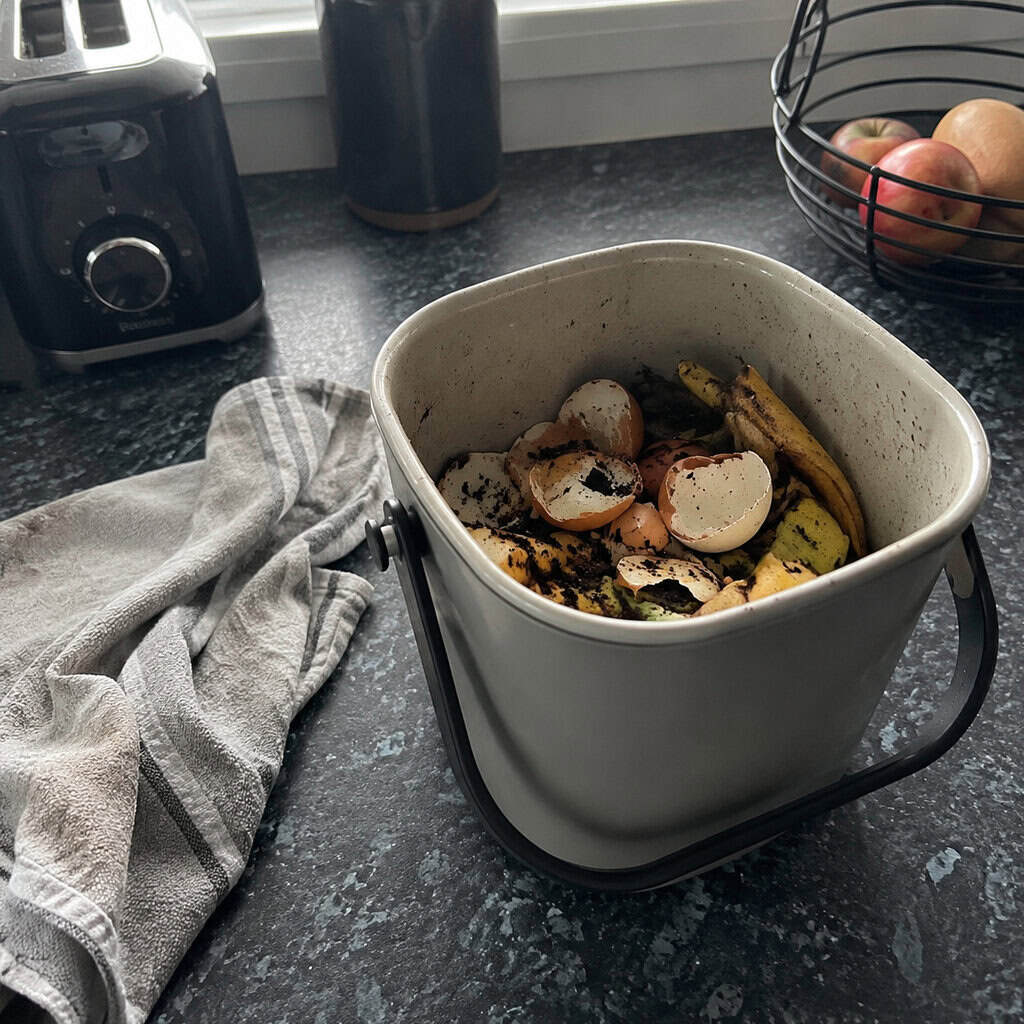
Toss these in freely: grass clippings, leaves, vegetable and fruit scraps, coffee grounds and filters, tea bags, eggshells, shredded plain paper, plant trimmings, and cardboard torn into small pieces.
Keep these out. They cause smells, attract pests, or just don’t break down right:
- Meat, fish, and bones
- Dairy and greasy or oily food
- Pet waste from dogs and cats
- Diseased plants and weeds gone to seed
- Anything treated with pesticides or herbicides
That last one trips people up. Grass clippings from a lawn recently sprayed for weeds can carry chemicals into your compost — and some of those compounds are stubborn. It’s worth understanding whether pesticides break down in compost before you toss treated clippings on the heap.
Citrus peels and onions are fine in small amounts, but heavy loads can make things acidic. Spread them out.
When in doubt, ask one question: was it alive and is it free of chemicals? If yes, it probably belongs in the pile.
Setting Up Your Pile or Bin
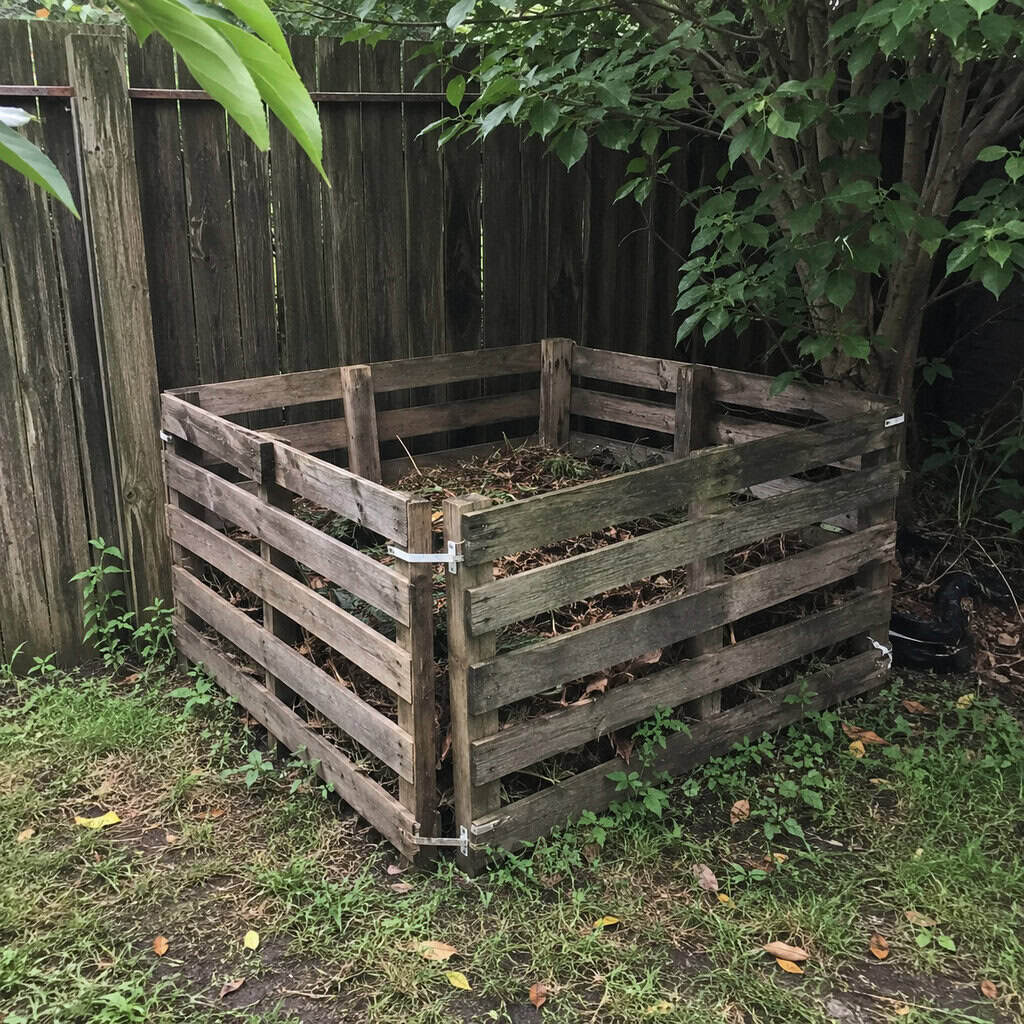
You don’t need to buy anything to start. A bare pile in a back corner works.
But a bin keeps things tidier, warmer, and out of the wind. Your options run from free to fancy.
The simple heap
Pick a spot at least three feet by three feet. Anything smaller struggles to hold heat. Start layering browns and greens right on the ground so worms and microbes can move up from the soil.
A wire or pallet bin
Four wooden pallets zip-tied into a square make a solid free bin. Or bend a length of wire fencing into a circle. Both let air in and keep the pile contained.
A tumbler
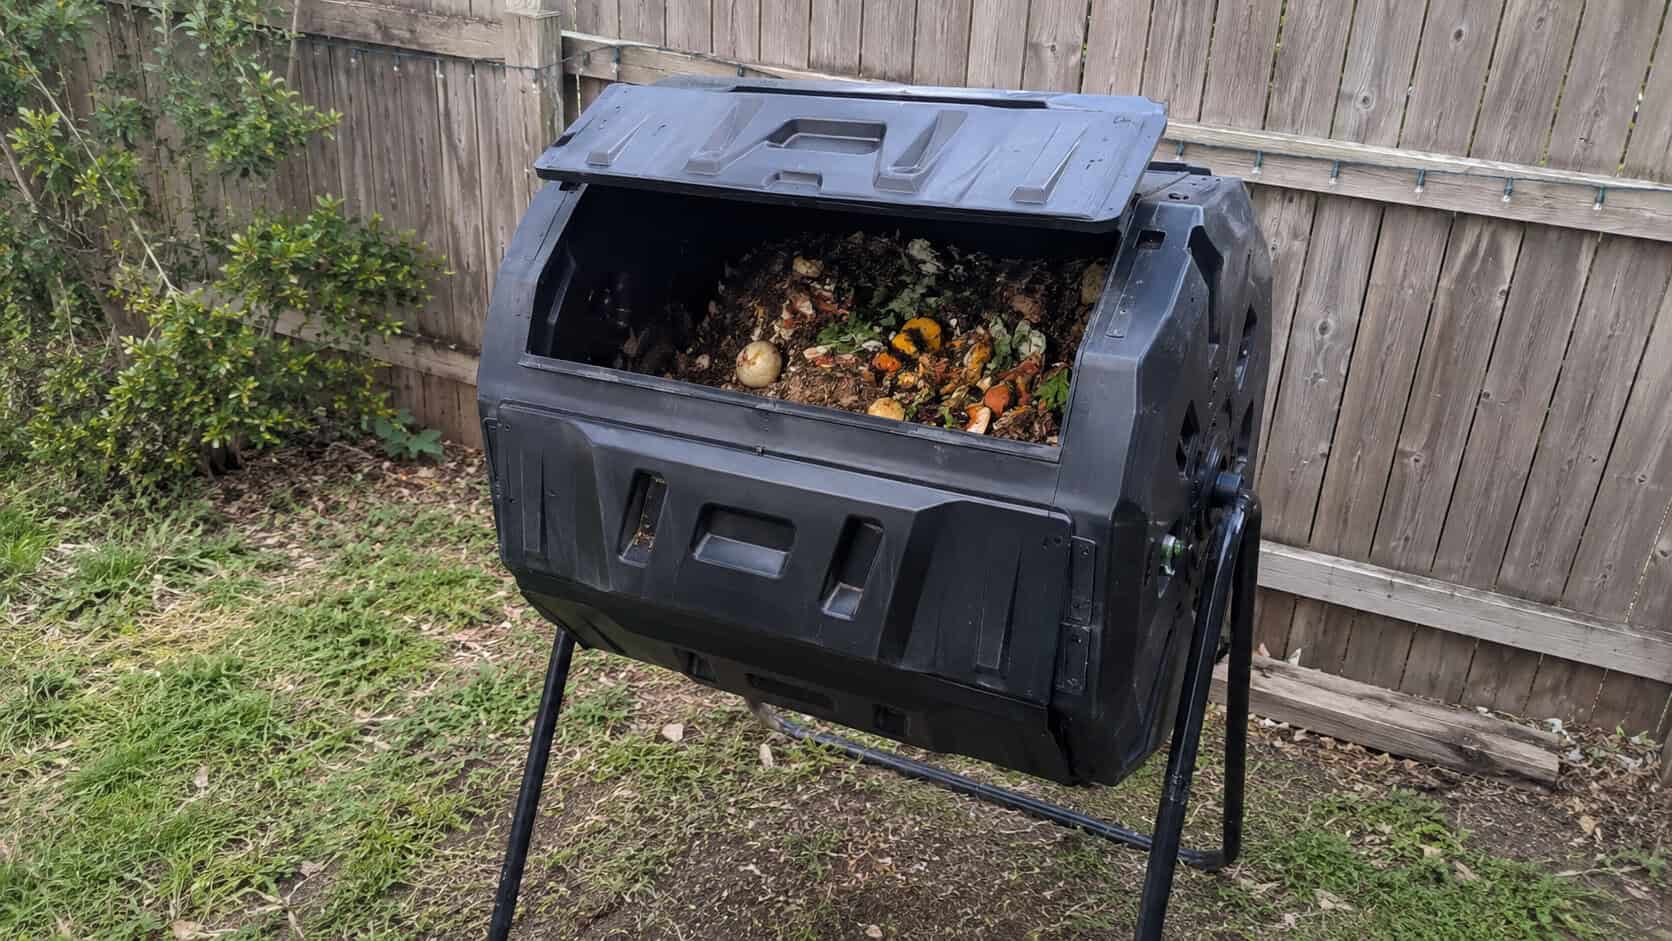
These sealed, crank-to-turn barrels cost more but make turning effortless and keep critters out. Good if you’re tight on space or squeamish about pests.
Location matters more than the container. Put your pile somewhere with a little shade so it doesn’t dry out, and where you can reach it with a hose. A spot that gets some sun helps too — whether a compost bin needs full sun depends a lot on your climate.
Set it somewhere you’ll actually walk past. Out of sight means out of mind, and an ignored pile is a slow pile.
Keeping the Pile Cooking
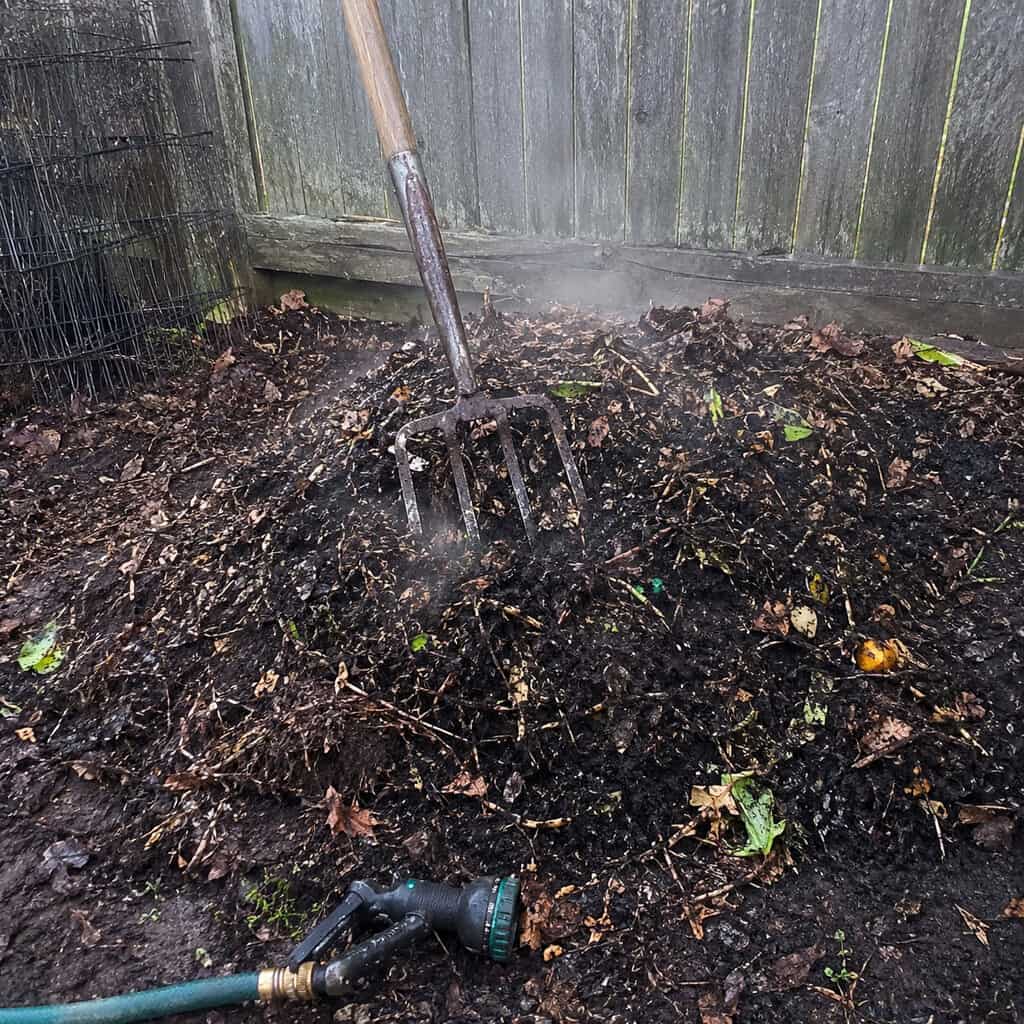
A working pile heats up. Stick your hand a foot deep after a week and it should feel warm — sometimes hot enough to steam on a cool morning.
That heat is the microbes eating. It’s also what kills weed seeds and pathogens. Active piles can hit 130 to 160°F in the center, which is exactly what you want. Curious why? Here’s why compost piles get hot in the first place.
Three things keep the heat going. Air, moisture, and turning.
For air, the pile needs to breathe. That’s why browns matter — they create pockets. Don’t pack it down tight.
For moisture, aim for a wrung-out sponge. Damp, not soggy. Squeeze a handful; a drop or two should come out, no more. Dry piles stall, waterlogged piles go slimy and stink.
For turning, grab a pitchfork every week or two and flip the outside material into the middle. This feeds fresh oxygen to the microbes and speeds everything up dramatically. Skip turning entirely and you’ll still get compost — it’ll just take a lot longer. Colorado State University Extension notes that a well-managed pile can finish in as little as one to two months, while a neglected one may take a full year (CSU Extension).
Troubleshooting a Grumpy Pile
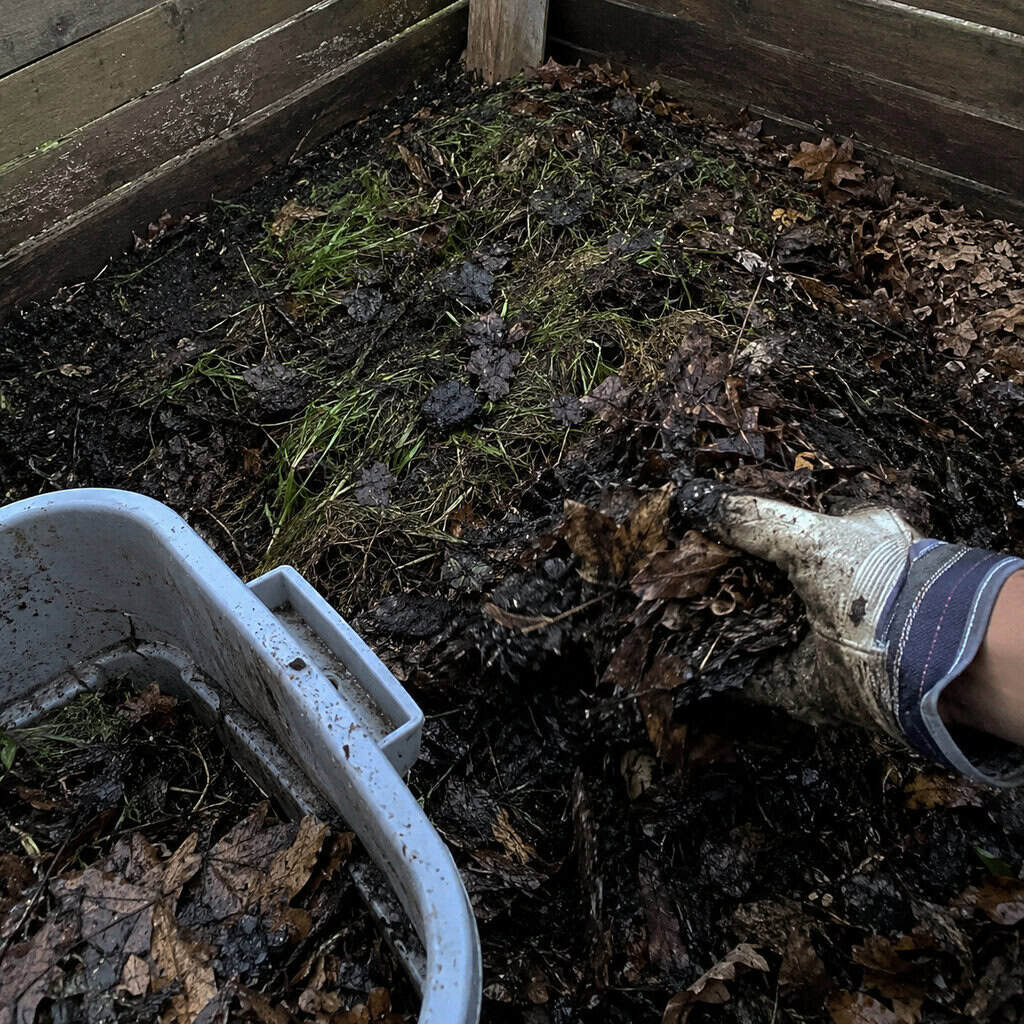
Compost problems are almost always one of three things. And each has a dead-simple fix.
It smells bad
A rotten-egg or ammonia smell means too many greens and not enough air. Add browns — dry leaves, shredded cardboard — and turn it to get oxygen in. The smell clears within a day or two.
Nothing’s happening
If your pile just sits cold and unchanged, it’s usually too dry or too heavy on browns. Add greens like fresh grass clippings, splash some water in, and turn it. It’ll wake right up.
It’s attracting pests
Flies, rodents, or raccoons mean food scraps are exposed. Bury kitchen scraps in the center of the pile instead of leaving them on top, and never add meat or dairy. A bin with a lid solves stubborn cases.
Don’t panic over a few bugs. Sowbugs, worms, and beetles are supposed to be there — they’re part of the crew breaking everything down. NC State Extension has a thorough breakdown of the organisms doing this work if you want the full picture (NC State Extension).
Knowing When It’s Ready and How to Use It
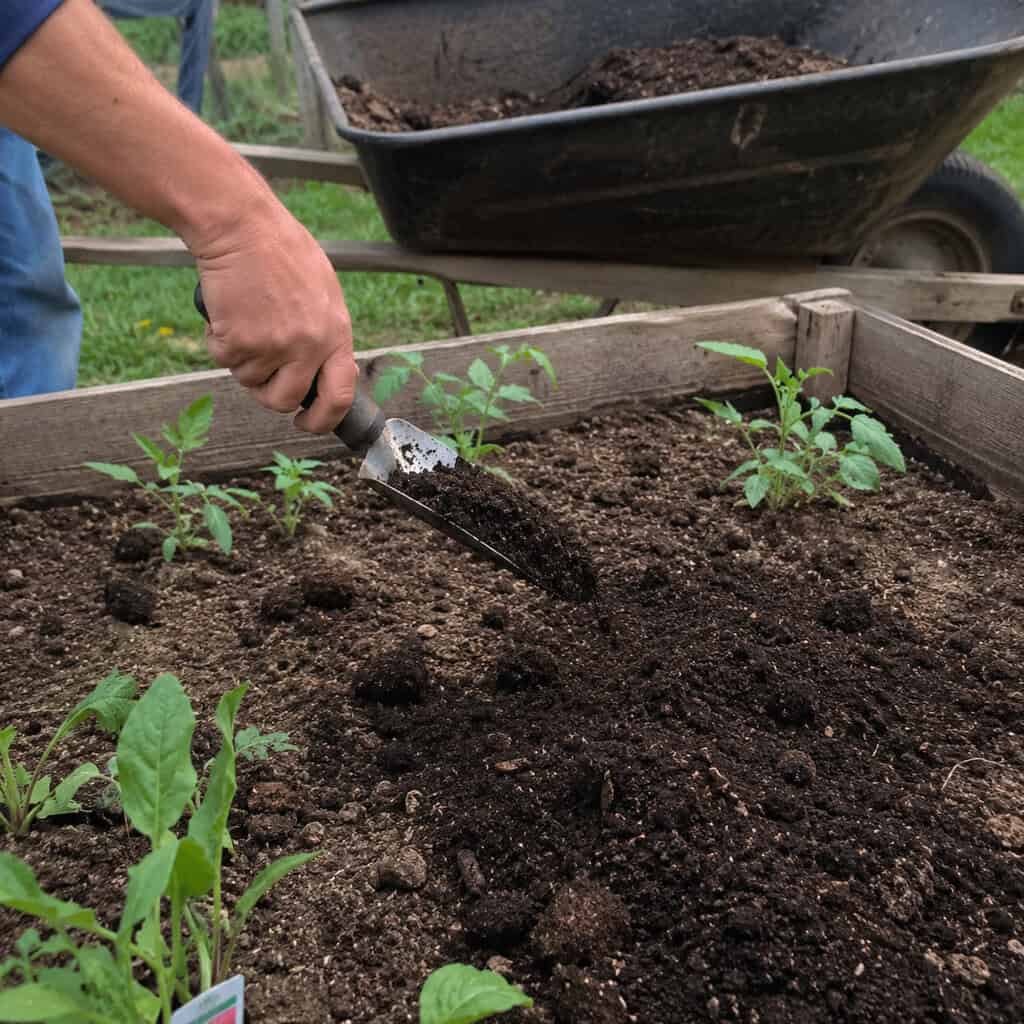
Finished compost doesn’t look like what you put in. That’s how you know.
It’s dark brown to nearly black, crumbly like coffee grounds, and smells like a forest floor after rain. You shouldn’t be able to recognize the original scraps and leaves. If you still see chunks of eggshell or a stringy stem, give it more time.
The full transformation takes anywhere from two months to a year, depending on how much you turned it and how warm your climate runs. Want a visual reference? Here’s what healthy compost looks like when it’s done.
Once it’s ready, put it to work everywhere:
- Mix a few inches into vegetable and flower beds
- Top-dress the lawn to feed the grass
- Blend into potting mix for containers
- Spread as mulch around trees and shrubs
A thin layer worked into a tired garden bed does more than any bagged fertilizer. It’s also great for filling low spots — you can even level a lawn with compost while feeding it at the same time.
Start a second pile once the first is cooking. That way you always have finished compost aging while fresh material breaks down. It’s a rhythm, not a one-time project.
Quick Answers
How long does compost take?
Anywhere from two months to a year. Turning it regularly and keeping the browns-to-greens balance right gets you to the fast end.
Does compost smell bad?
A healthy pile smells earthy, not foul. Bad smells mean too many greens or not enough air — add browns and turn it.
Can I compost in winter?
Yes, though it slows way down or stops when frozen. Keep adding material; it’ll fire back up in spring.
Do I need a bin?
No. A bare heap works fine. A bin just keeps things tidier, warmer, and harder for pests to raid.
Can I compost grass clippings alone?
They’ll mat down and turn slimy on their own. Mix them with browns like dry leaves for the best results.
Getting Started This Weekend
Composting sounds technical until you actually do it. Then it’s just a pile in the corner that quietly turns your trash into treasure.
Remember the essentials: more browns than greens, keep it damp like a wrung-out sponge, turn it when you think of it, and leave meat and pet waste out. That’s the whole game.
Pick a corner of the yard today, start layering leaves and scraps, and give it a few months. Come spring, you’ll be spreading free garden gold you made yourself — and wondering why you ever bagged all that yard waste for the curb.